Upload Documents lists for DocEsign

This guide will walk you through the process of uploading document lists for DocEsign. From accessing the setup section to selecting signees and adding signatures, each step is essential in completing the task efficiently.
Go to app.buildmacro.com
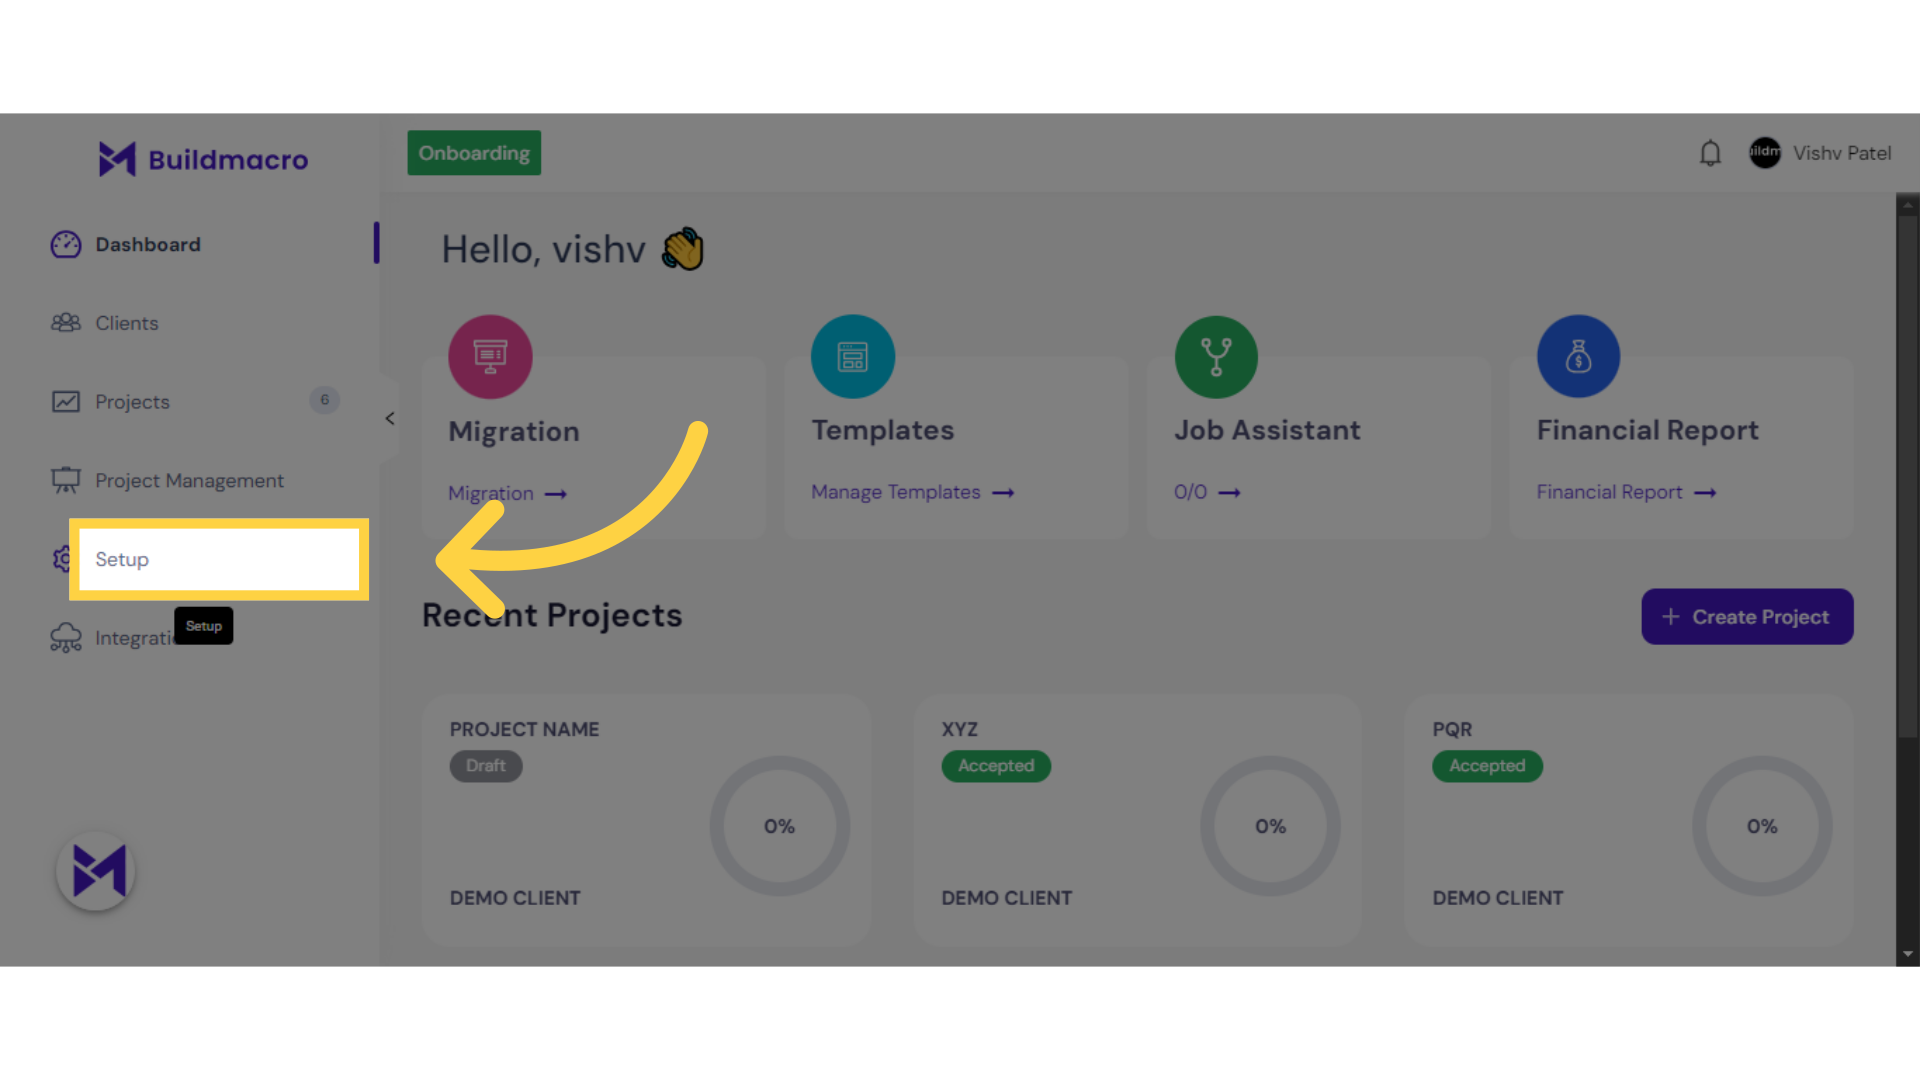
1. Click "Setup"
Access the setup section.
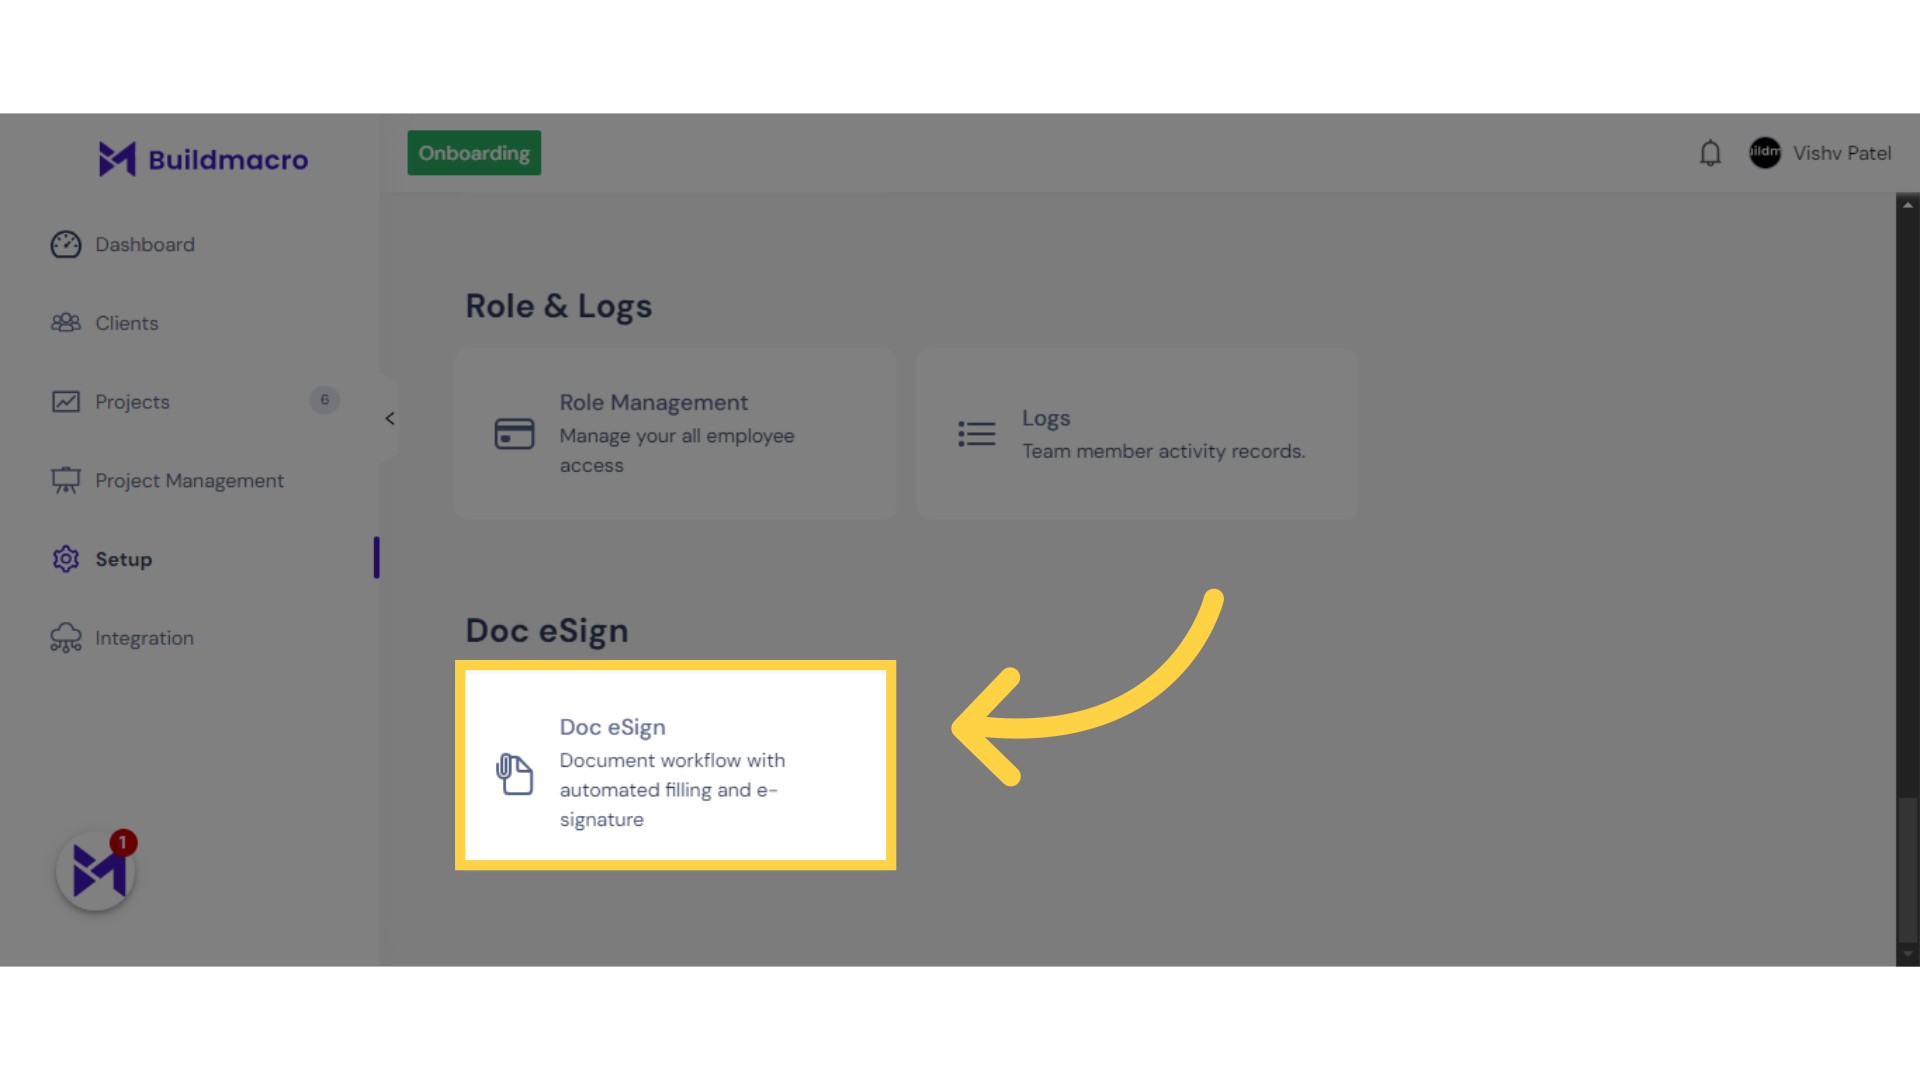
2. Click "Doc eSign"
Navigate to the Doc eSign feature.
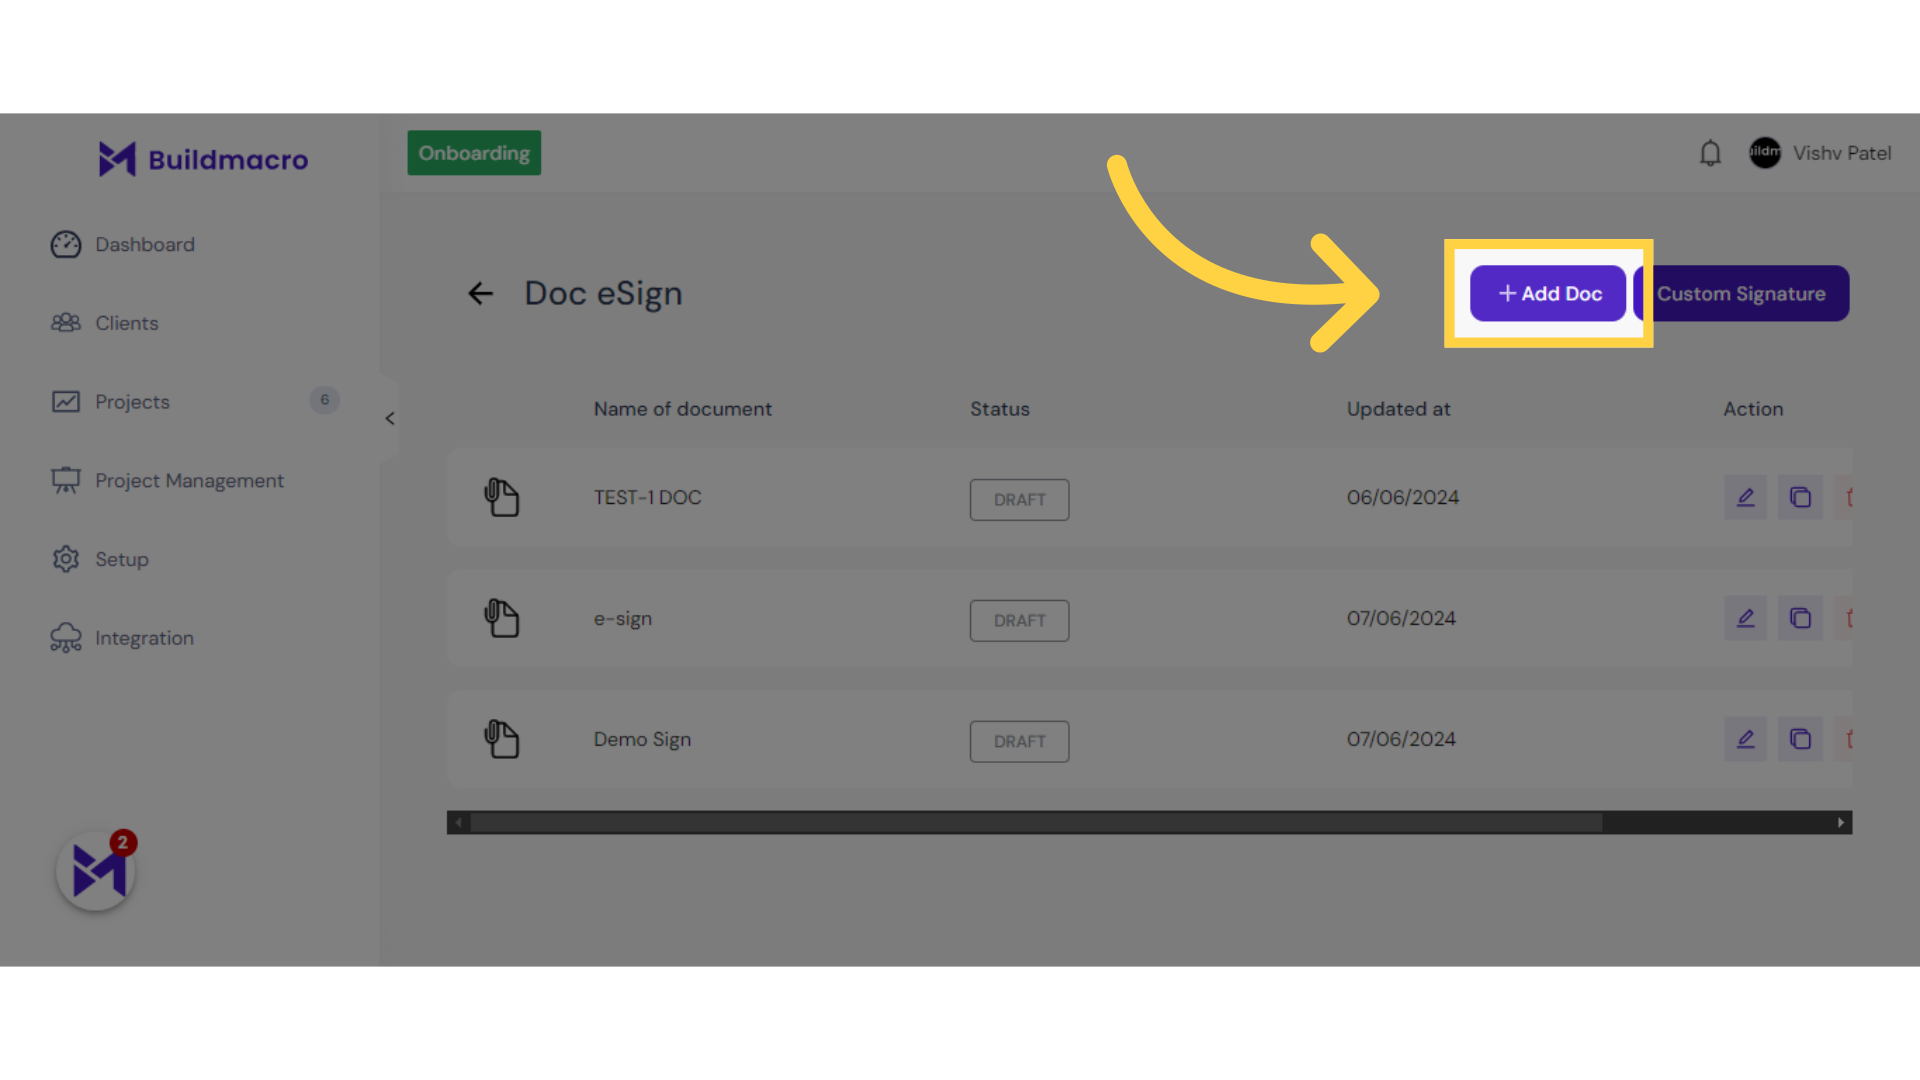
3. Click "Add Doc"
Initiate the document addition process.
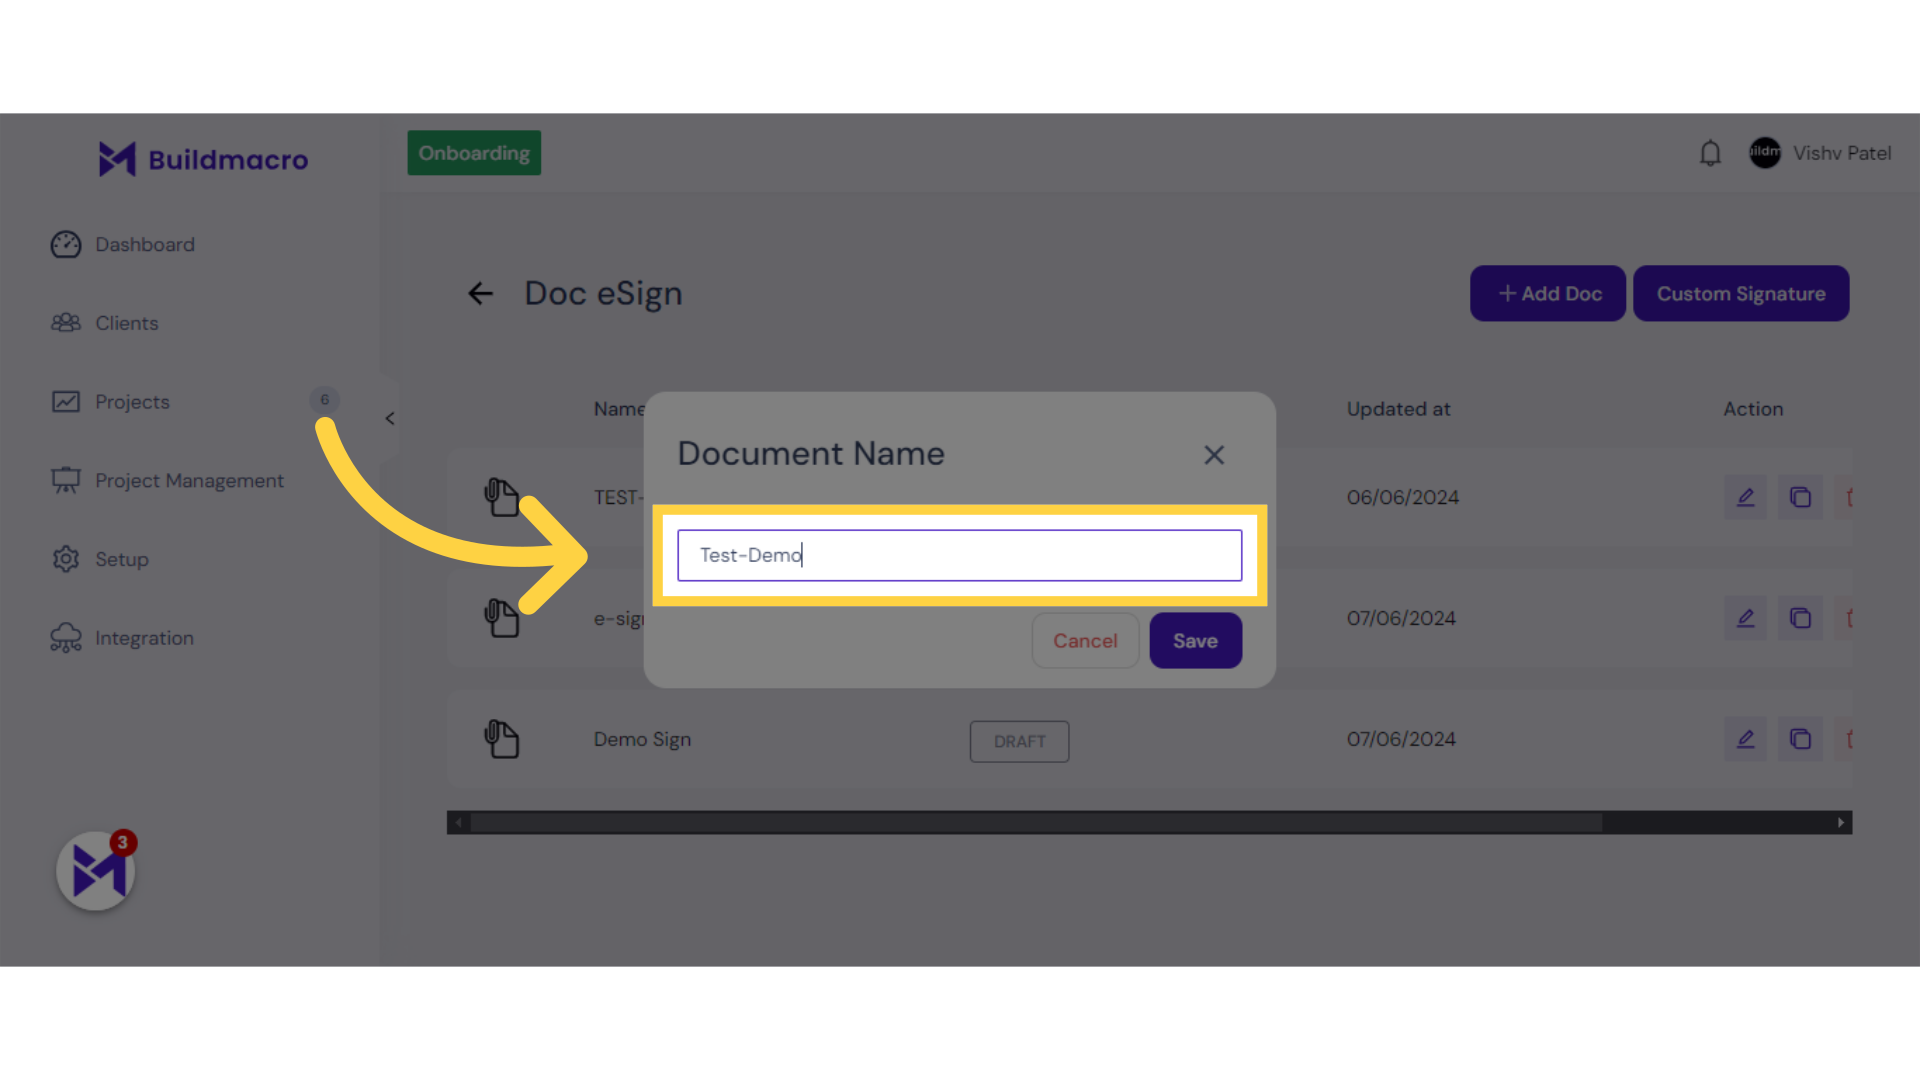
4. Fill "Document Name"
Enter the name "Test-Demo".
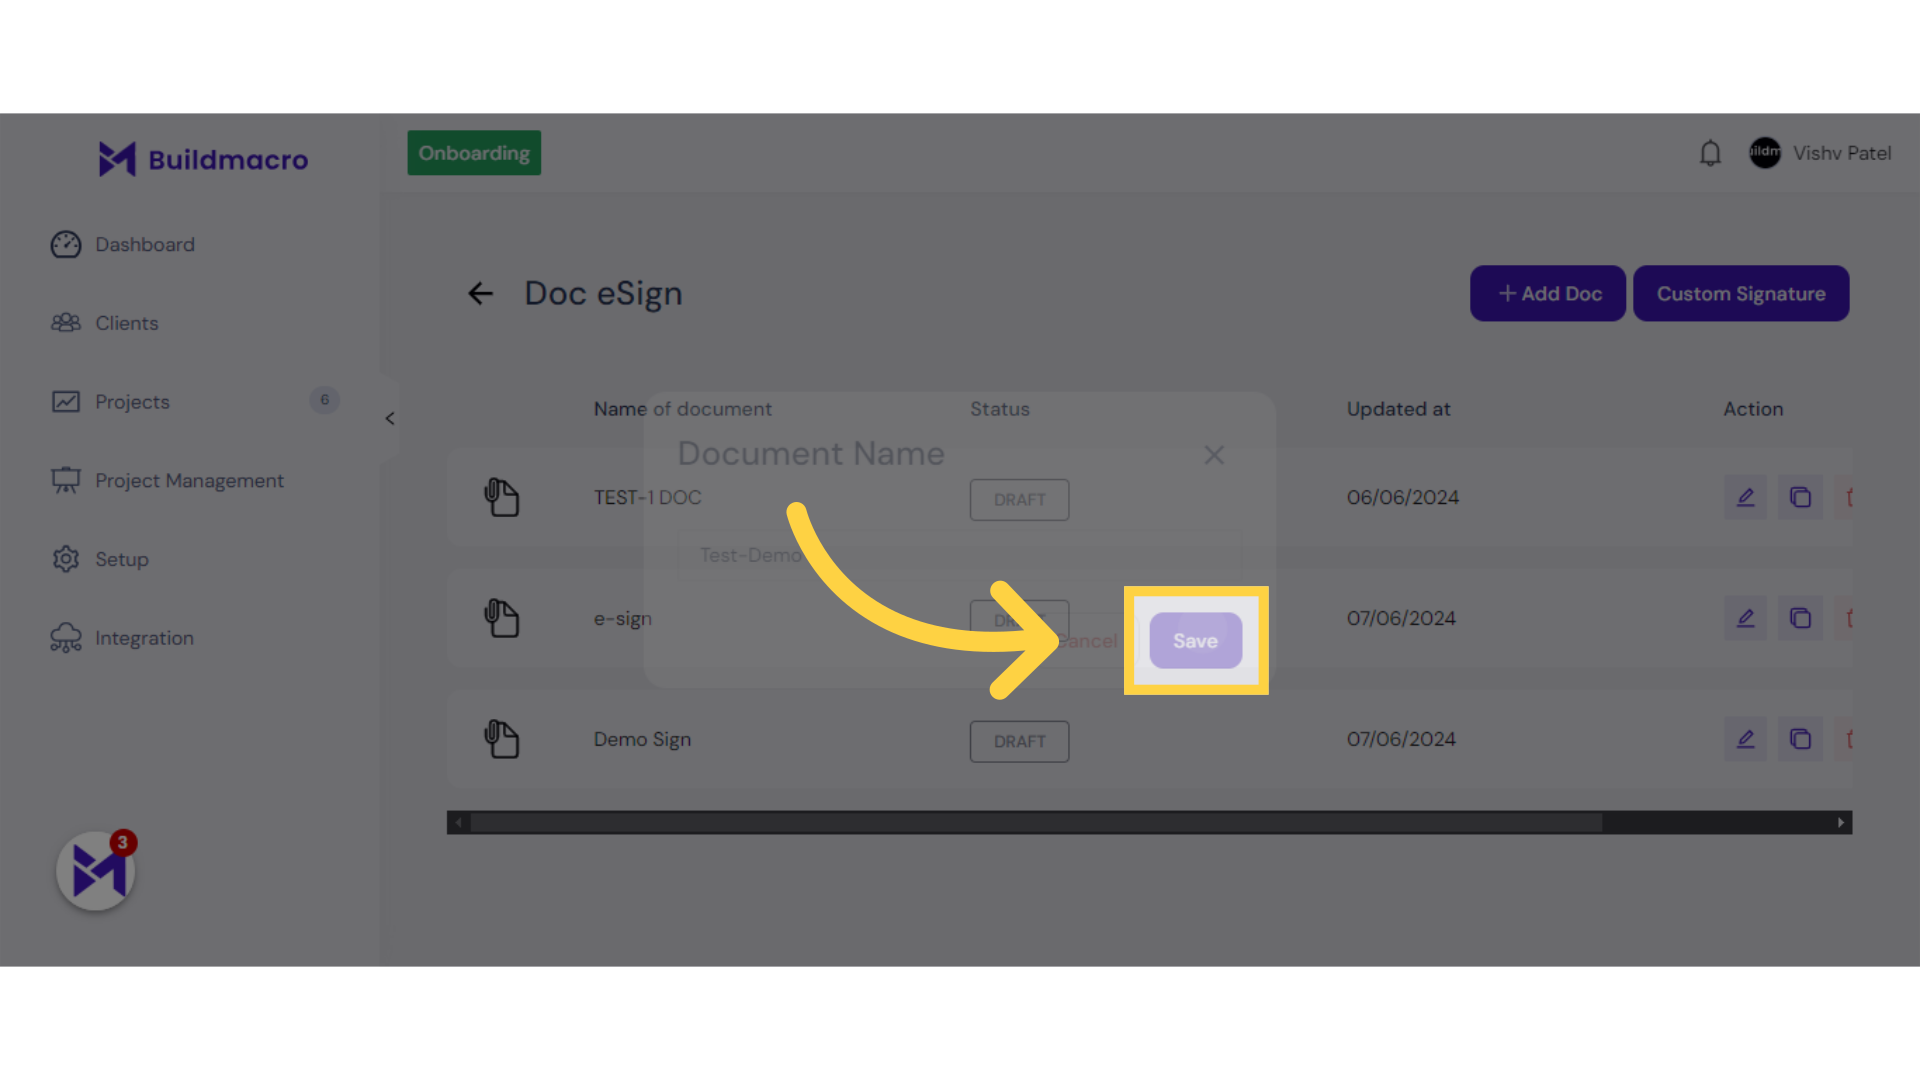
5. Click "Save"
Save the changes made.
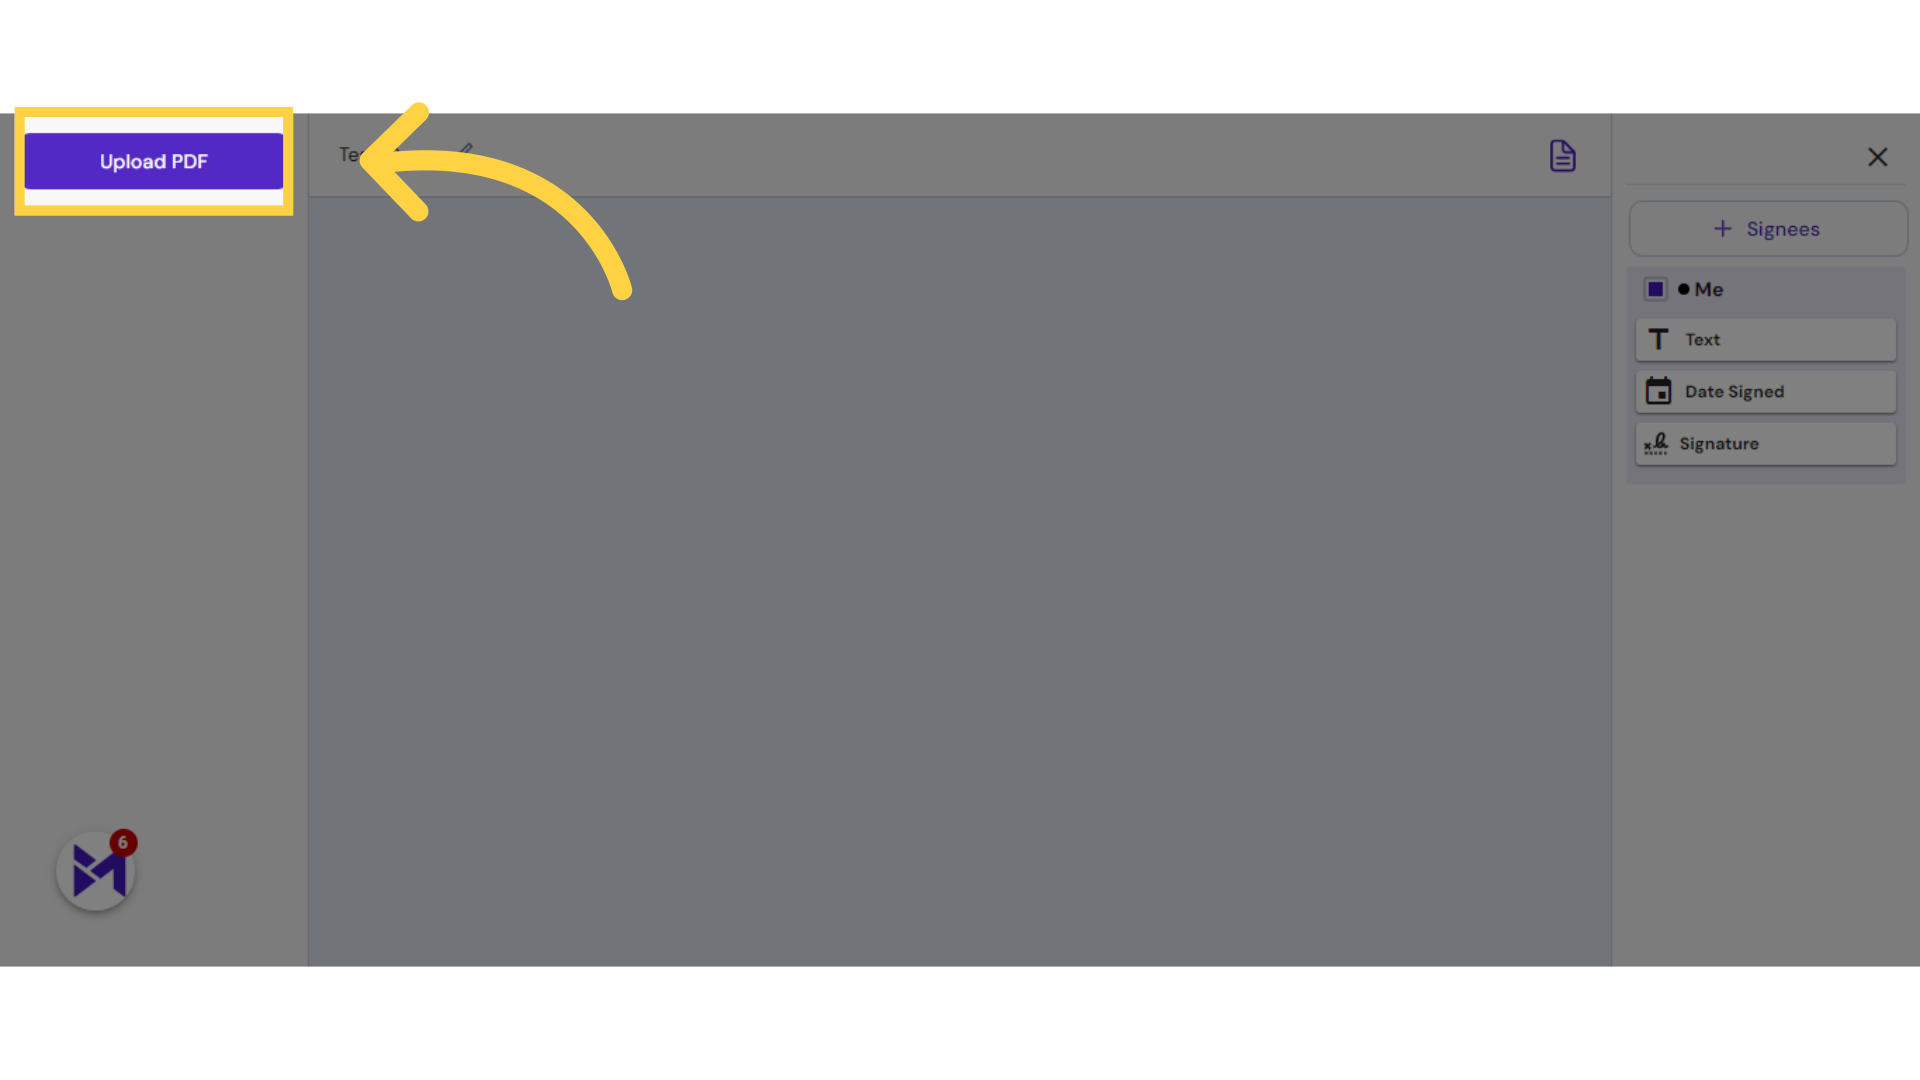
6. Click here
Click here
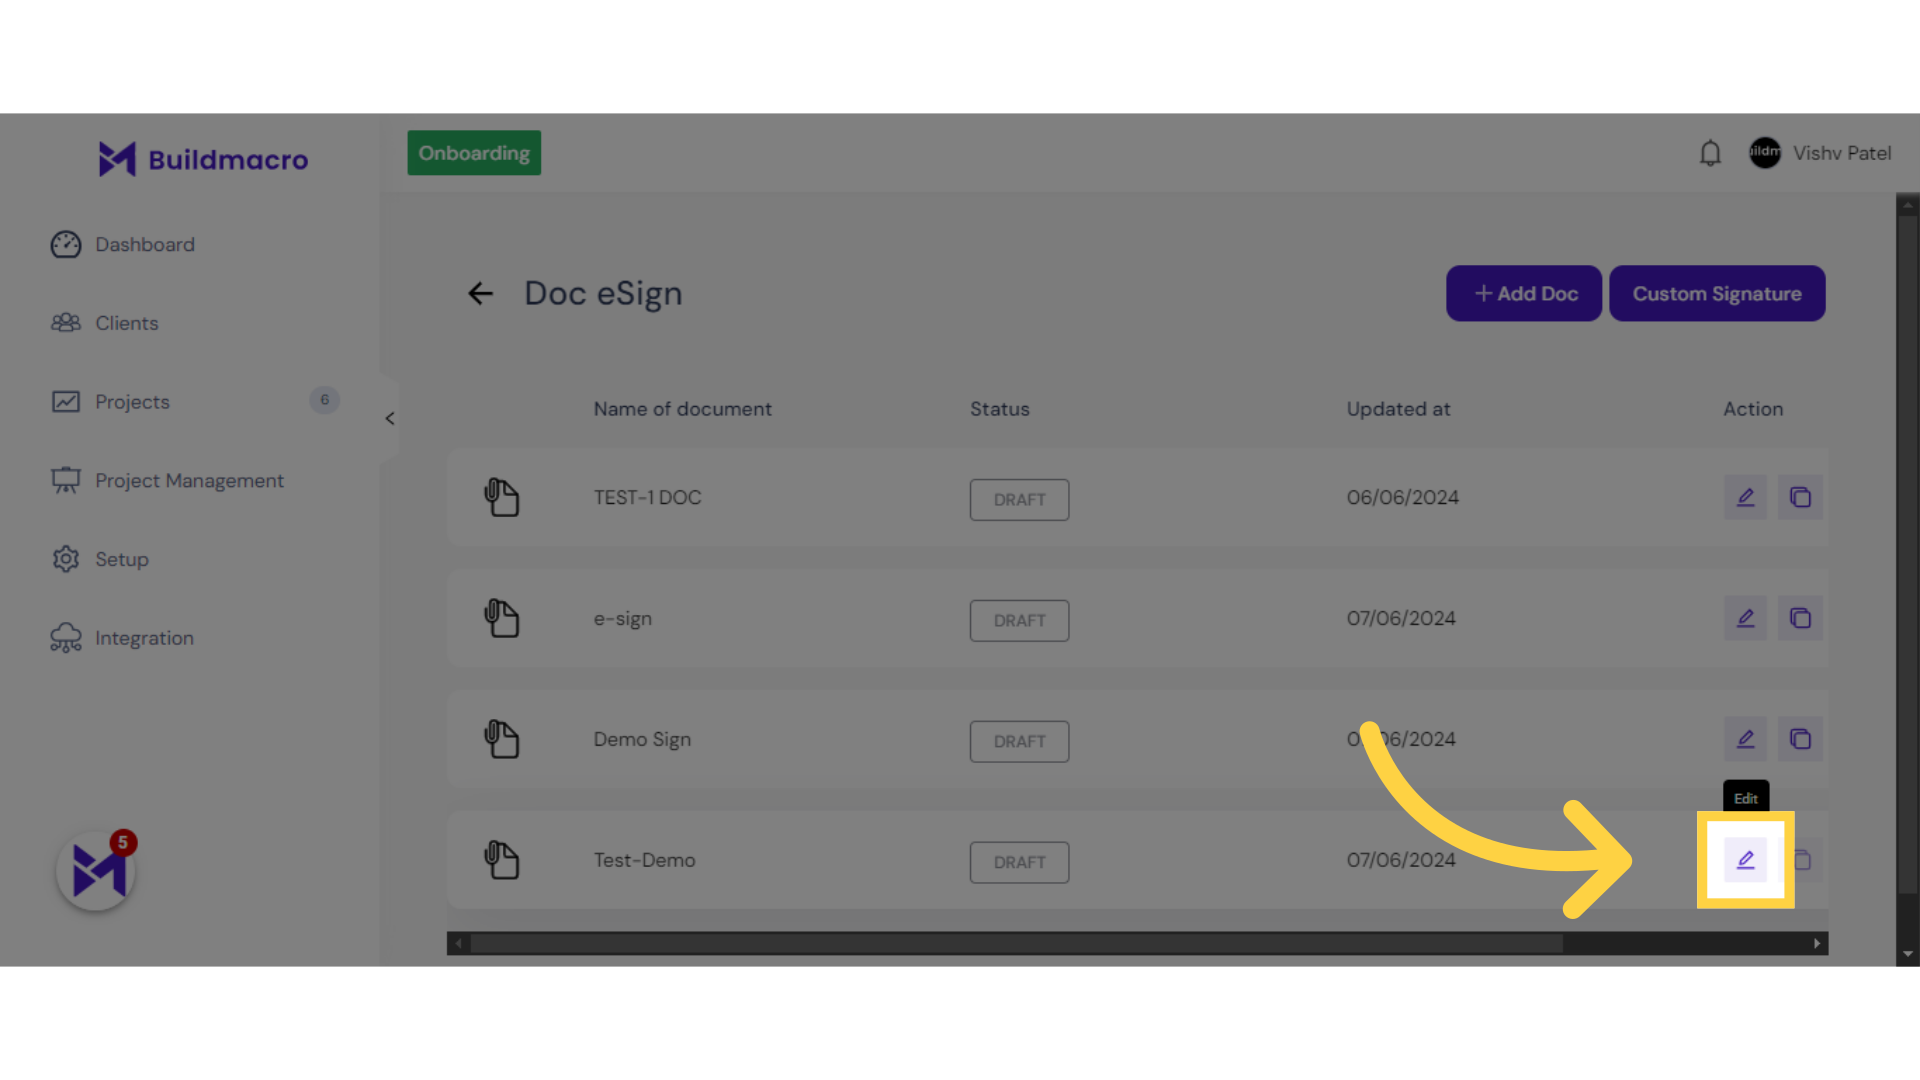
7. Click here
Click the selected button
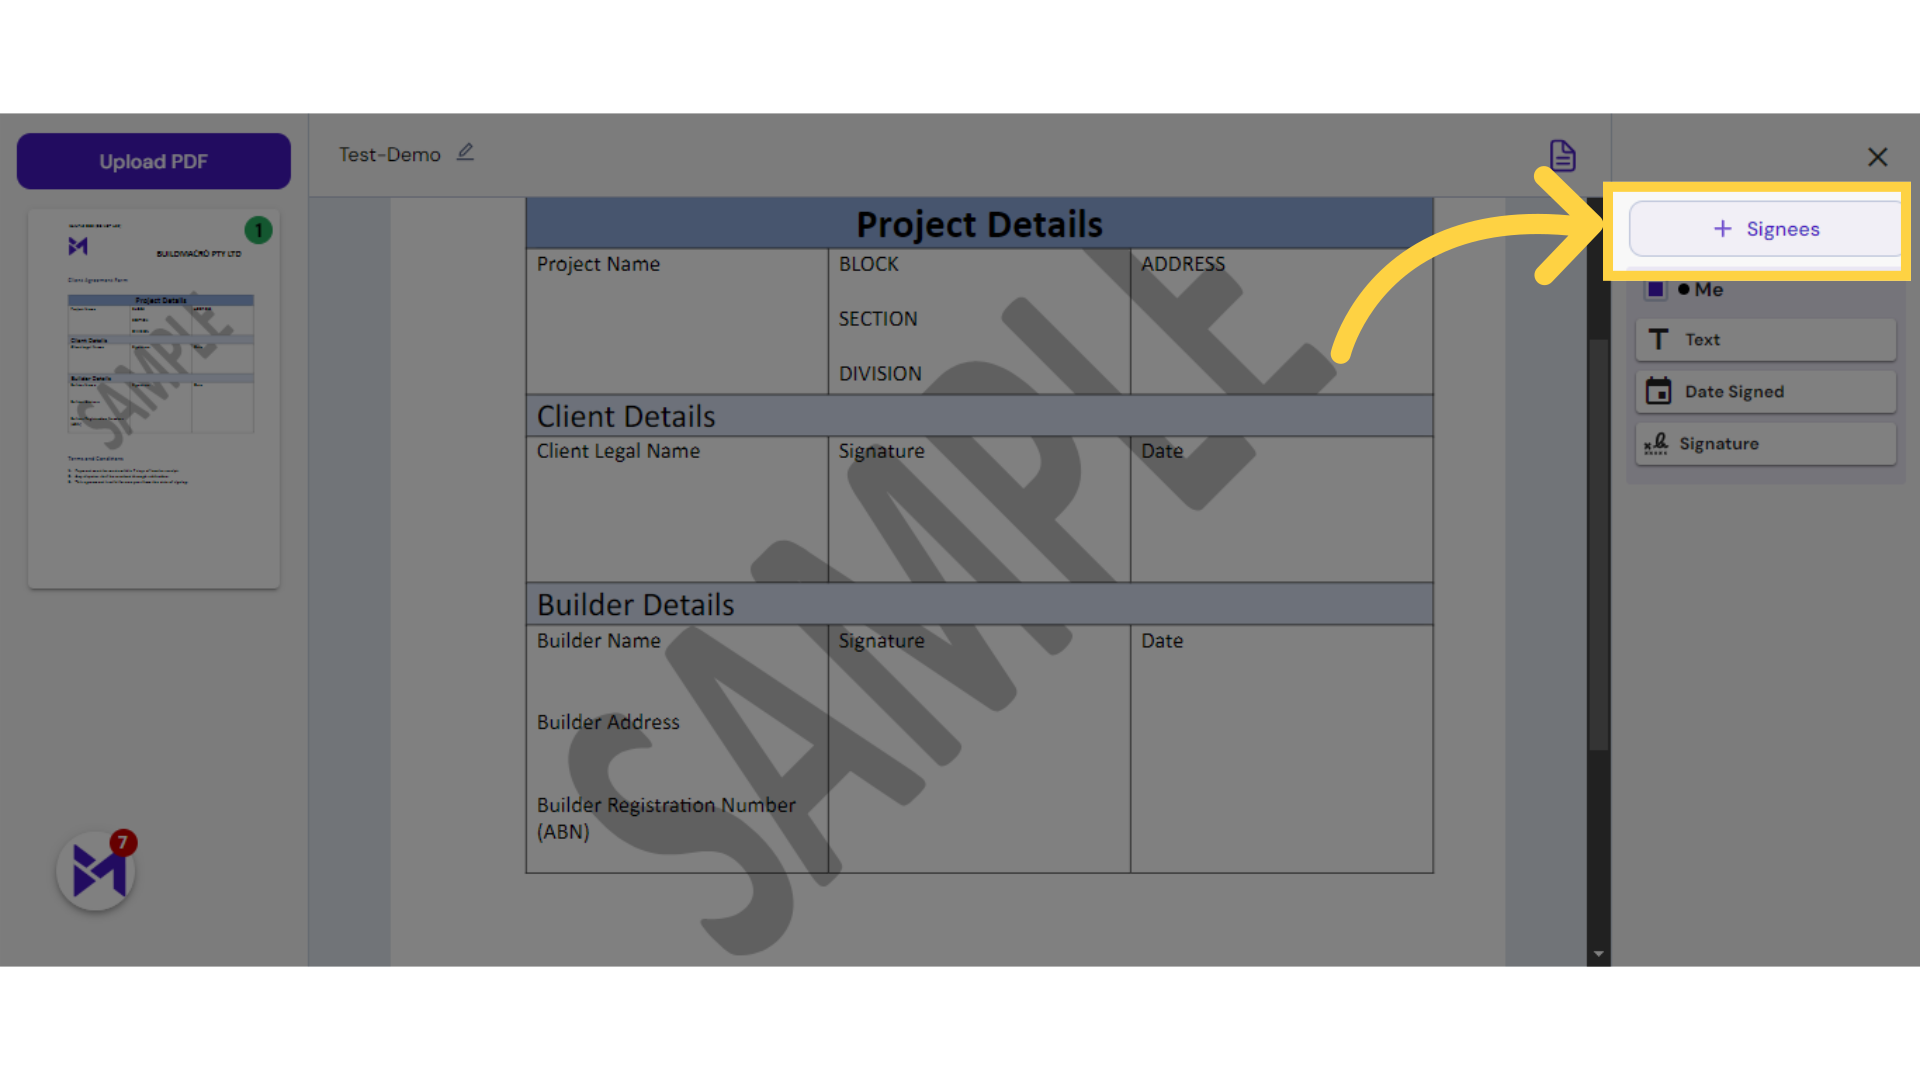
8. Click "Signees"
Access the Signees section.
9. Click "Owner 1 (Primary Client)"
Select "Owner 1 (Primary Client)".
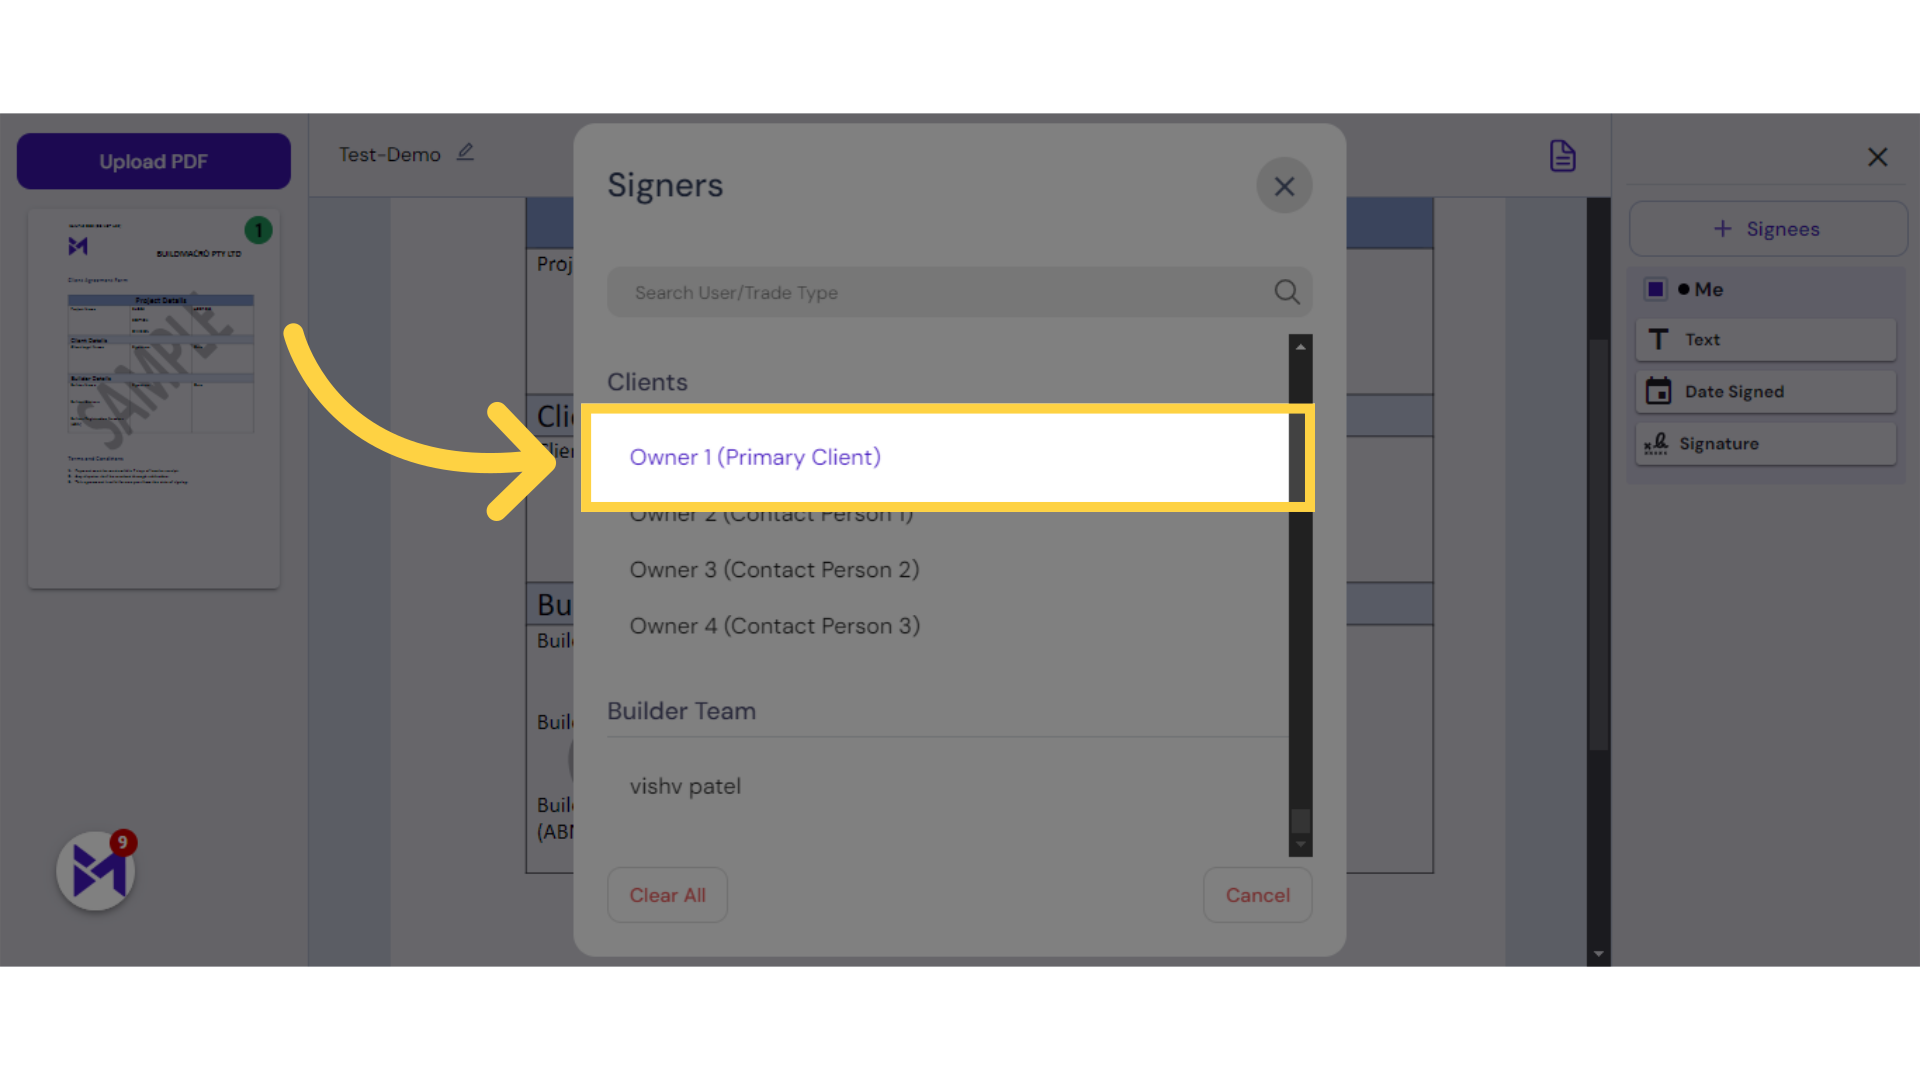
10. Click here
Click the selected option
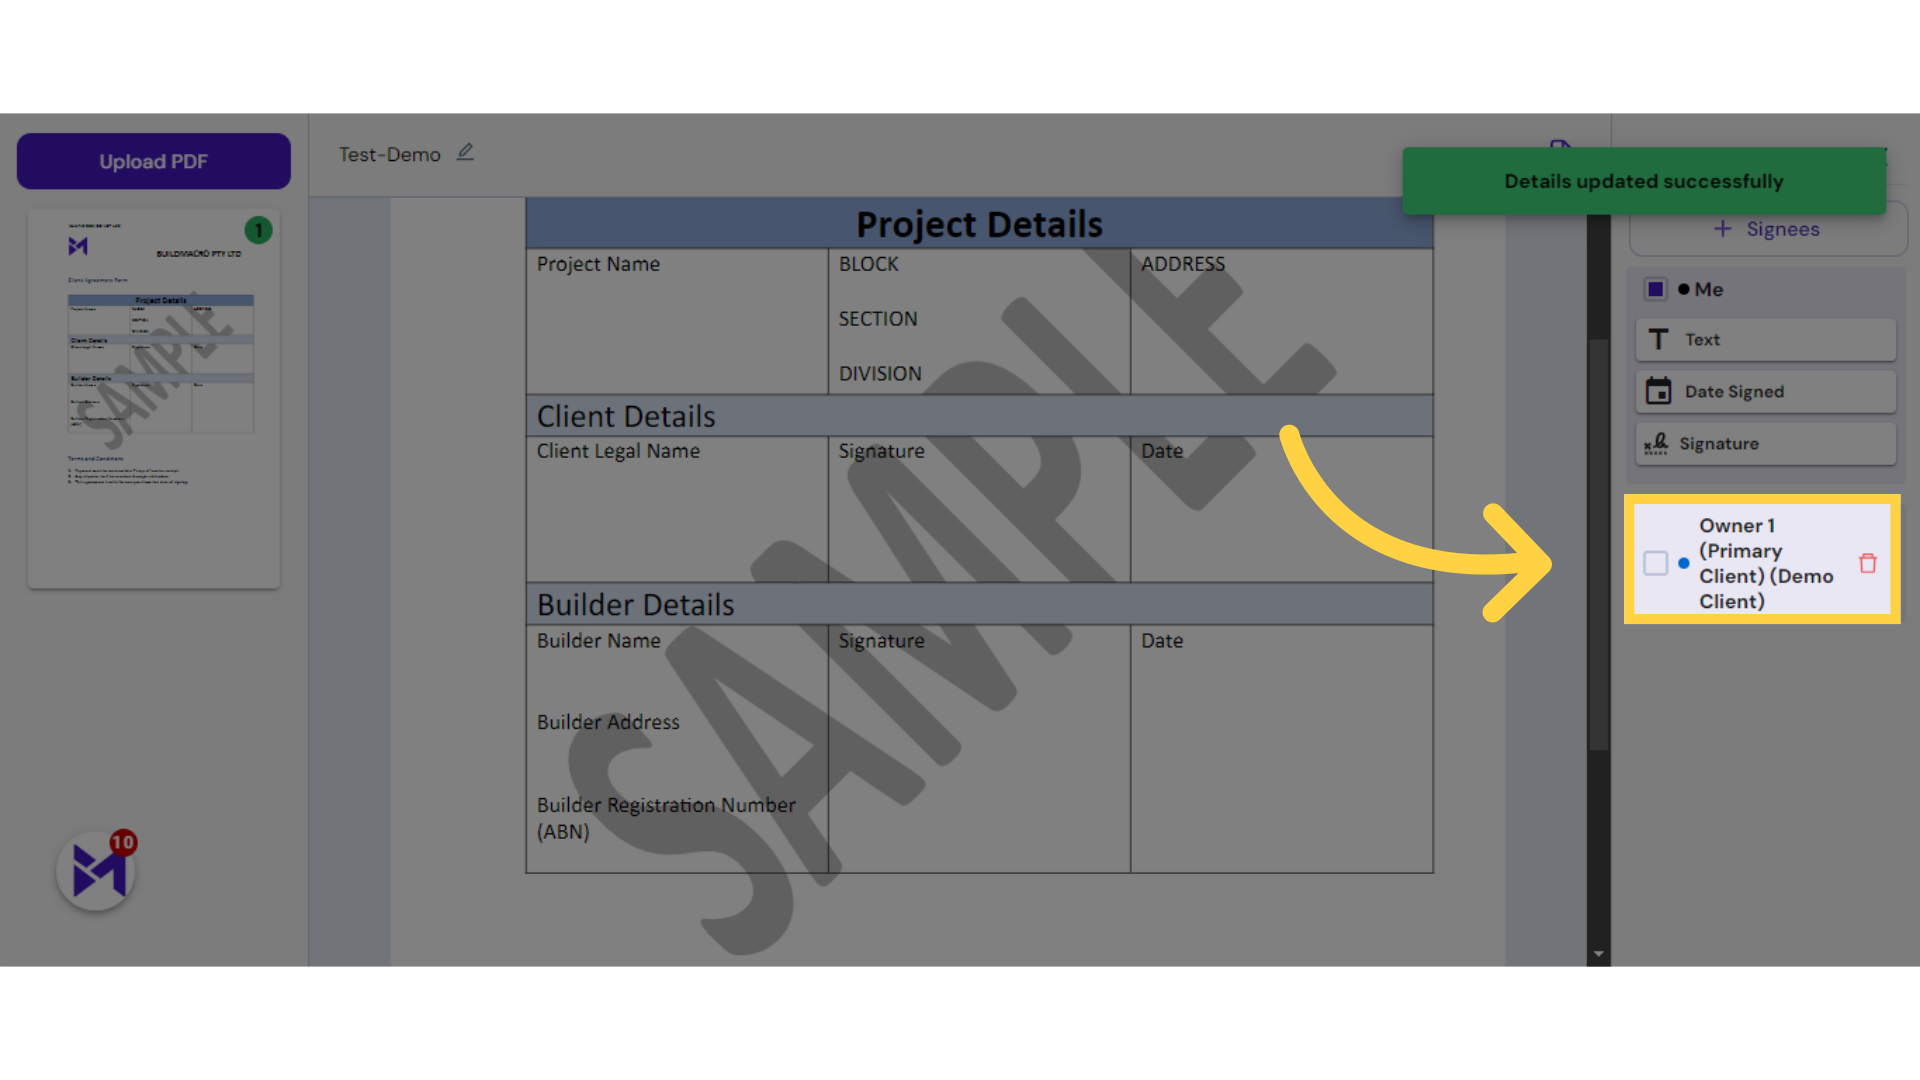
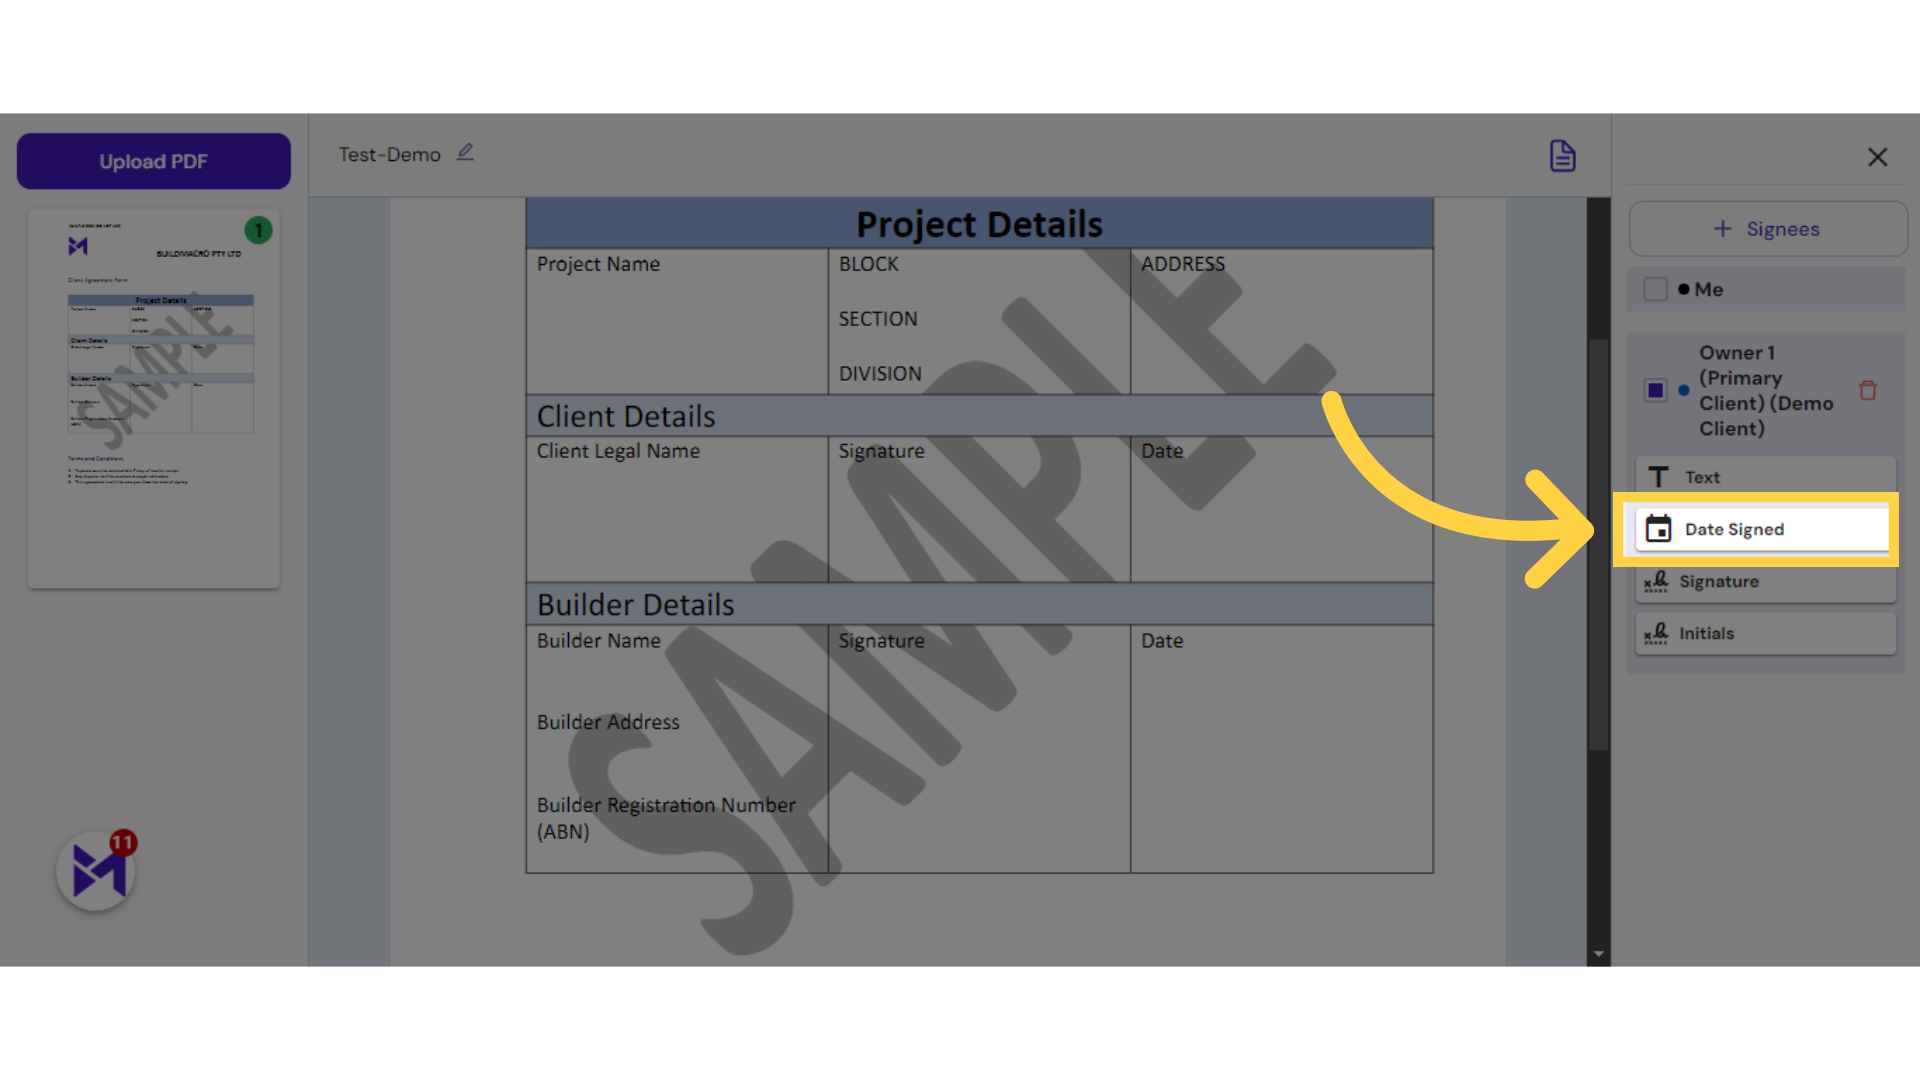
11. Click "Date Signed"
Select the "Date Signed" field.
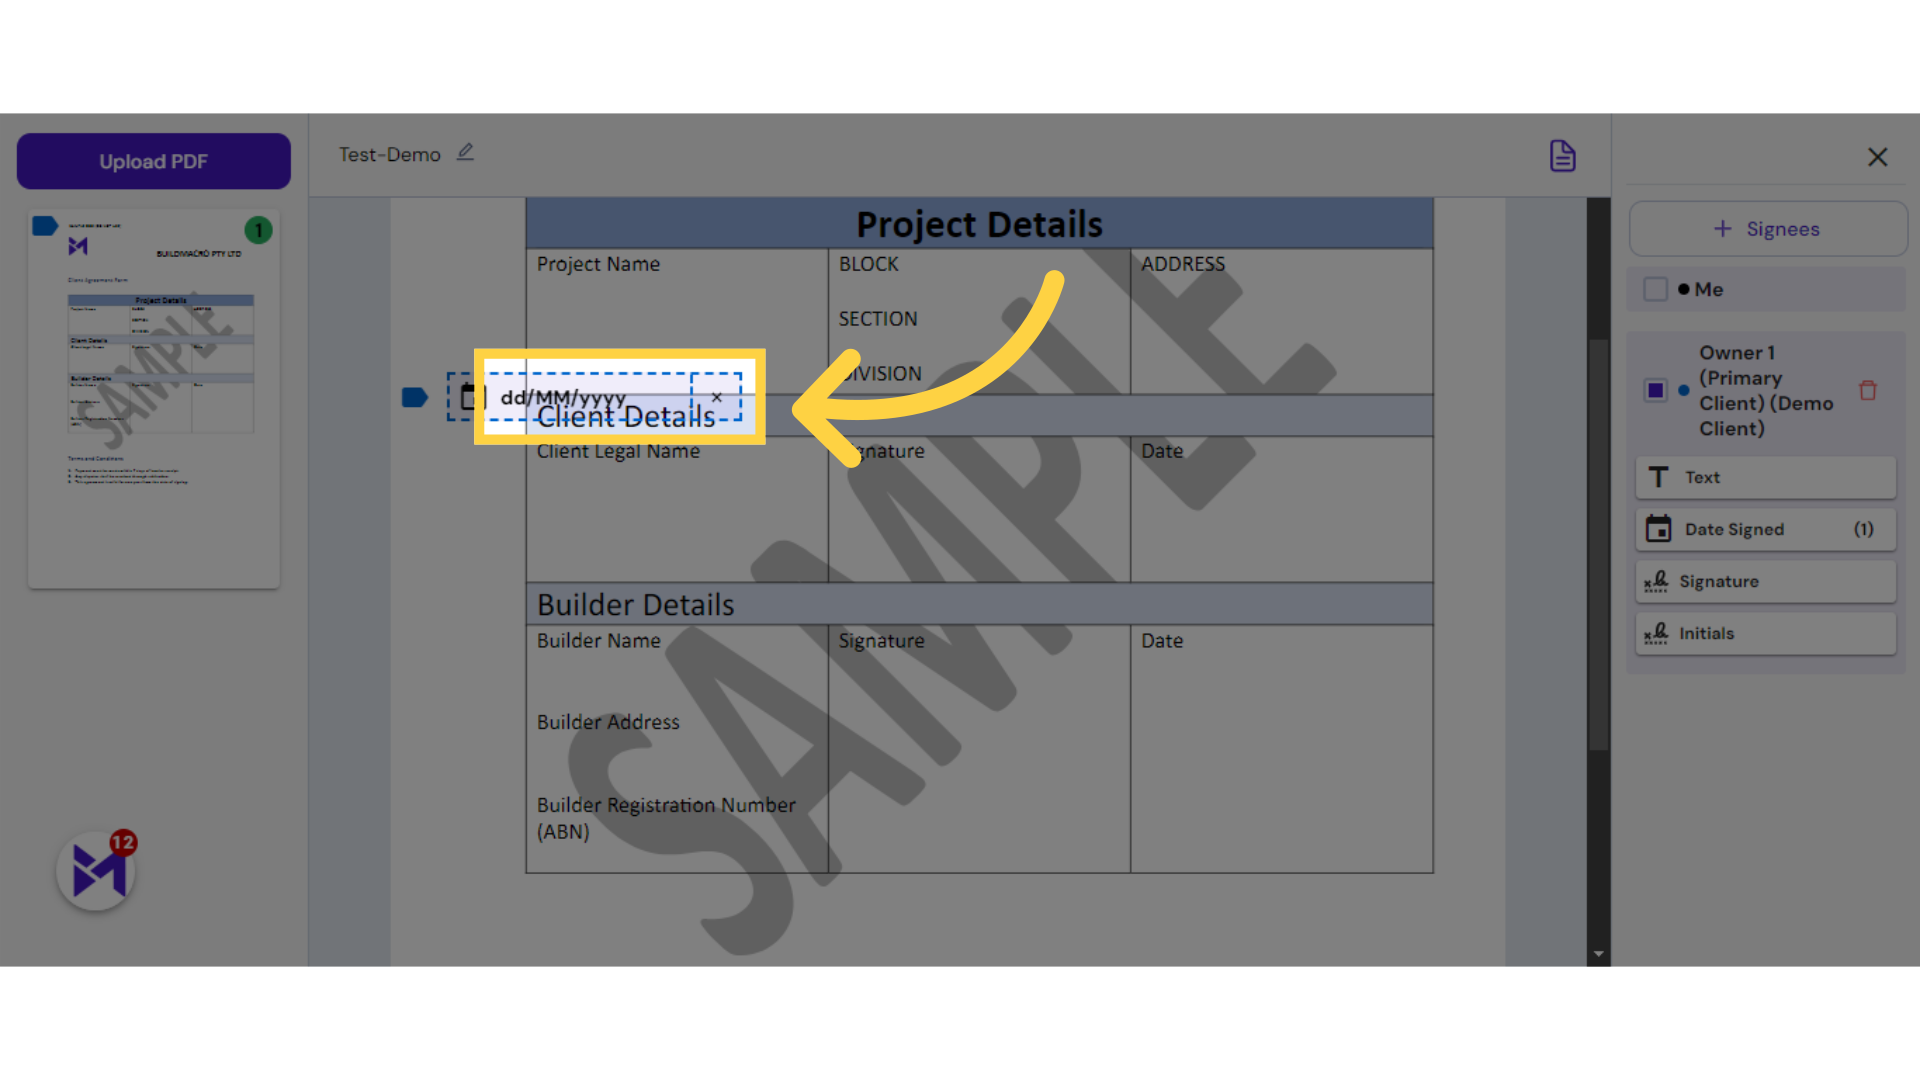
12. Drag Date to Desired Field
Choose the date format "dd/MM/yyyy".
13. Click "Signature"
Select the "Signature" option.
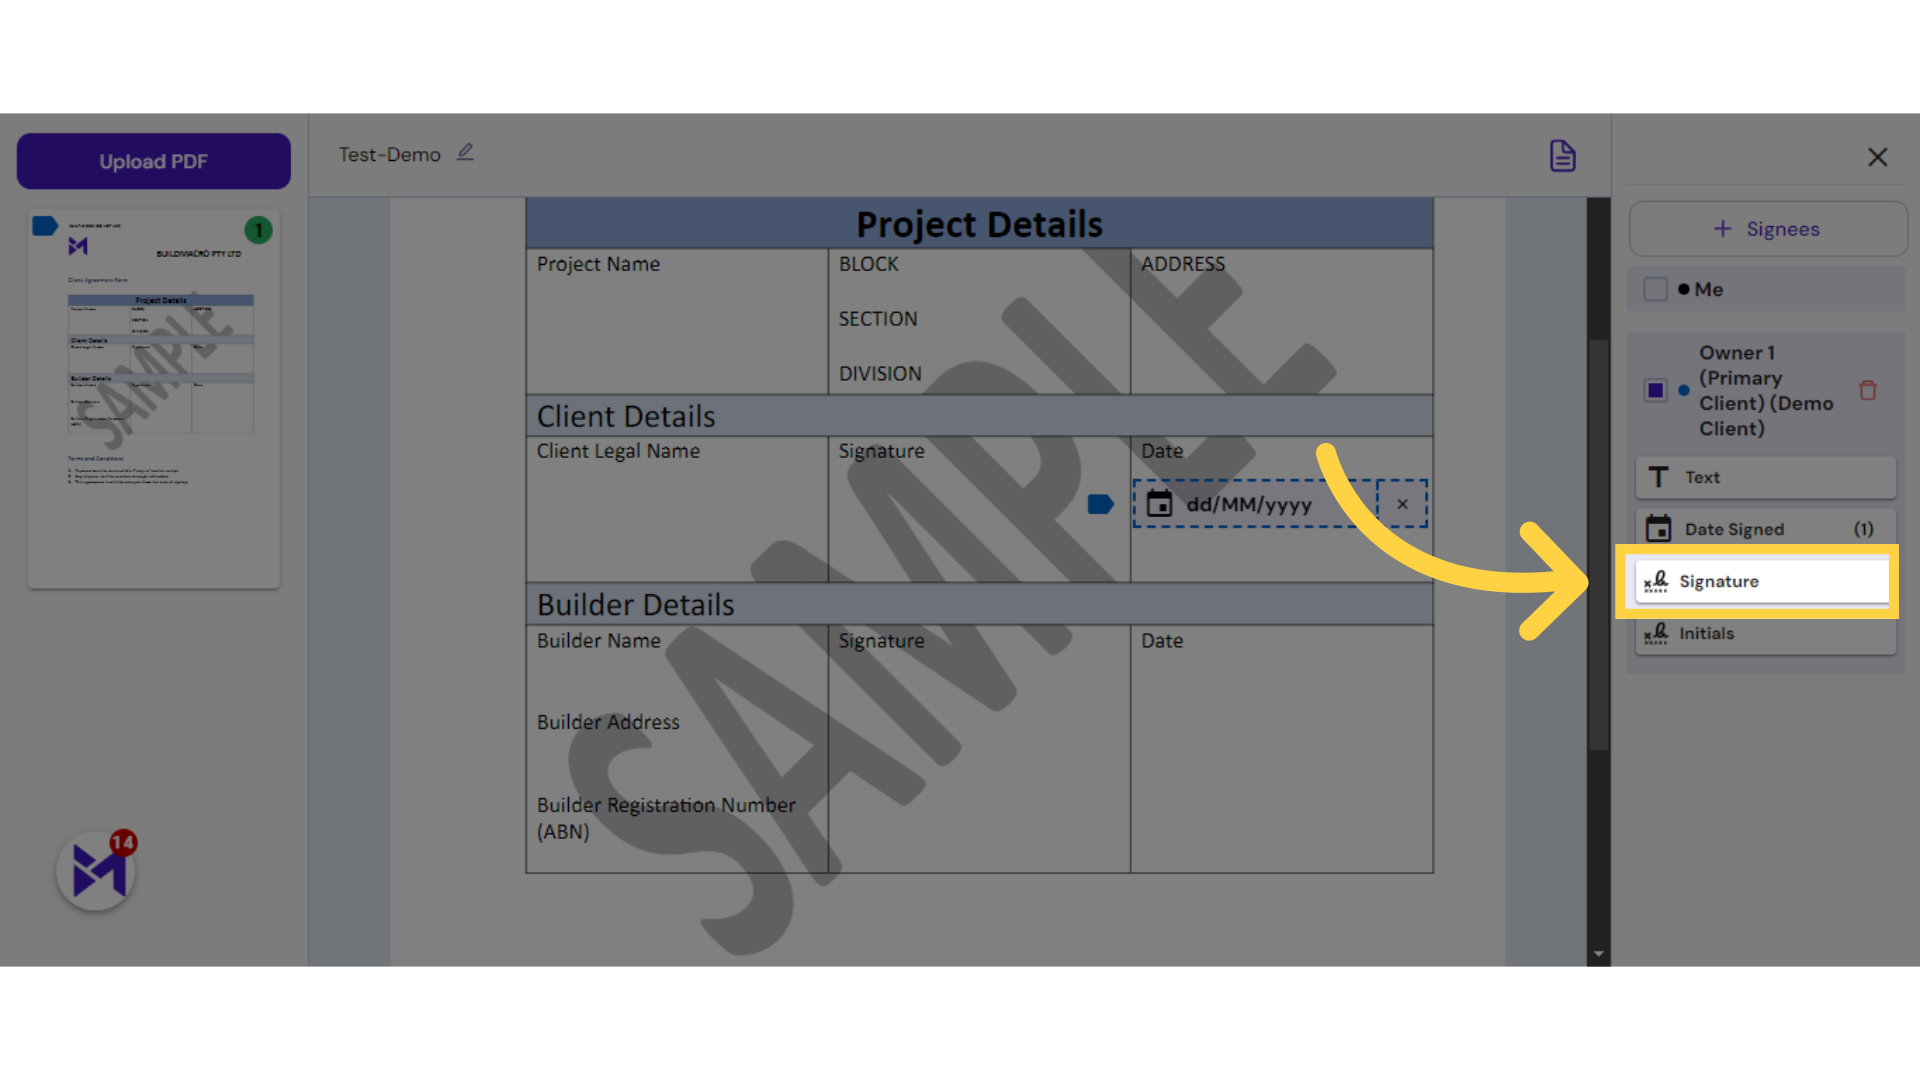
14. Drag Sign to Desired Field
Select this field
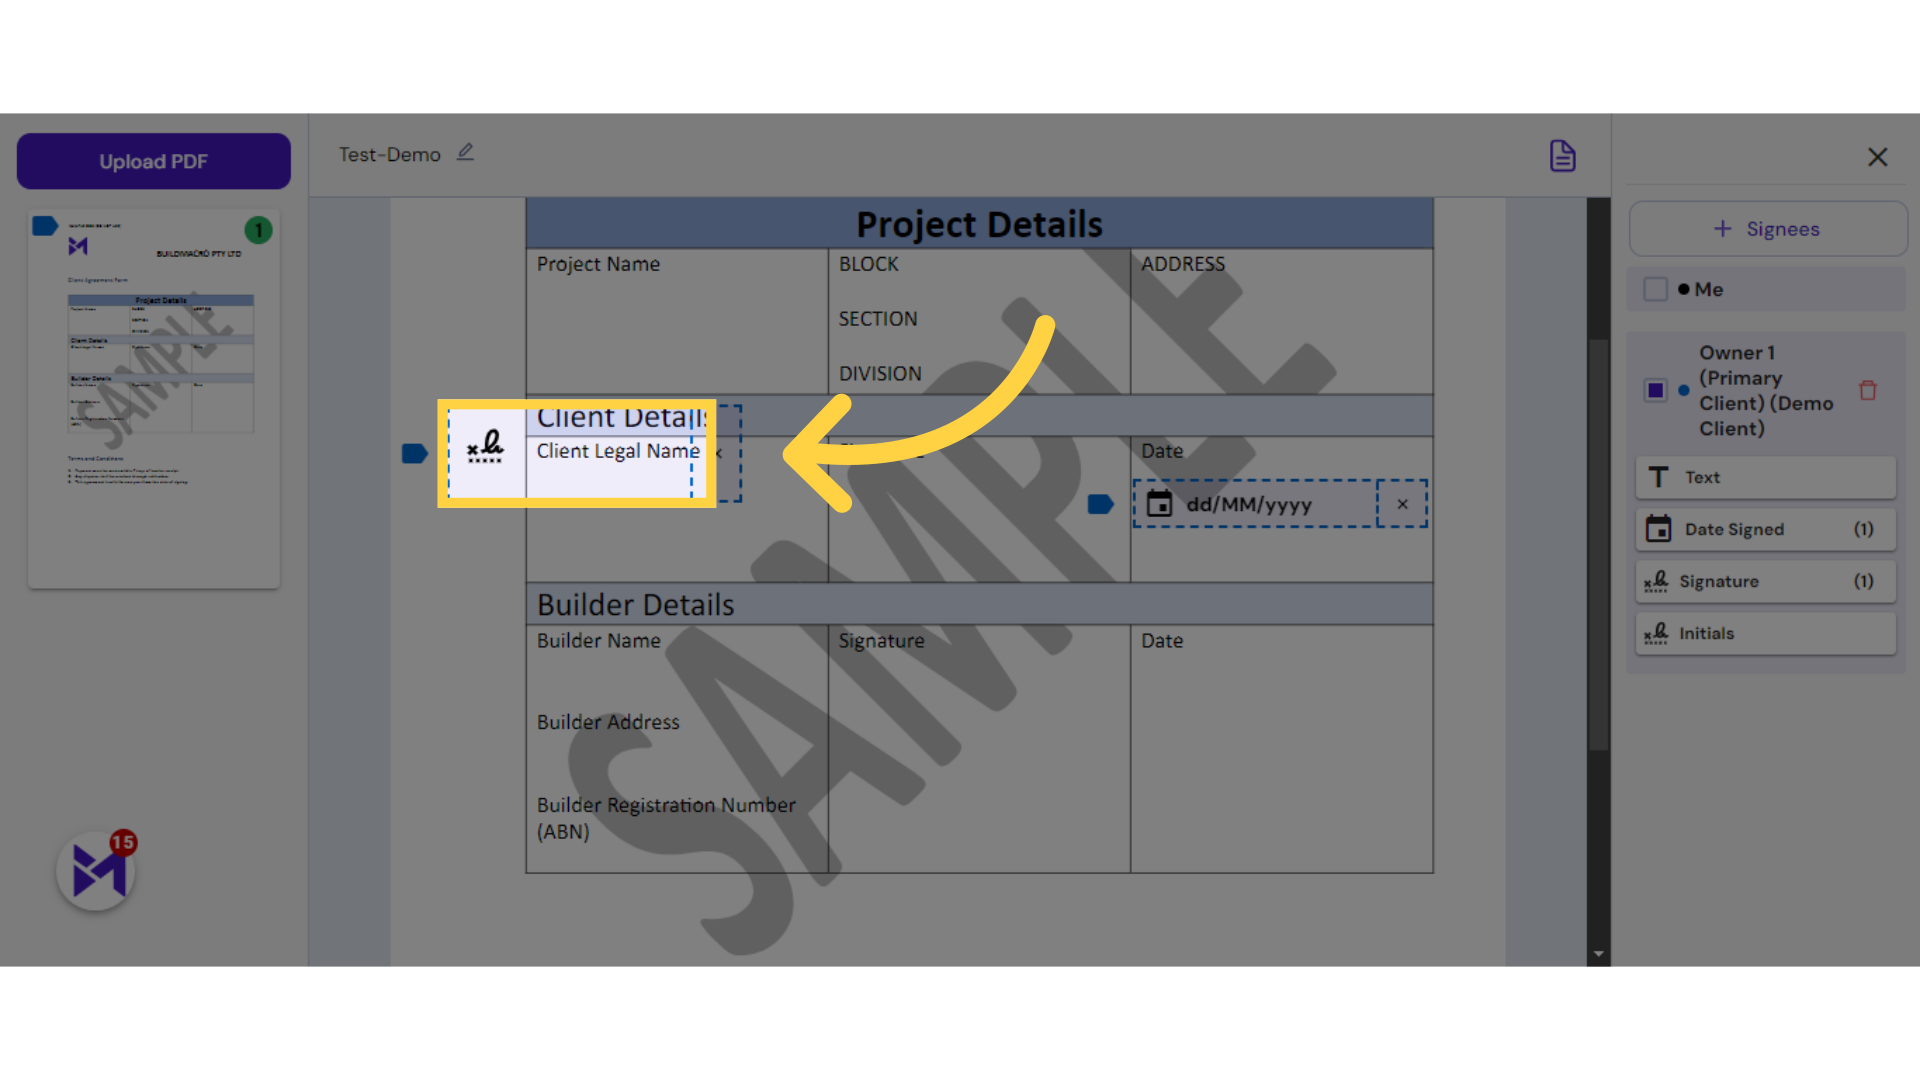
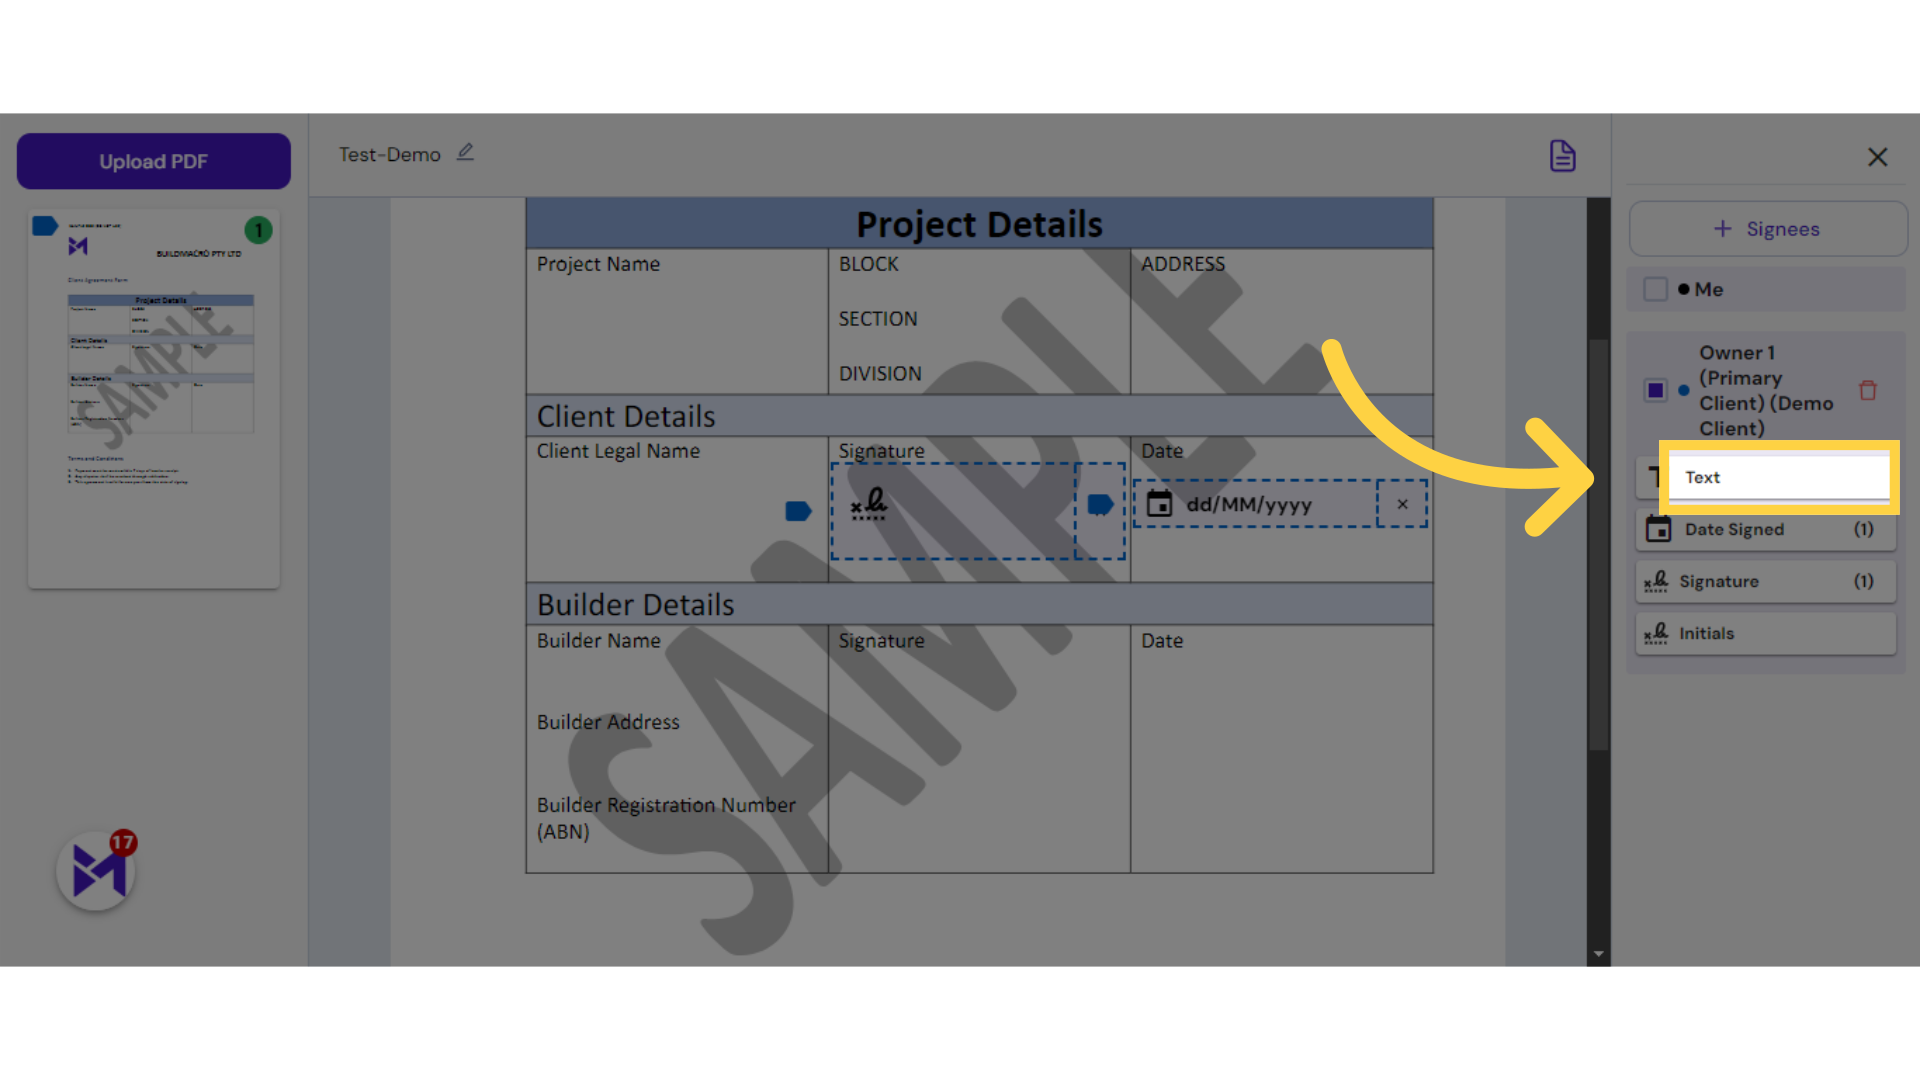
15. Click "Text"
Select the "Text" option.
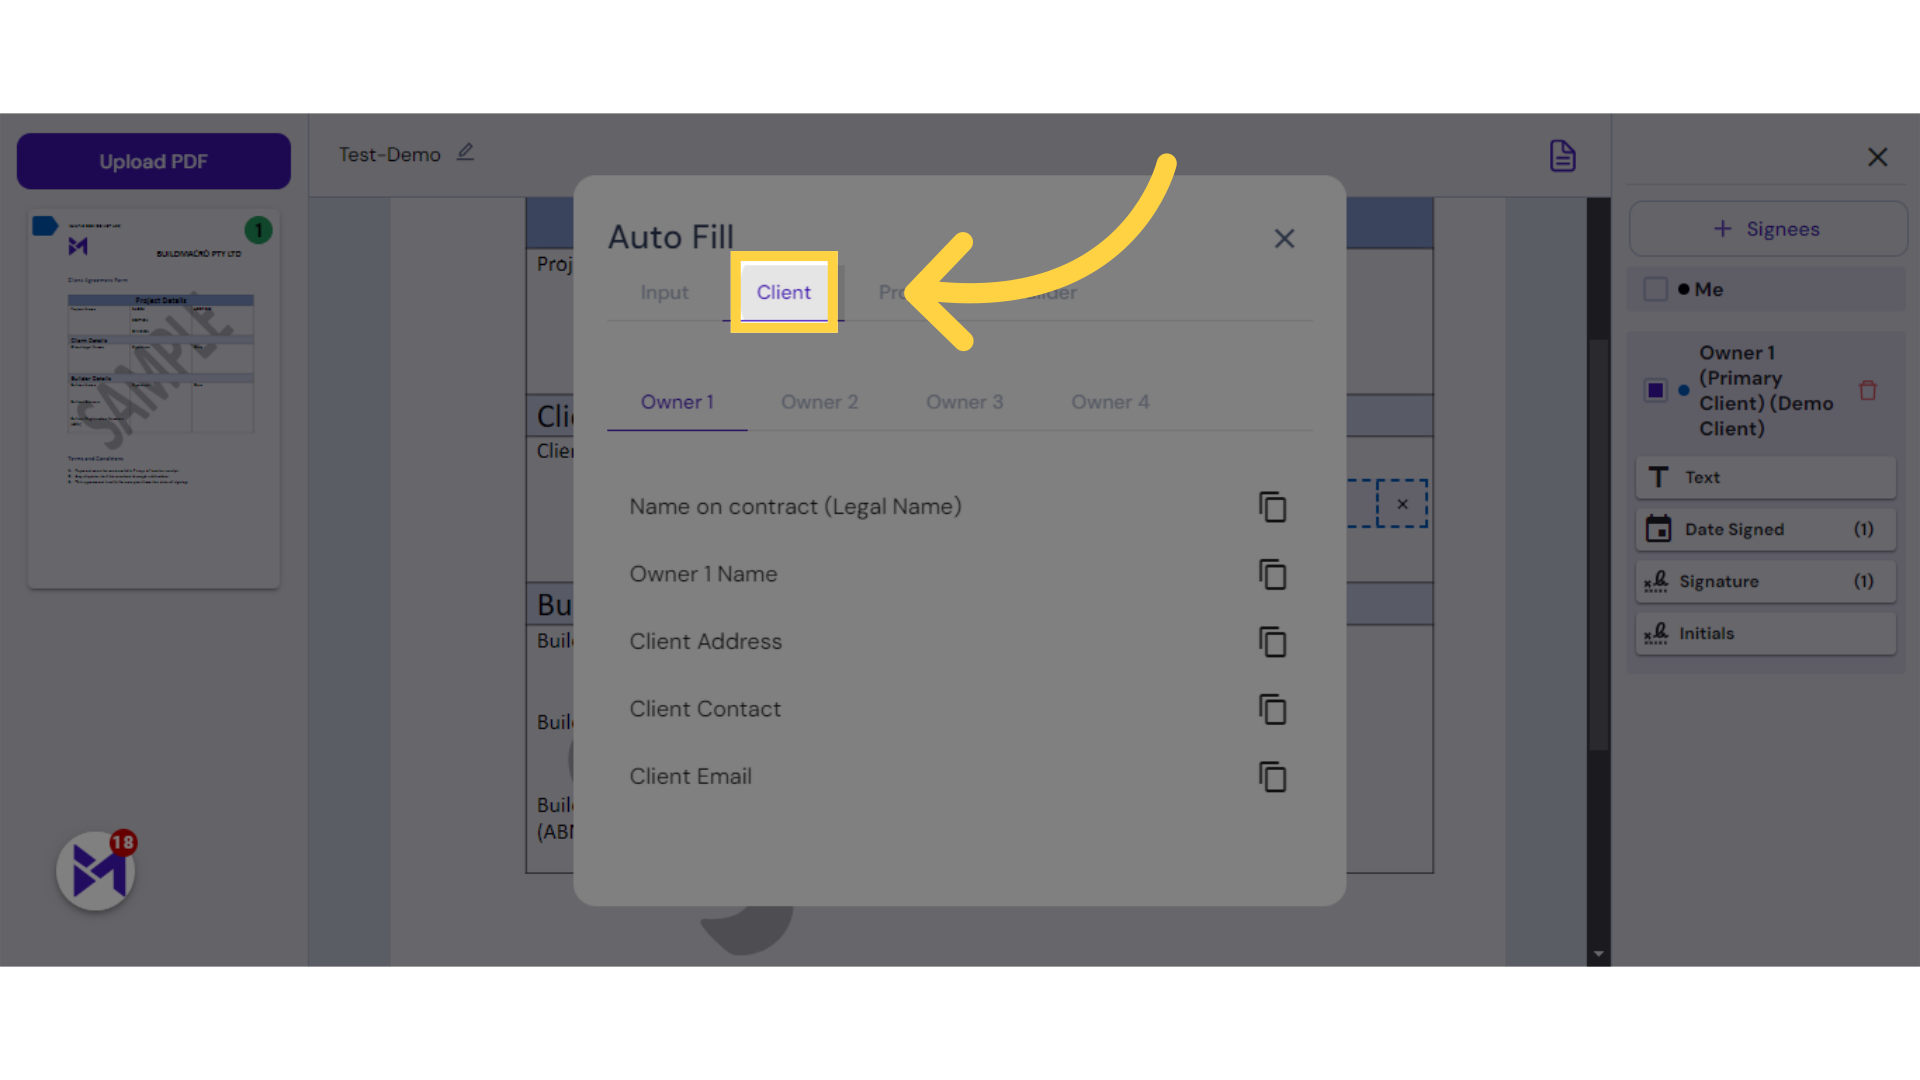
16. Click "Client"
Choose the "Client" section.
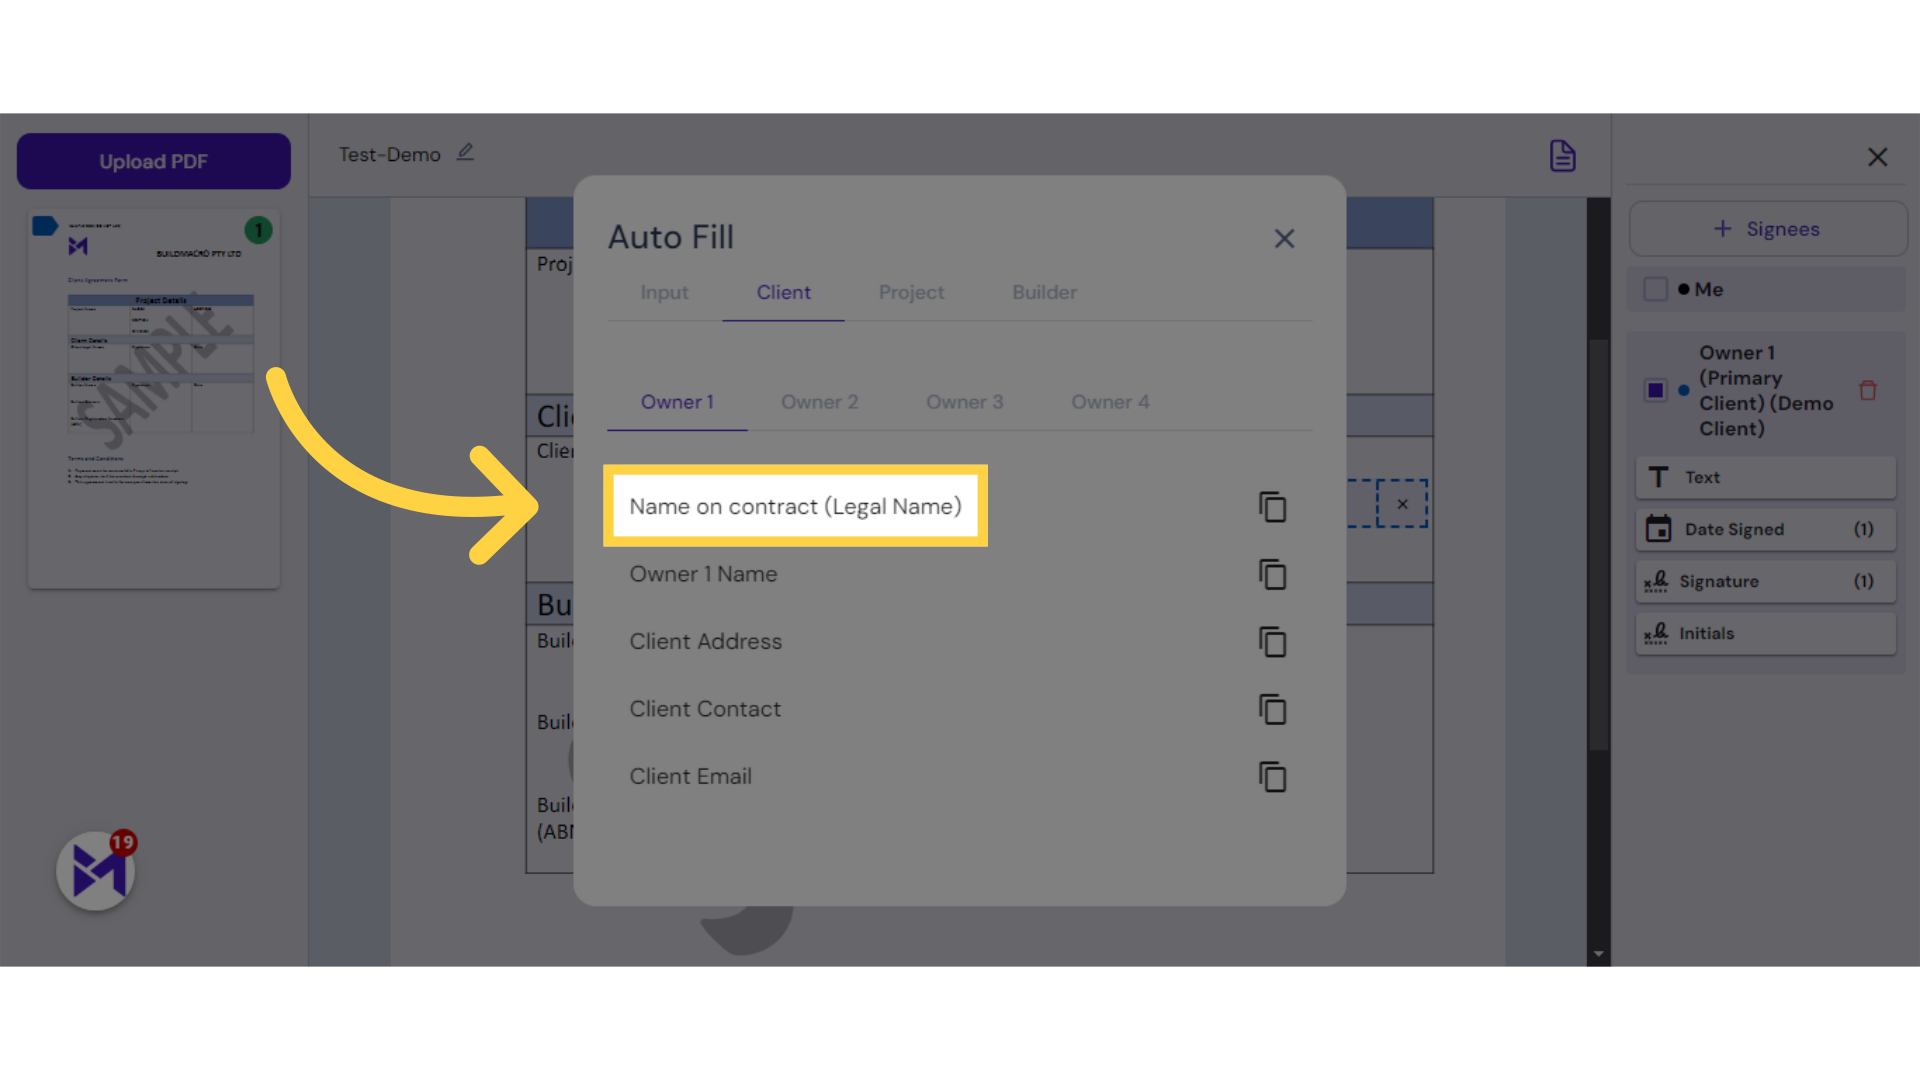
17. Click "Name on contract (Legal Name)"
Select "Name on contract (Legal Name)".
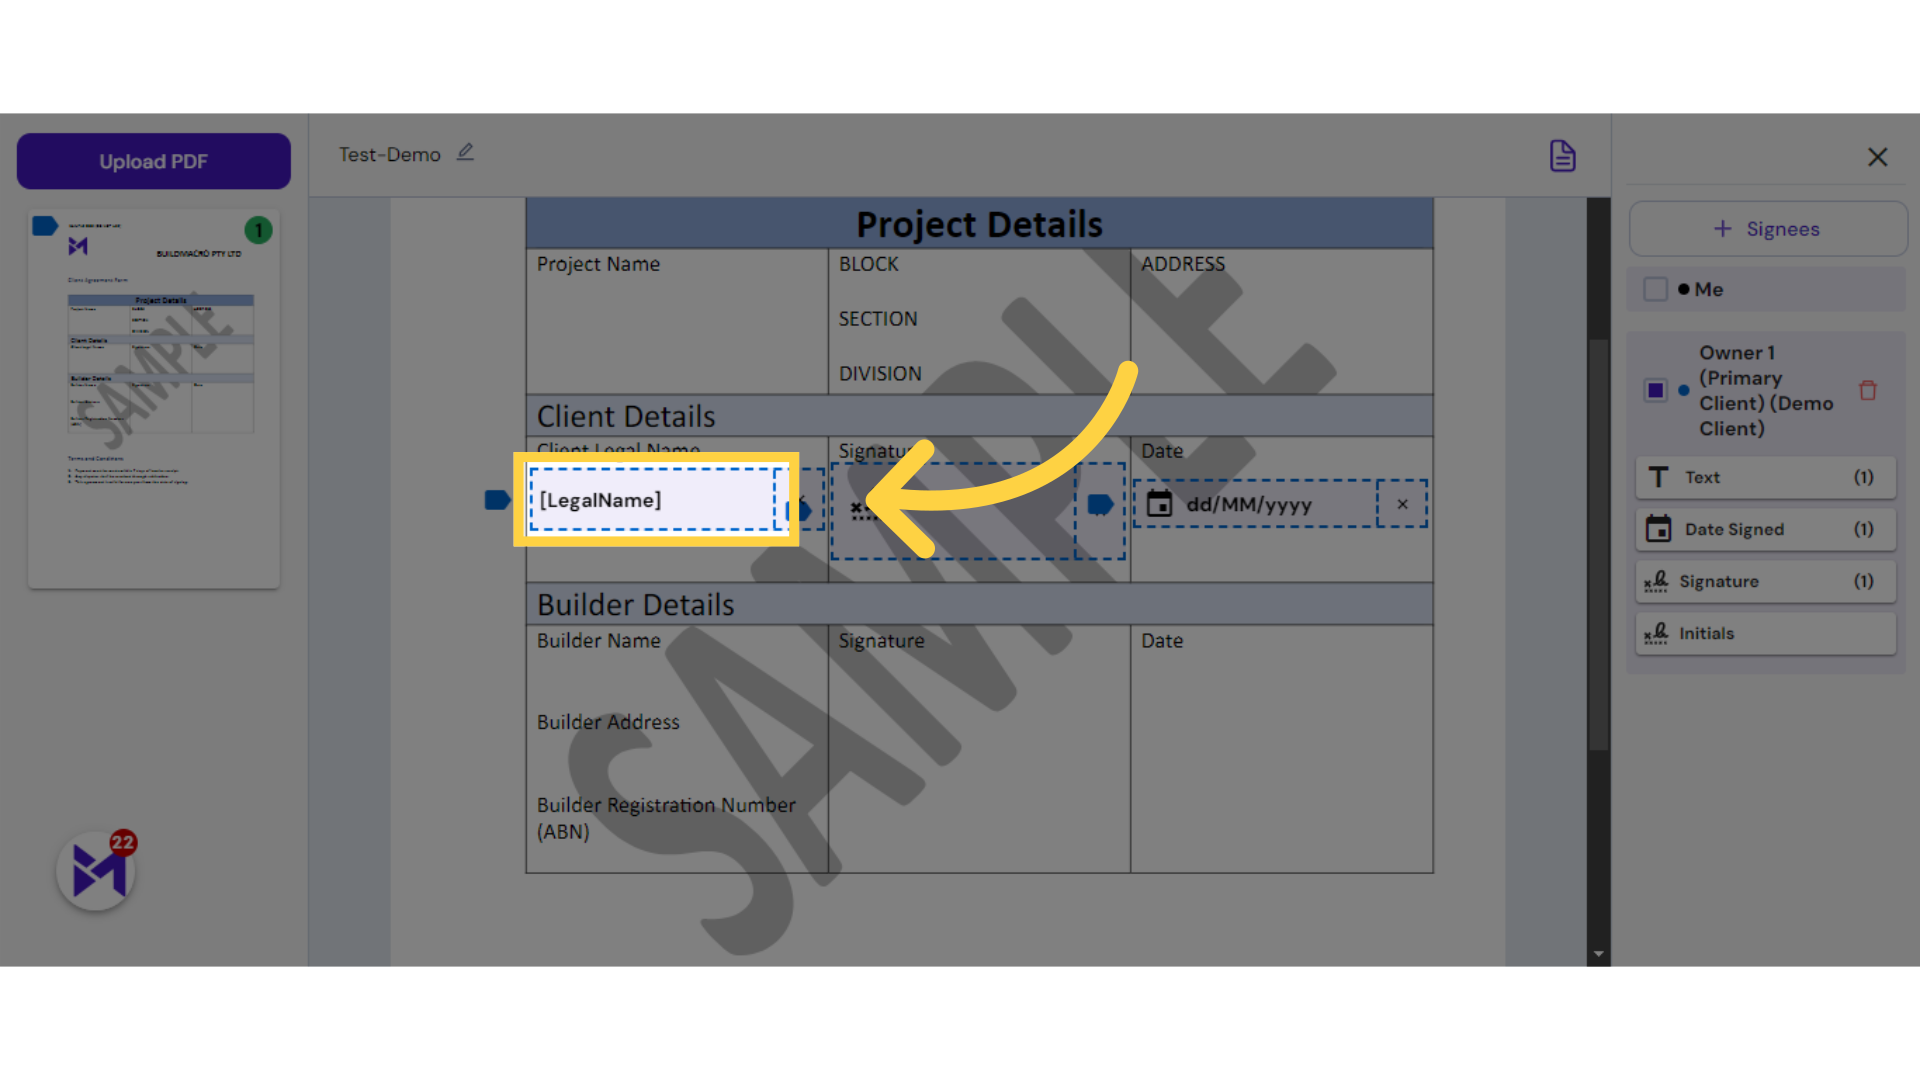
18. Click "[LegalName]"
Click on the "[LegalName]" option.
![Click '[LegalName]'](https://static.guidde.com/v0/qg%2F1XlWIoWRUPUJgb82TY3BasEpVjs2%2Fxmnt6dAhCDVrMQVLFGooy8%2Fc6KFEX57DD73bzehzUx2AJ_doc.png?alt=media&token=93618445-97af-4693-ad68-386d9fcbc05f)
19. Drag Name to Desired Field
Select the "[LegalName]" option.
The guide covered uploading document lists for DocEsign, including steps such as adding documents, selecting signees, and adding signatures. By following these instructions, users can effectively manage document workflows within the application.