How to create cost plus invoice?

Learn how to efficiently create a cost-plus invoice using the Employee Training application. Follow these engaging instructions to navigate through the process seamlessly.
Go to app.buildmacro.com
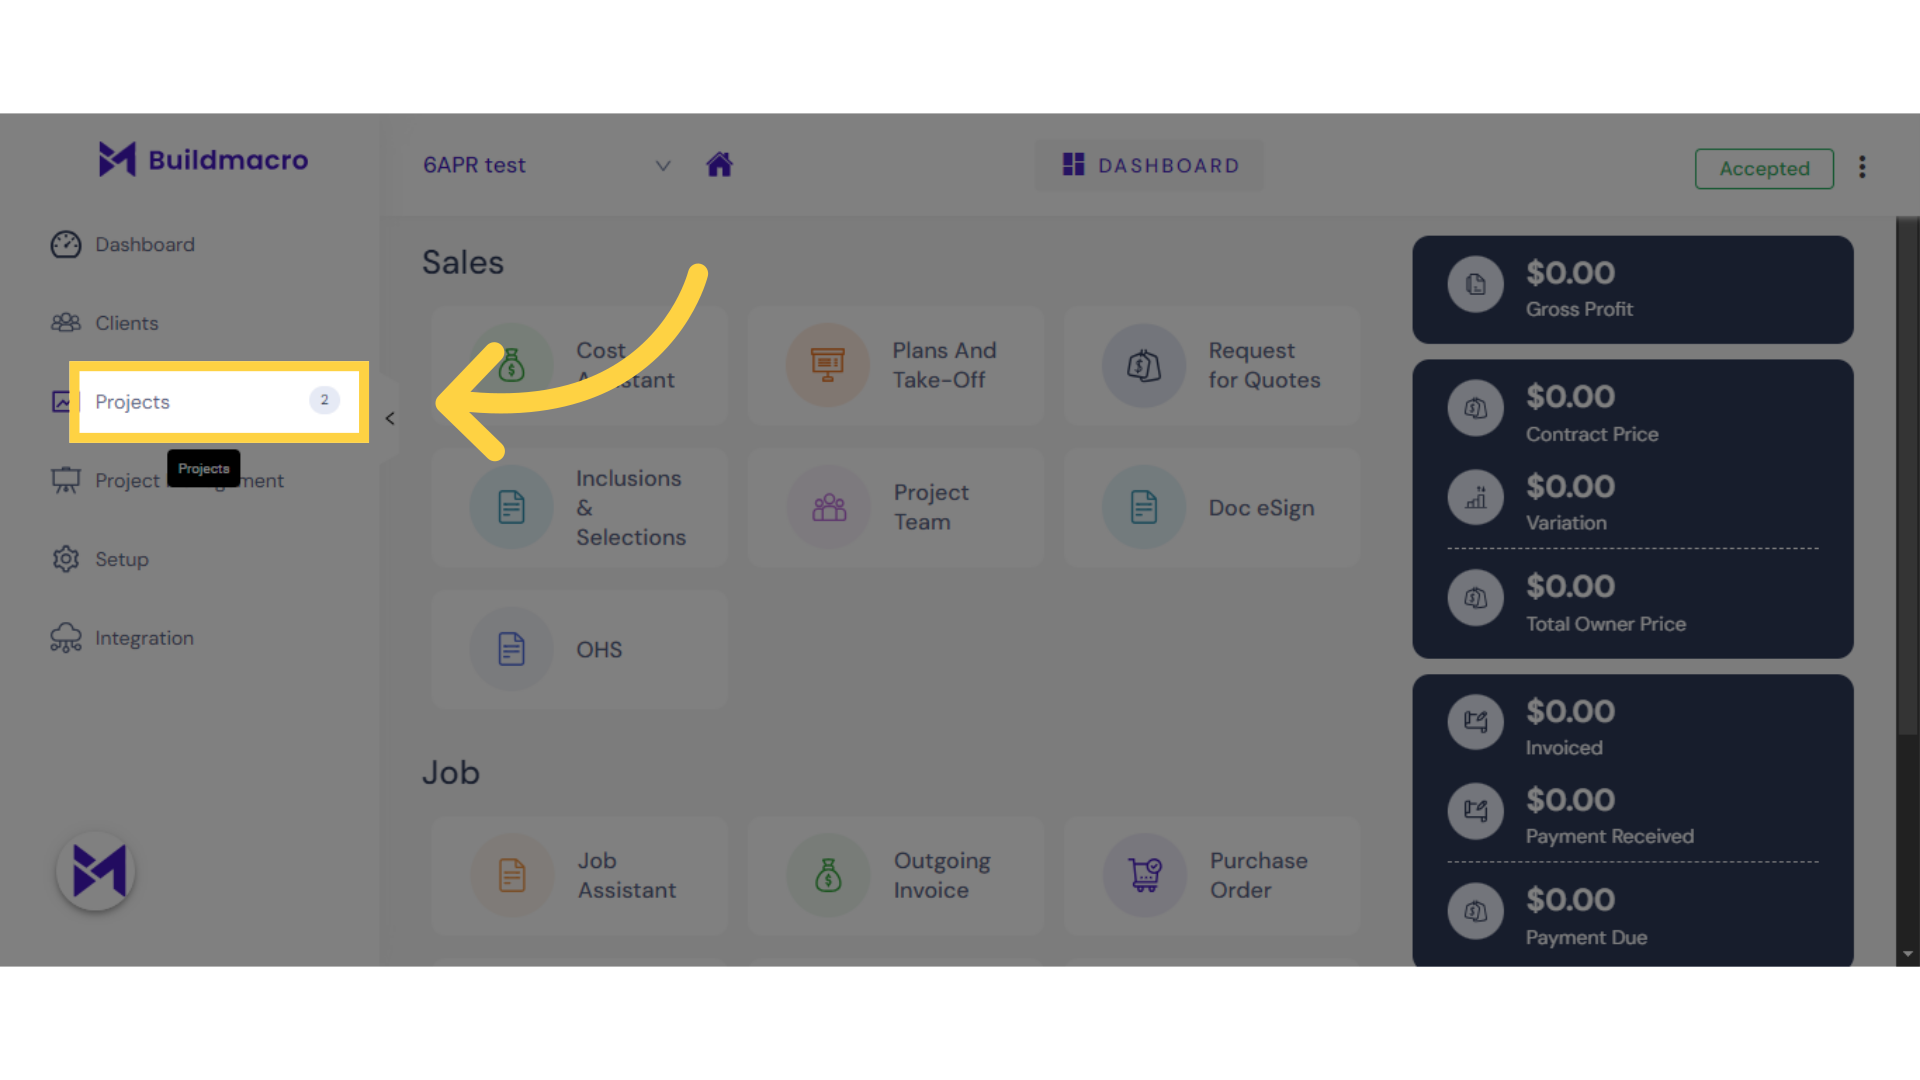
1. Click "Projects"
Access the Projects section.
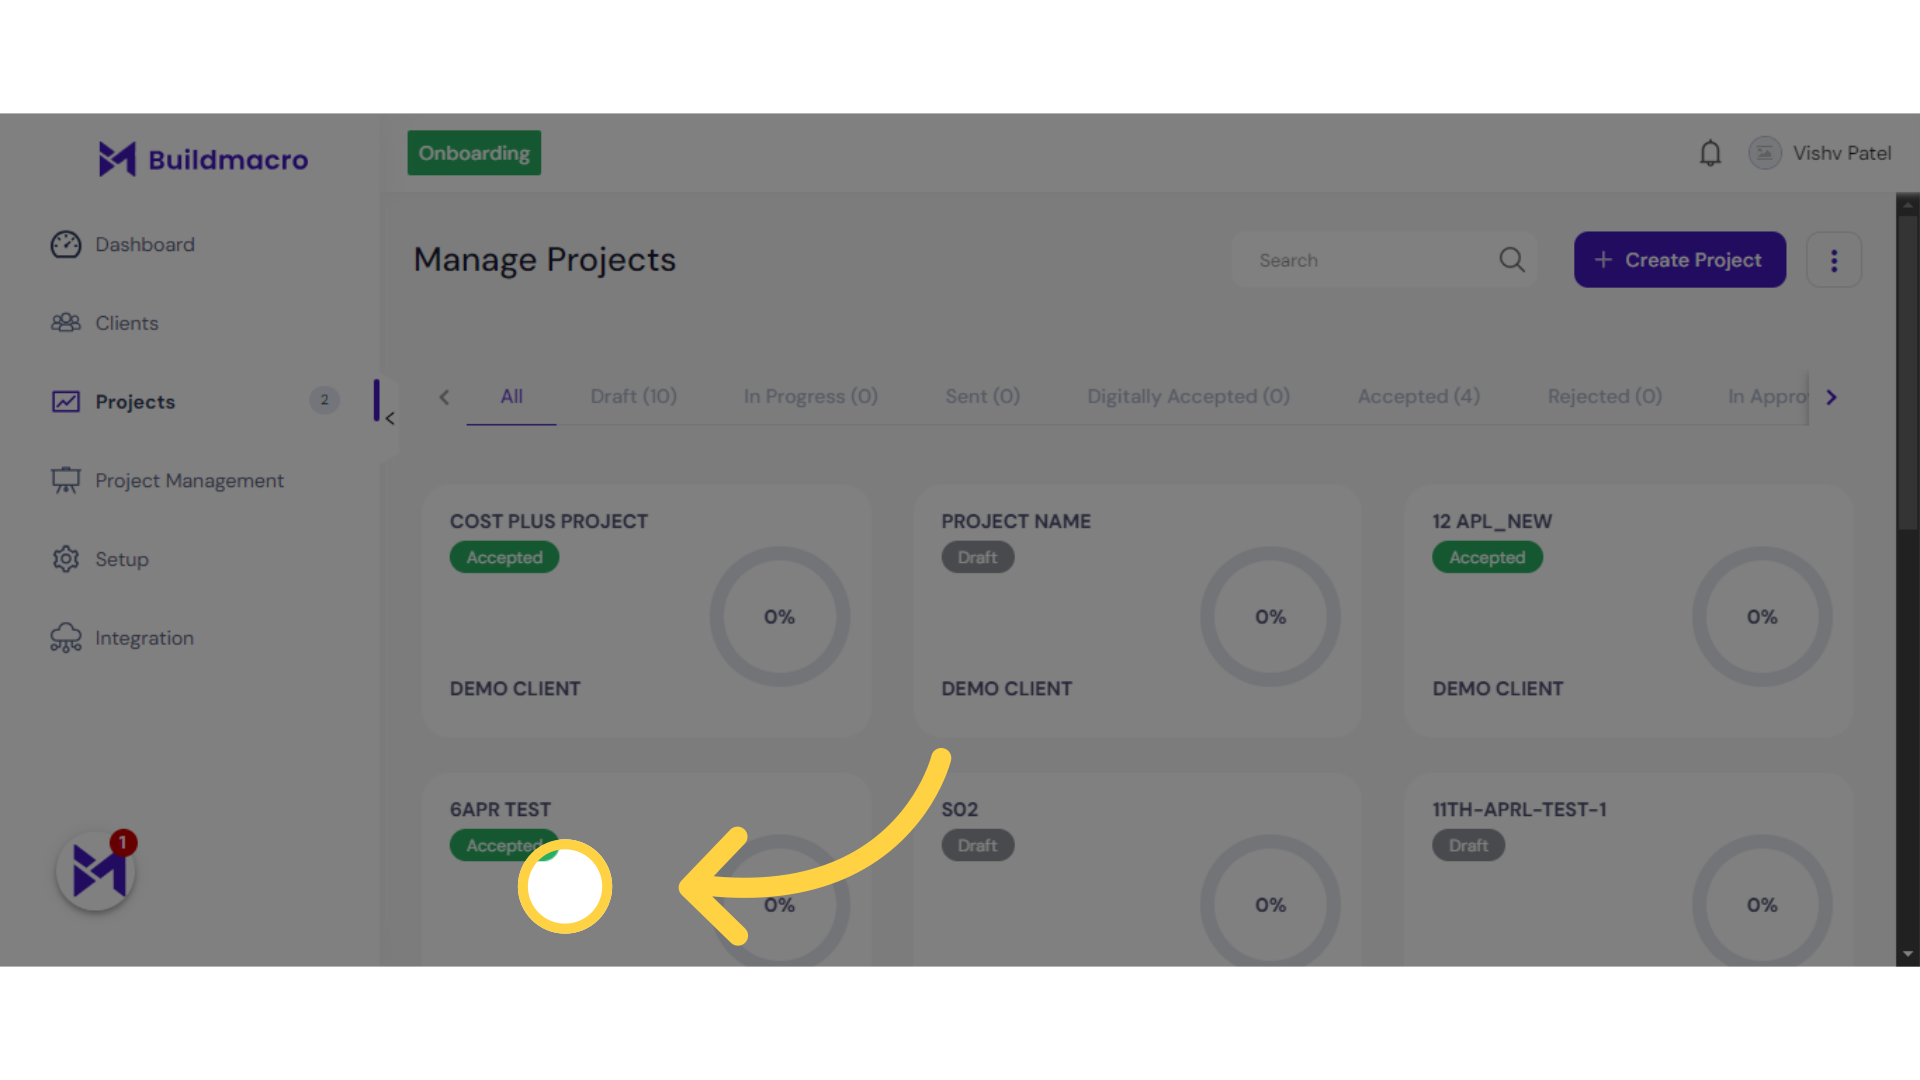
2. select your project
Click here
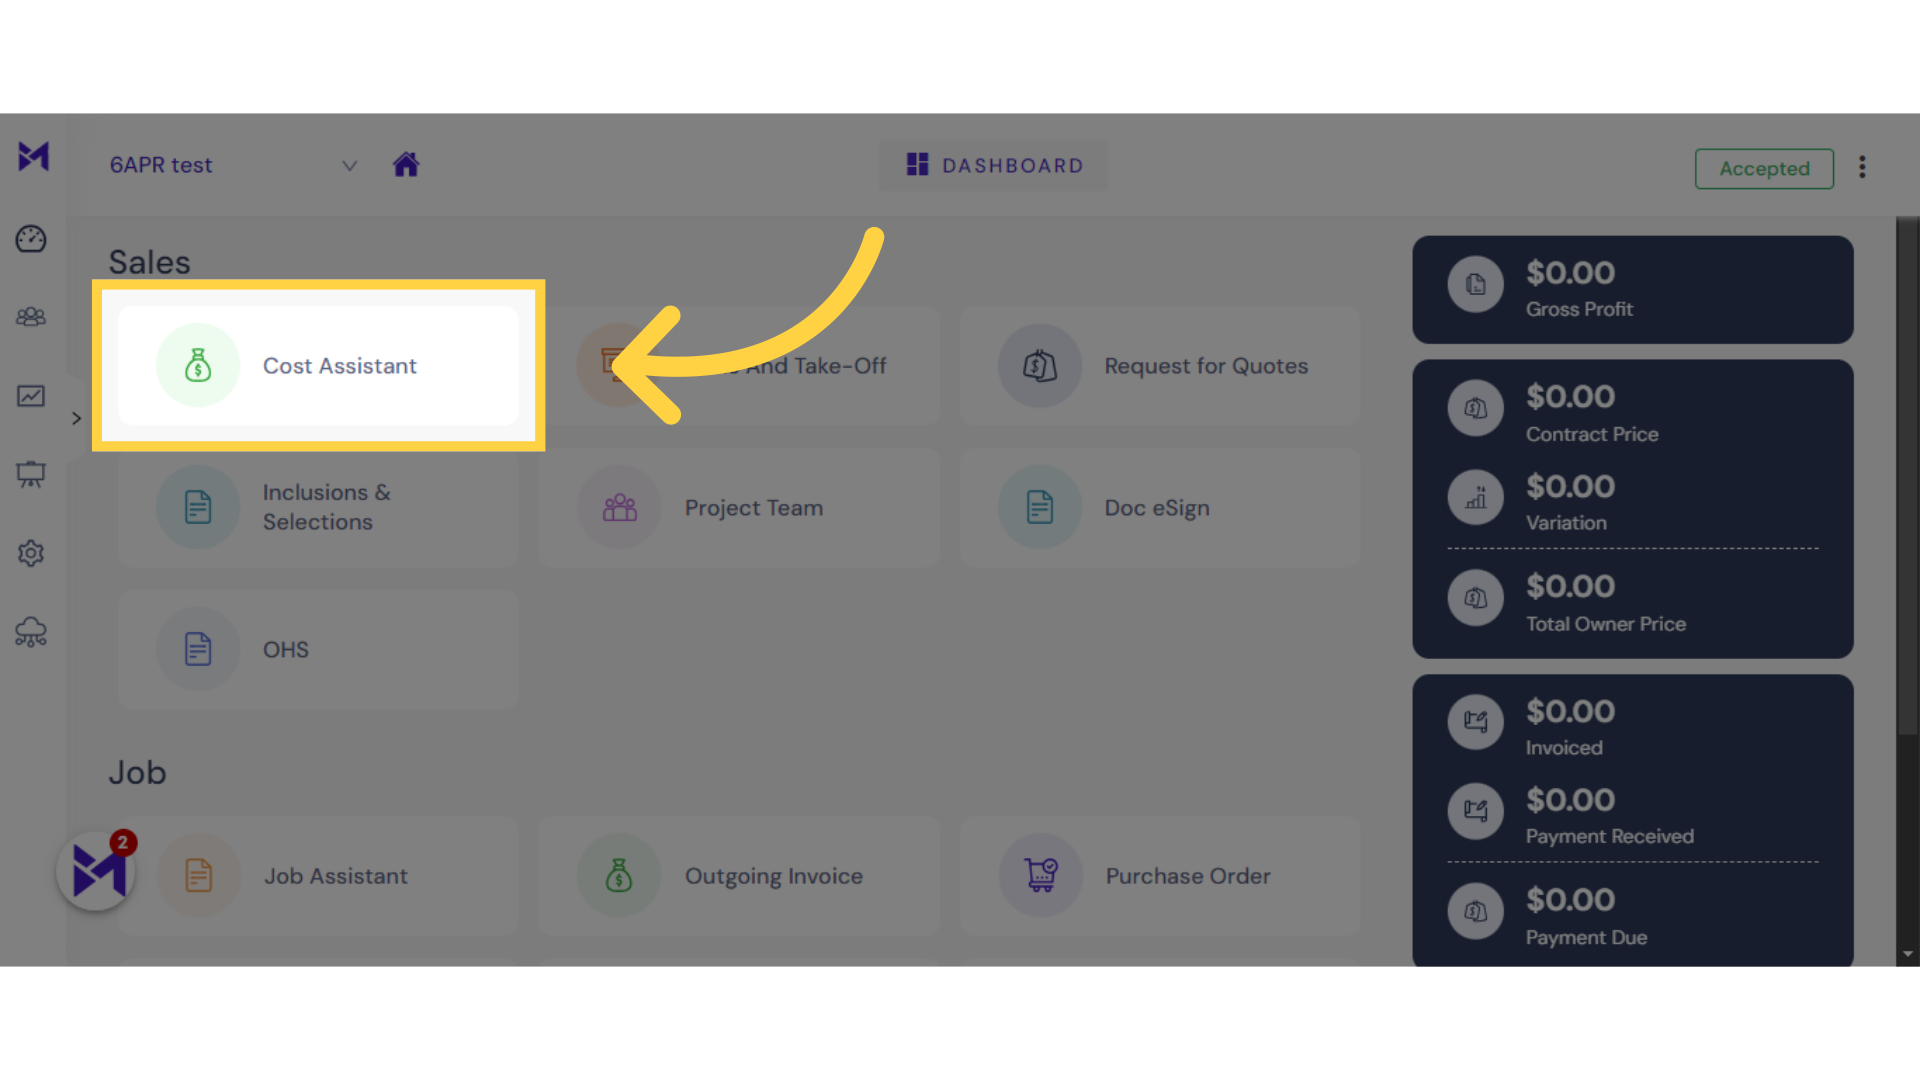
3. Click "Cost Assistant"
Open the Cost Assistant feature.
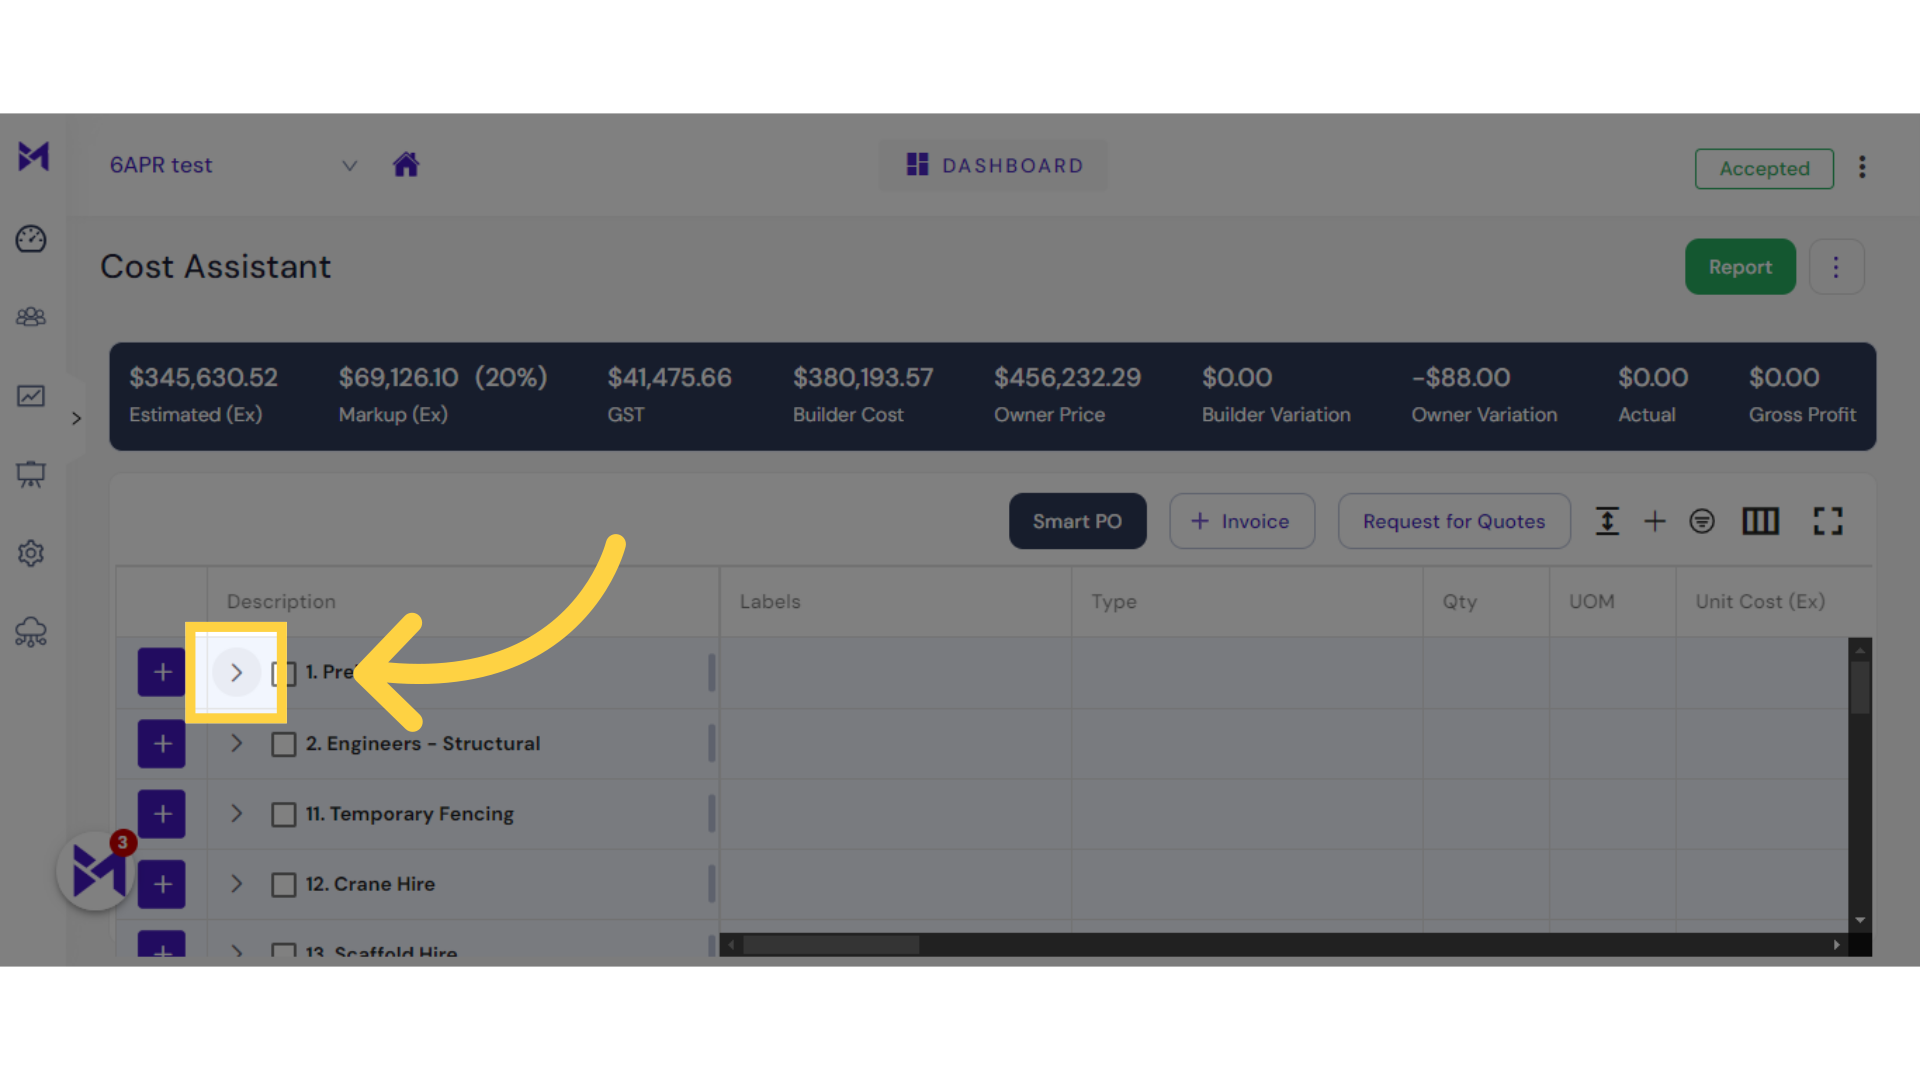
4. Click here
Click the selected button
5. Click "B"
Click on "B."
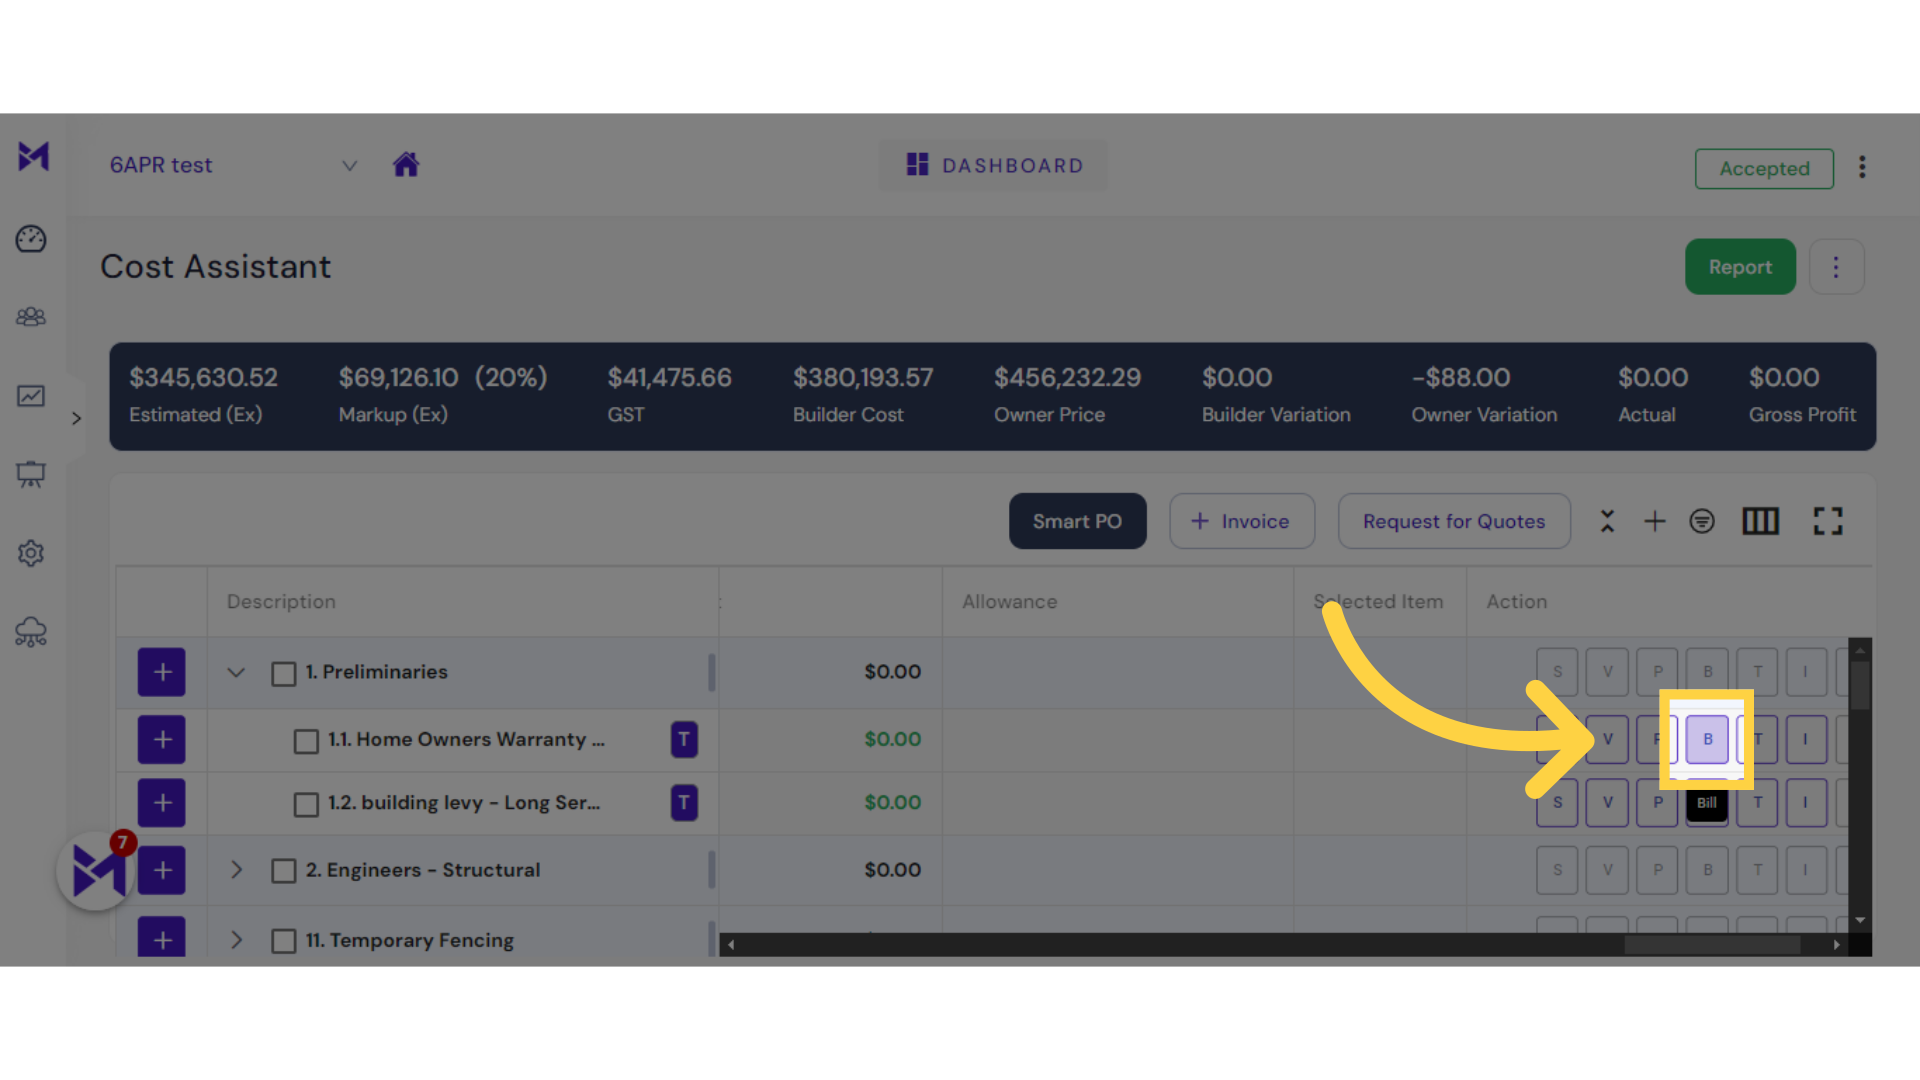
6. Click "Bill"
Access the "Bill" section.
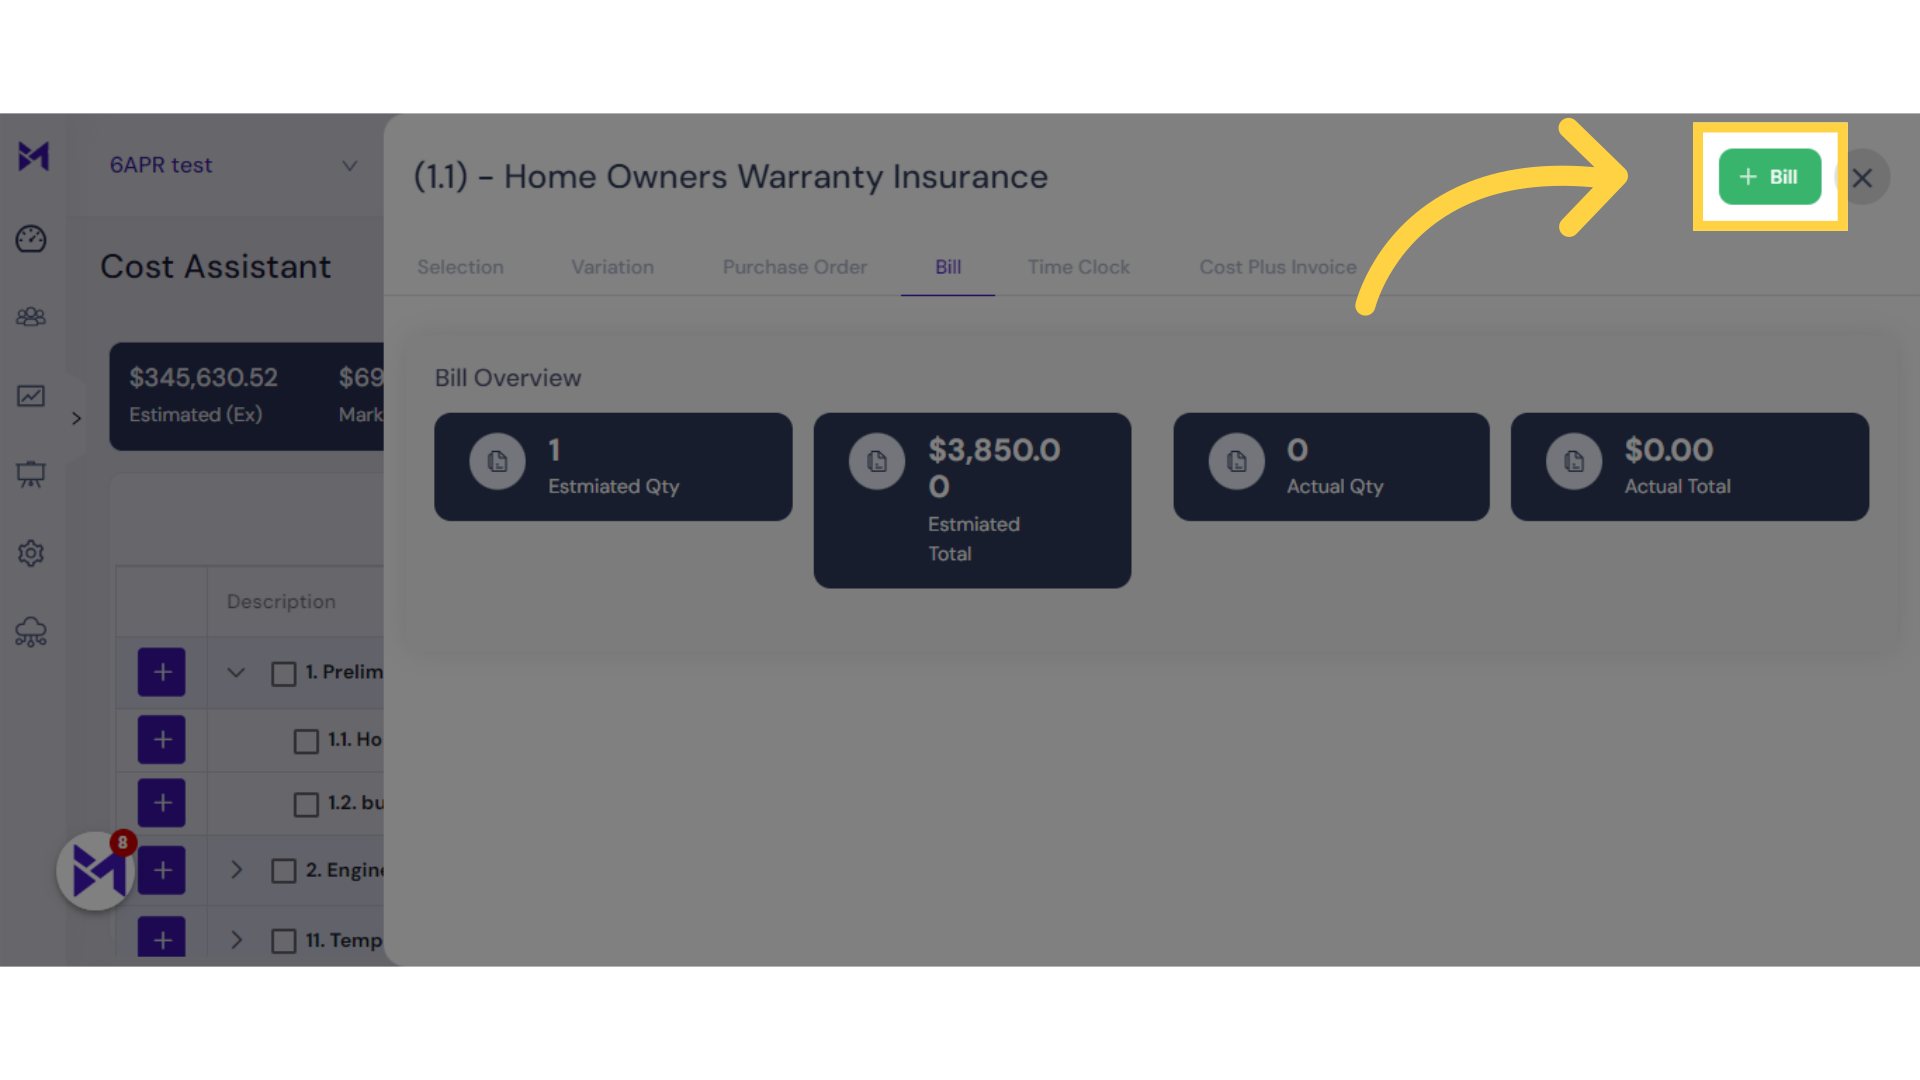
7. Enter the "BILL NUMBER"
Choose the specific bill.
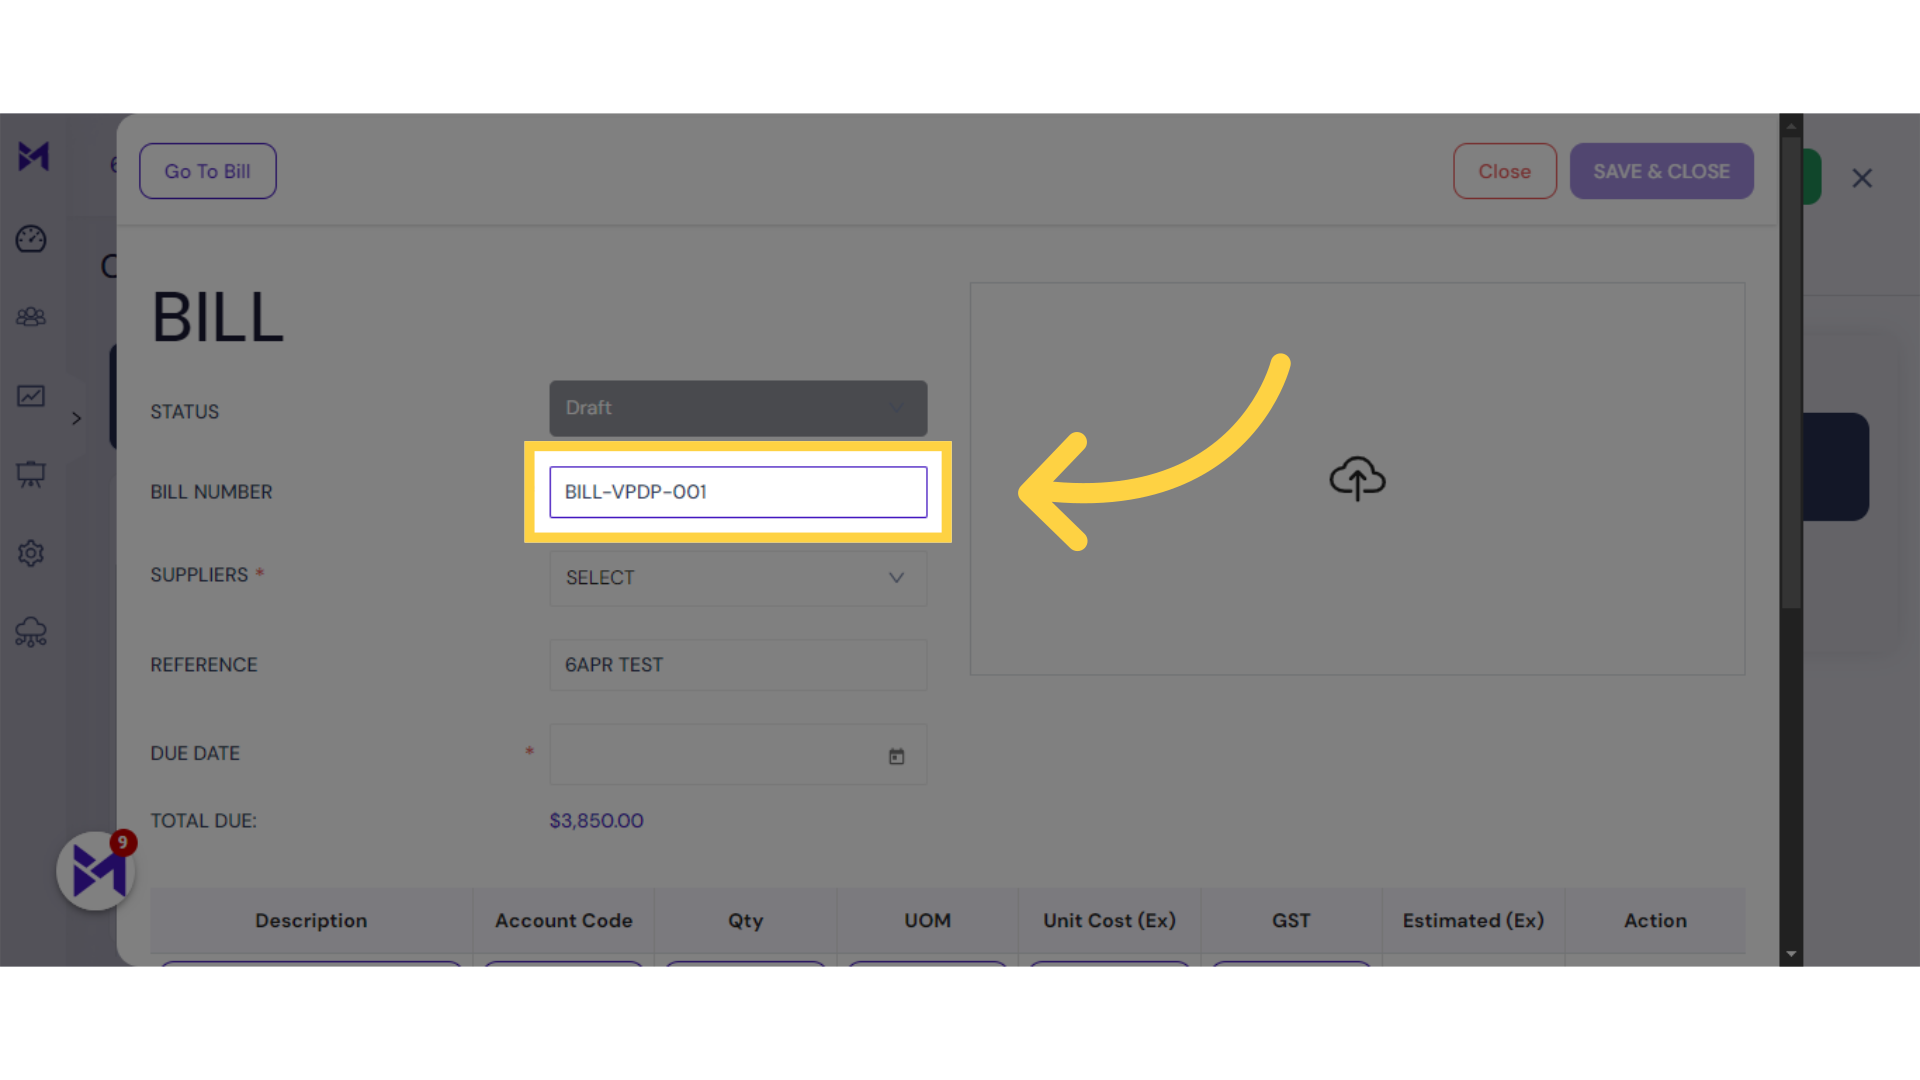
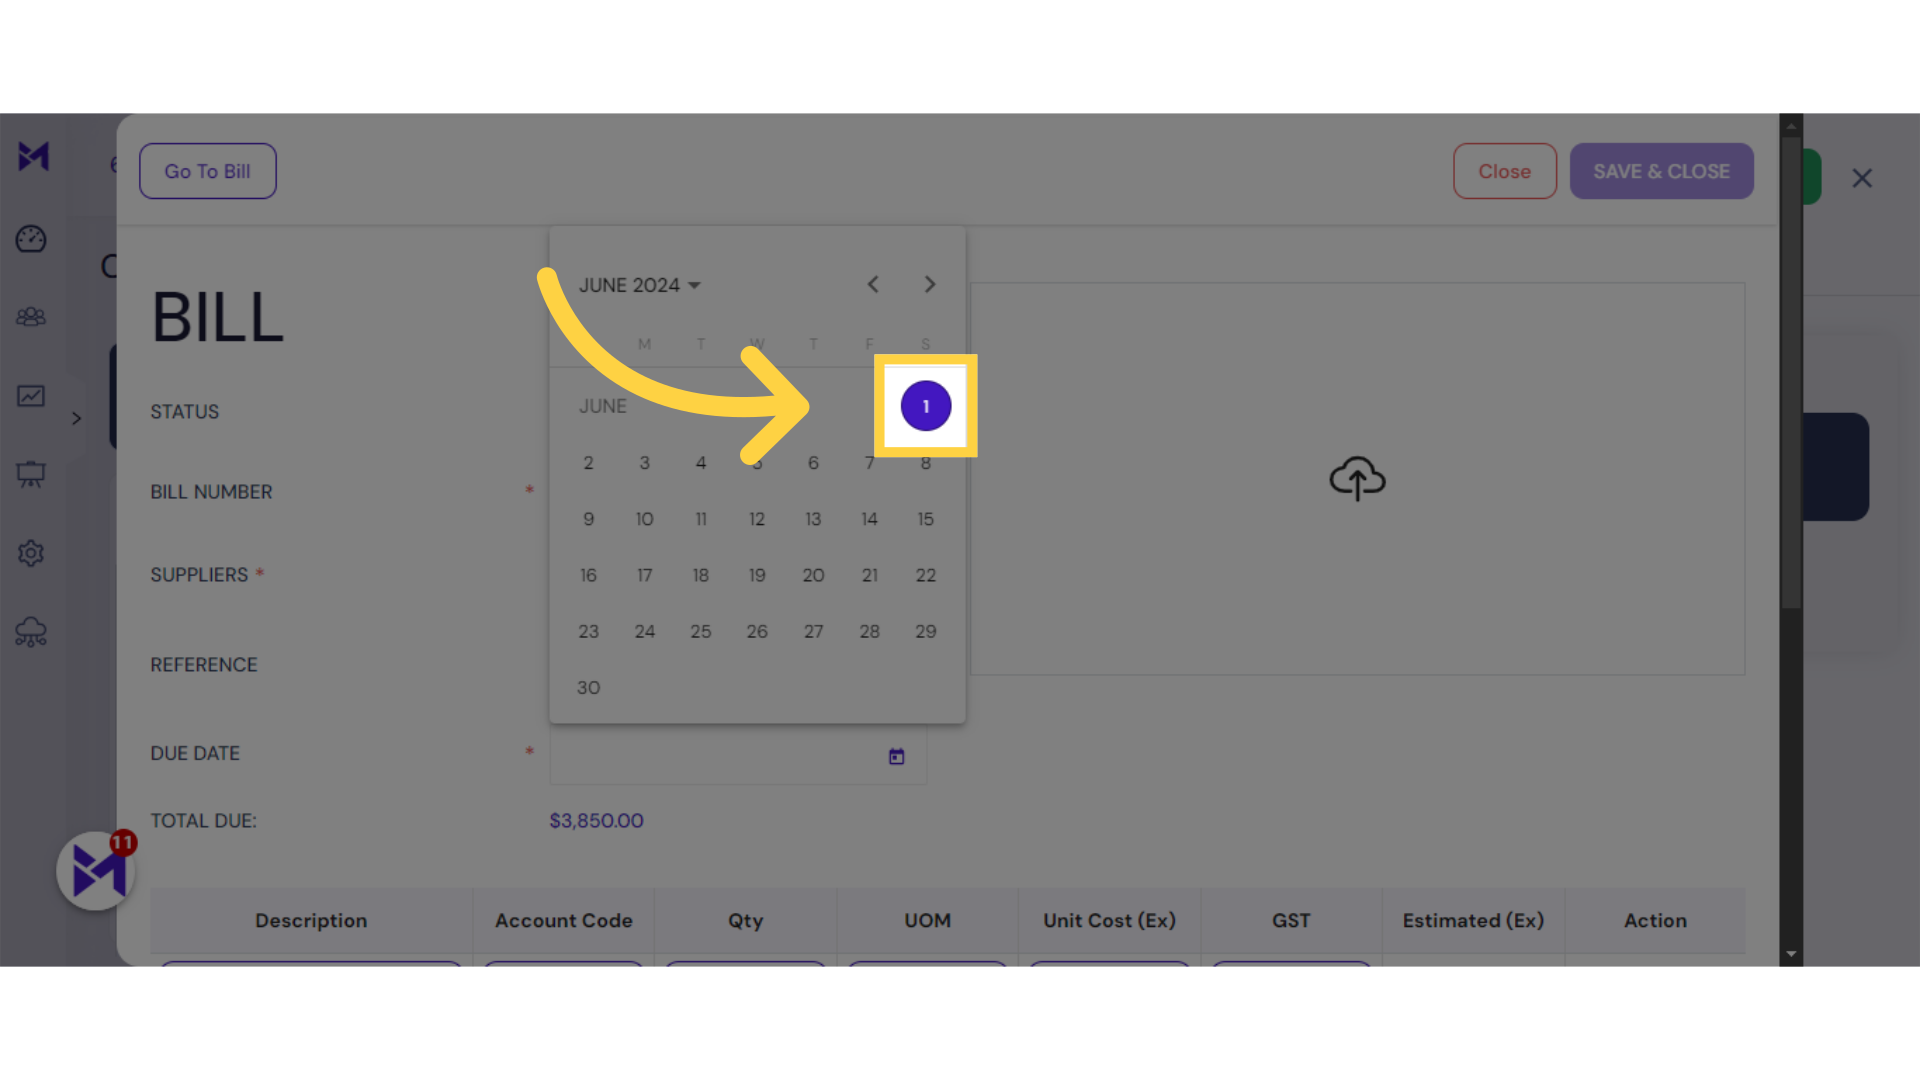
8. click here to Select Date
Click the selected option
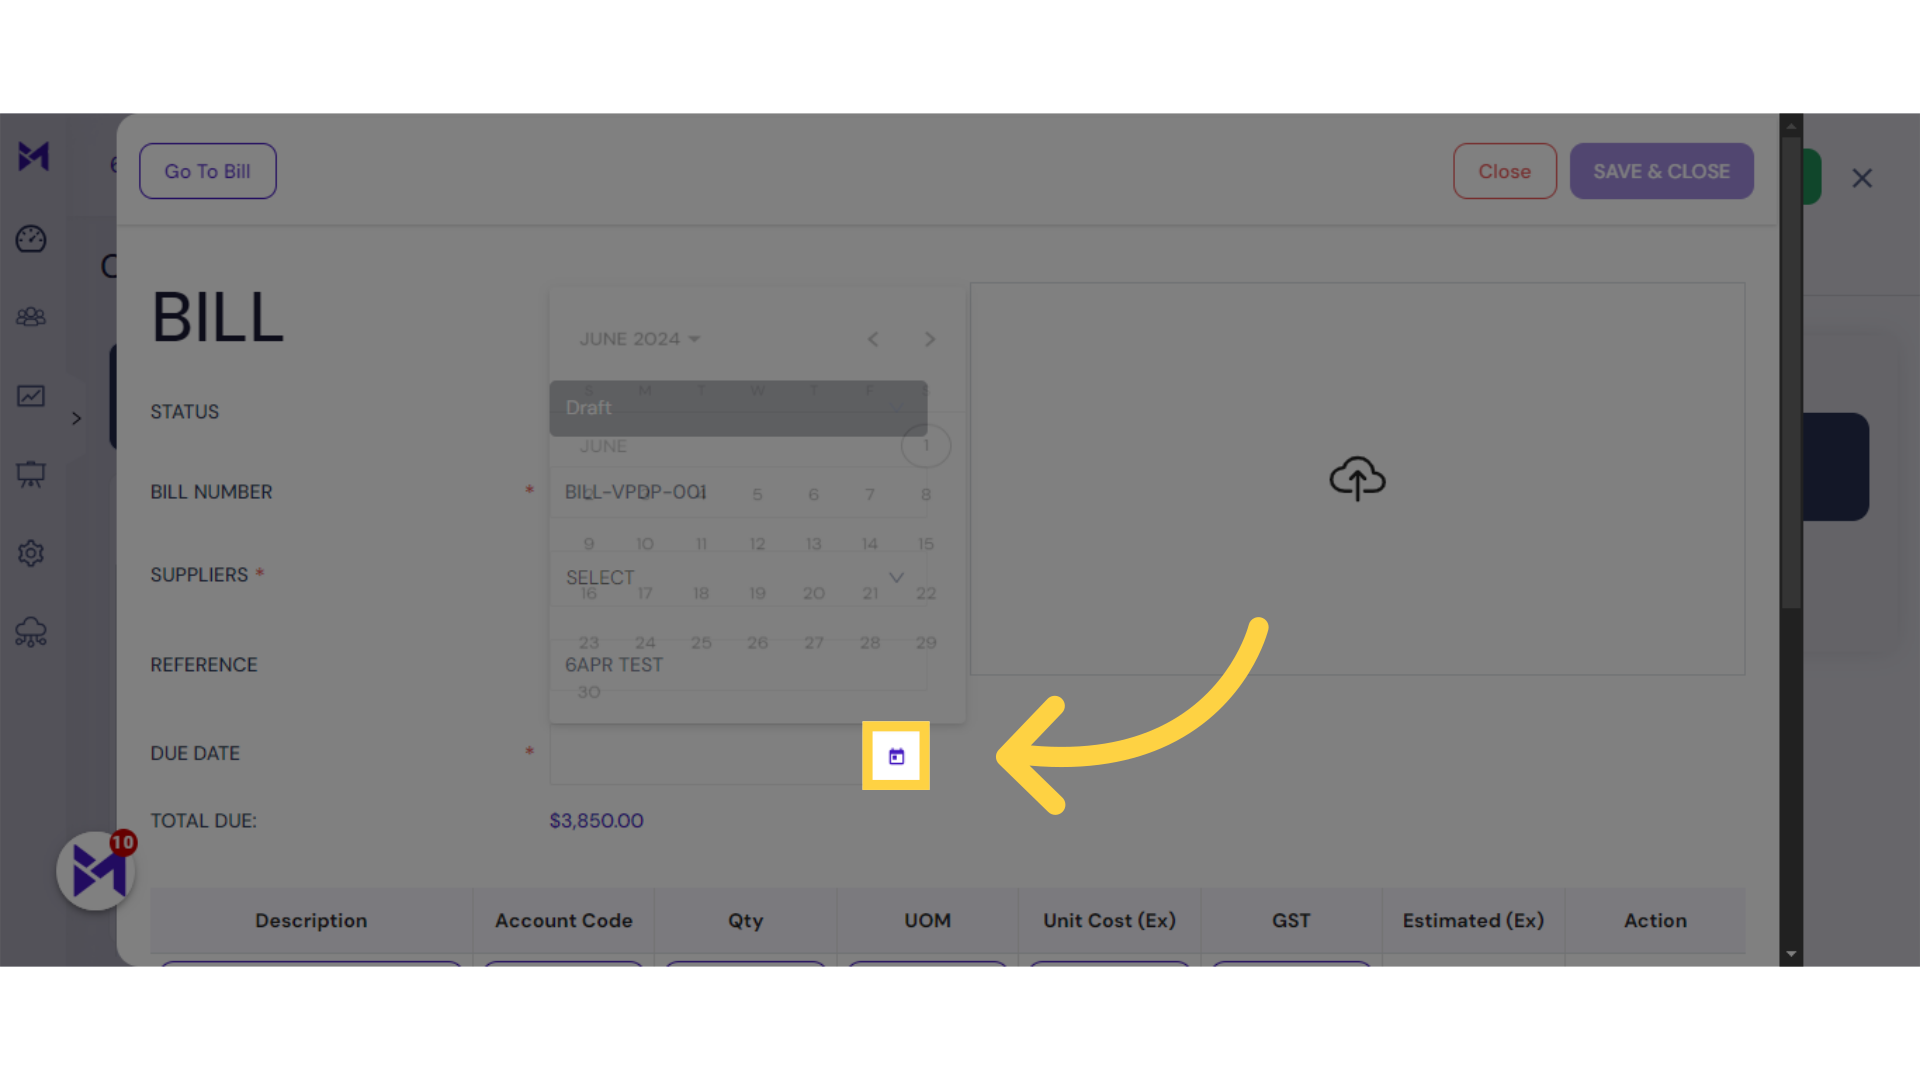
9. Select Date
Select the number "1."
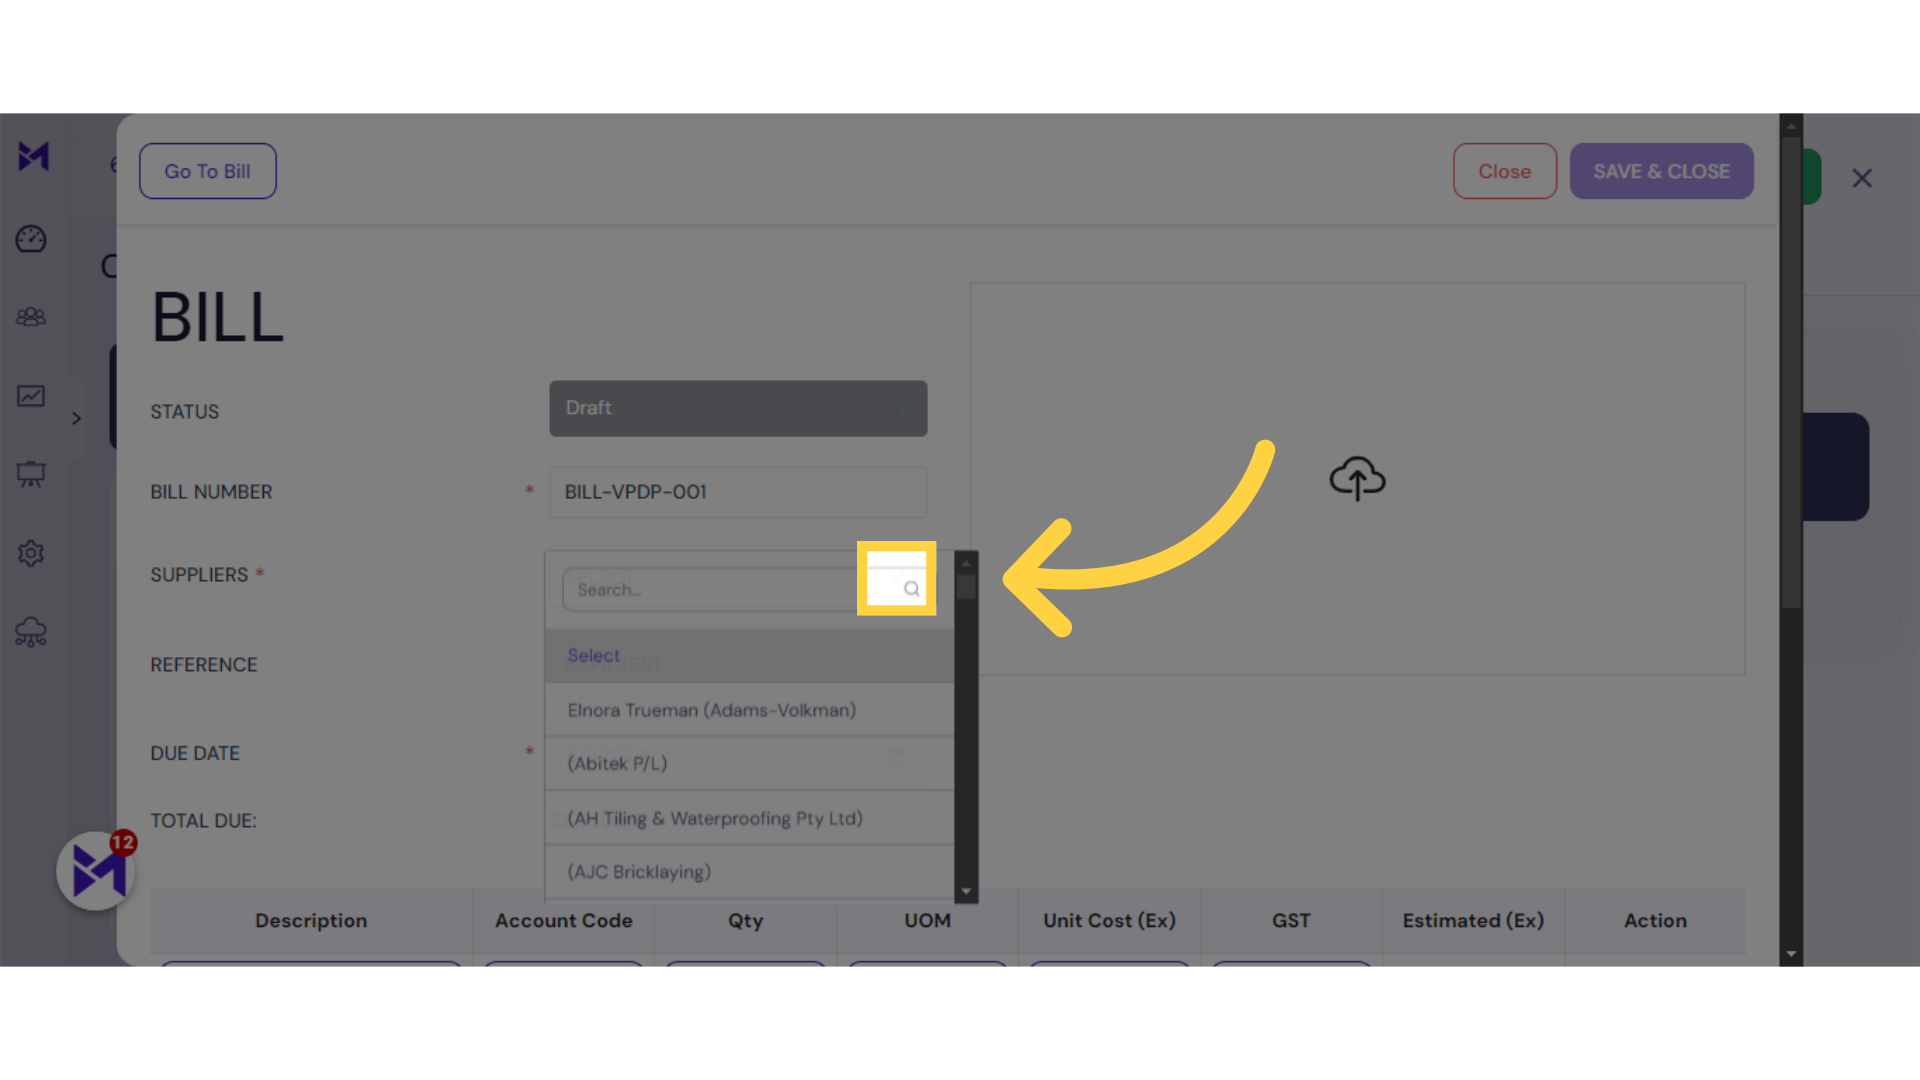
10. Click here to Select supplier
Select this field
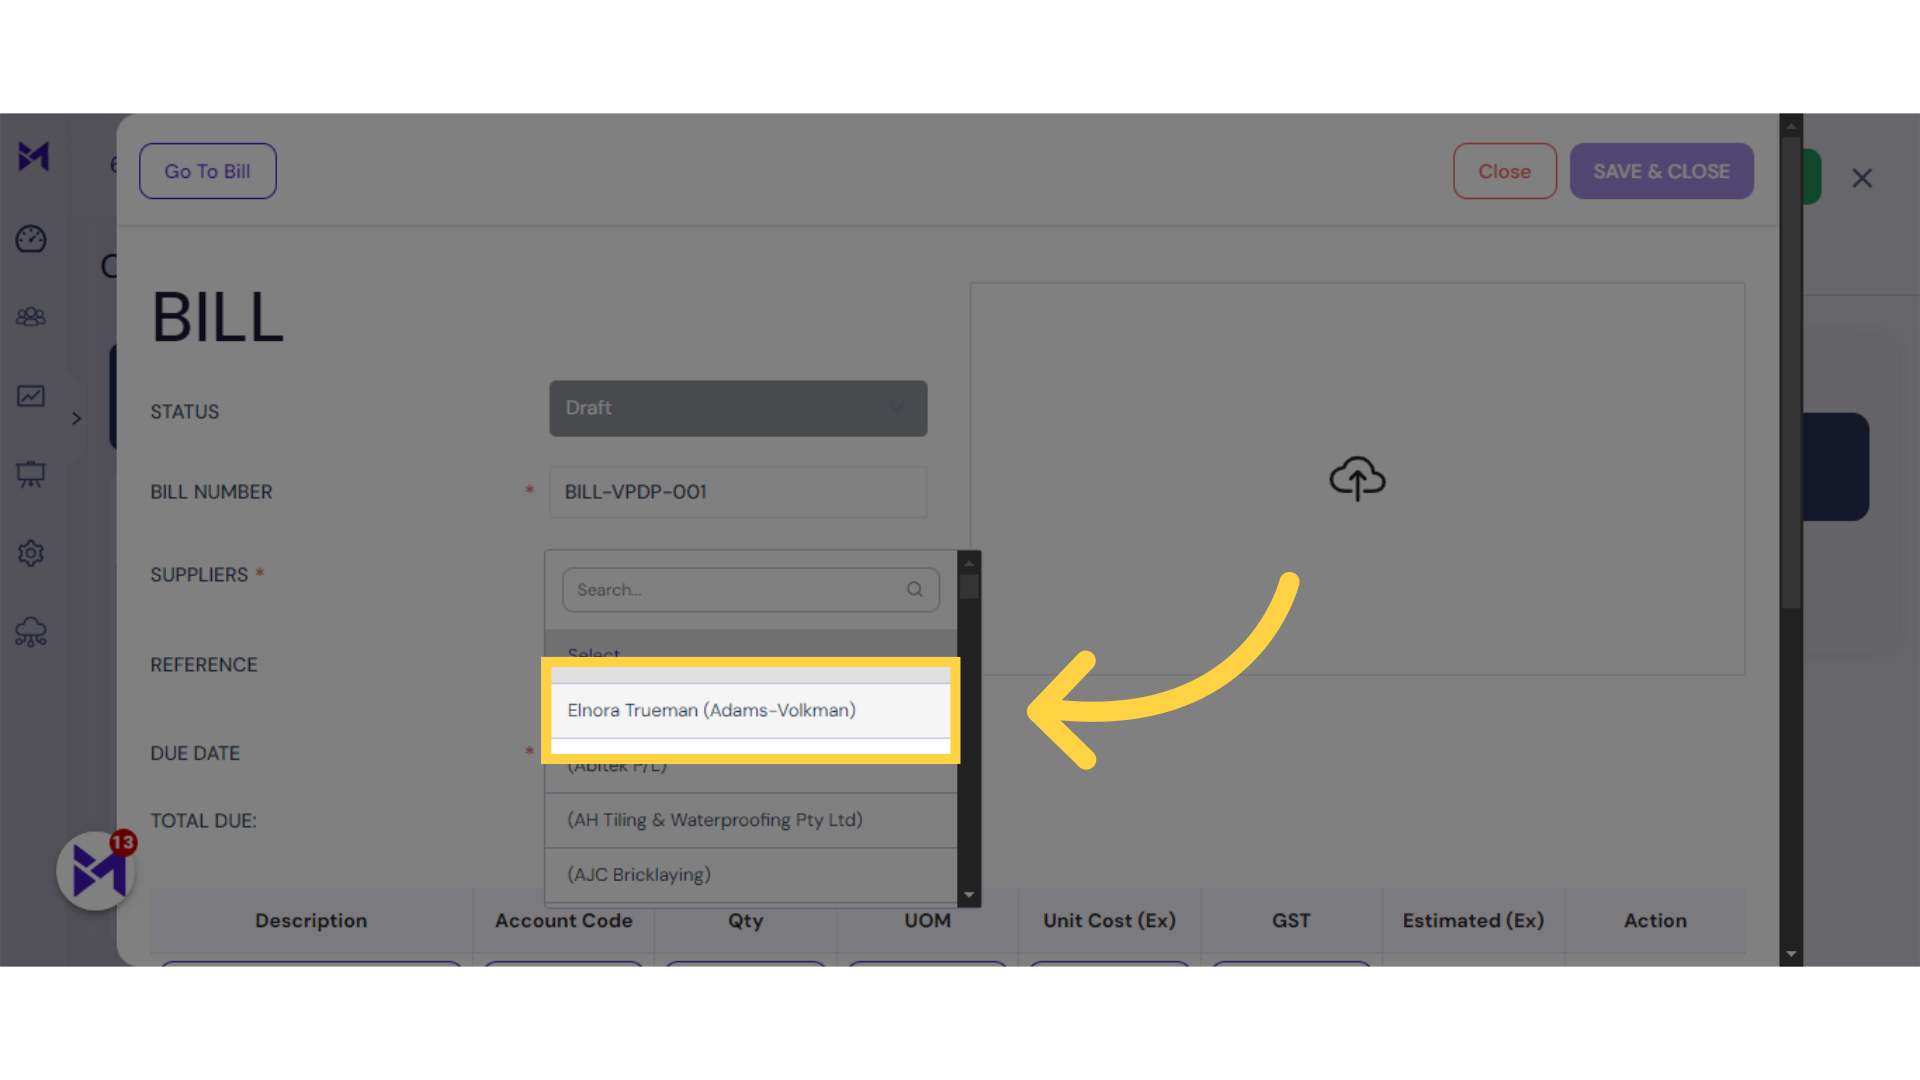
11. Select Suppliers
Select the indicated name.
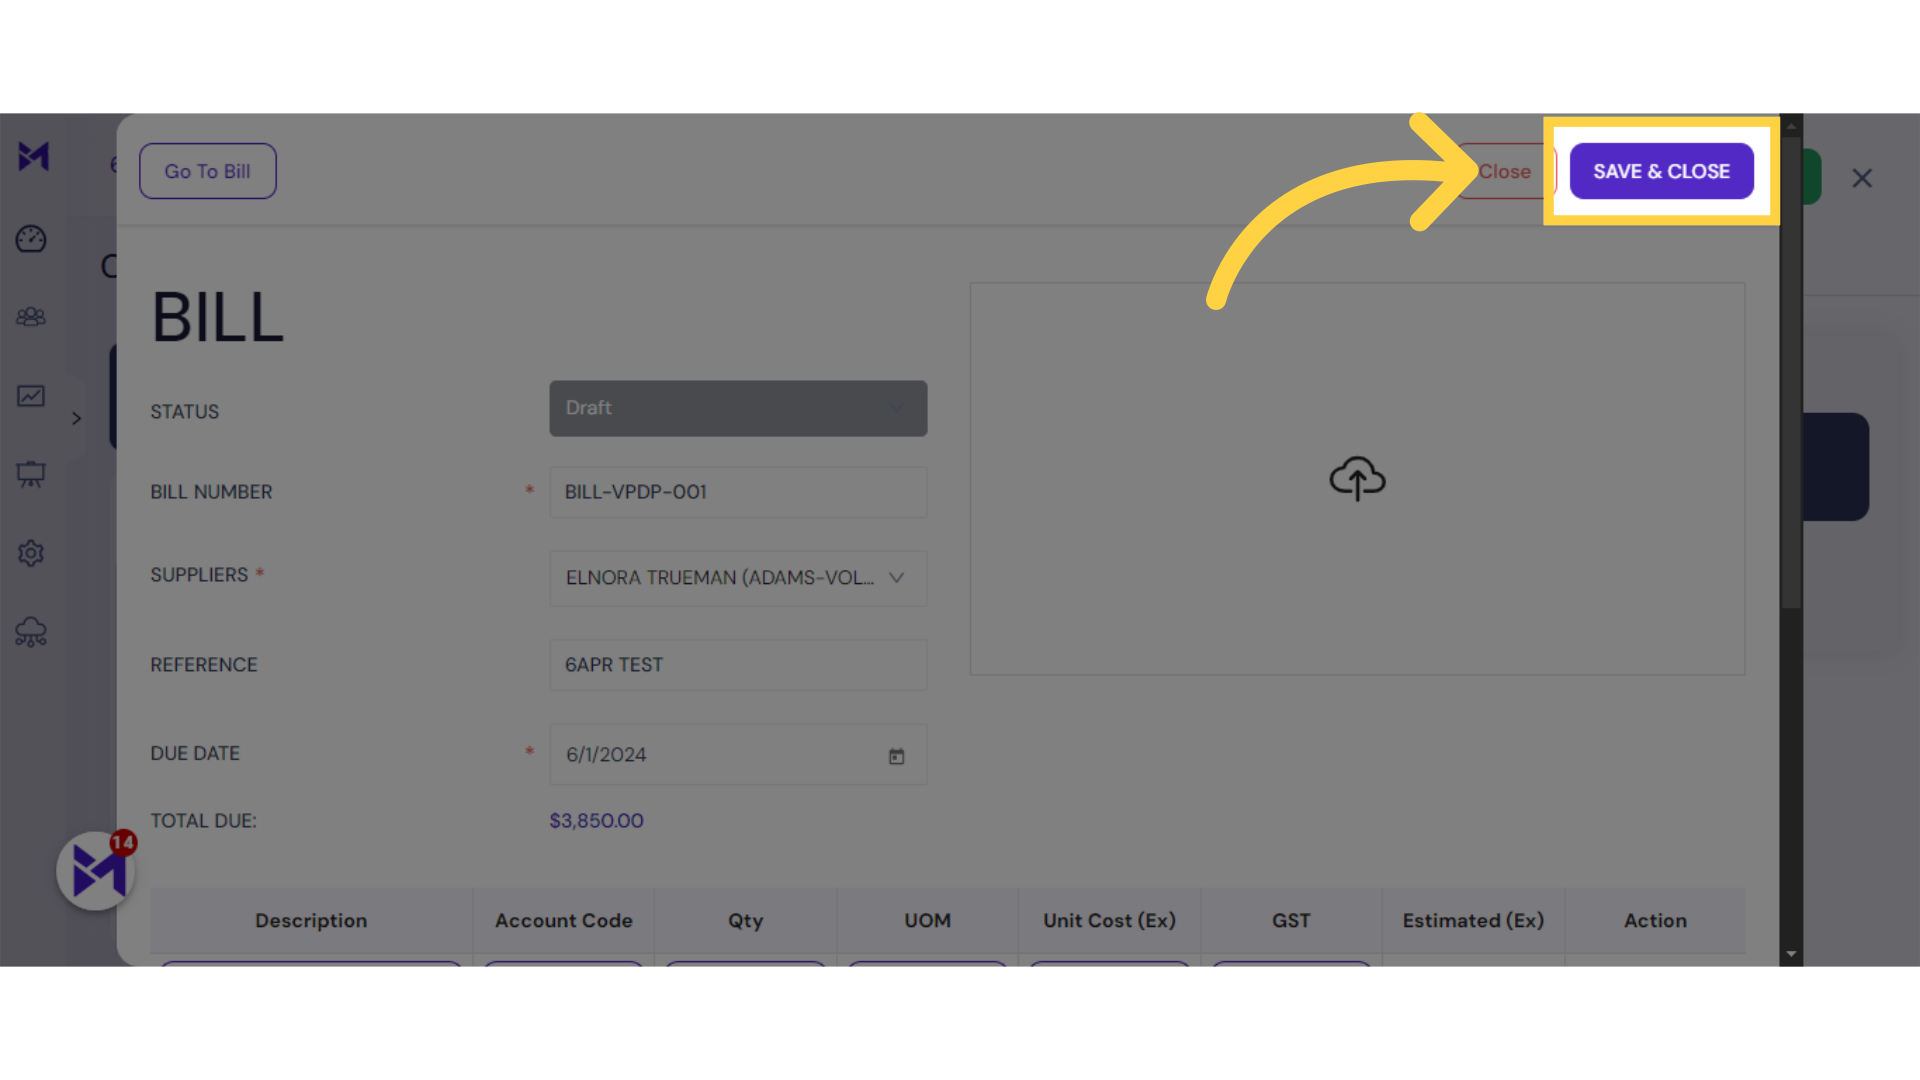
12. Click "SAVE & CLOSE"
Save and close the invoice.
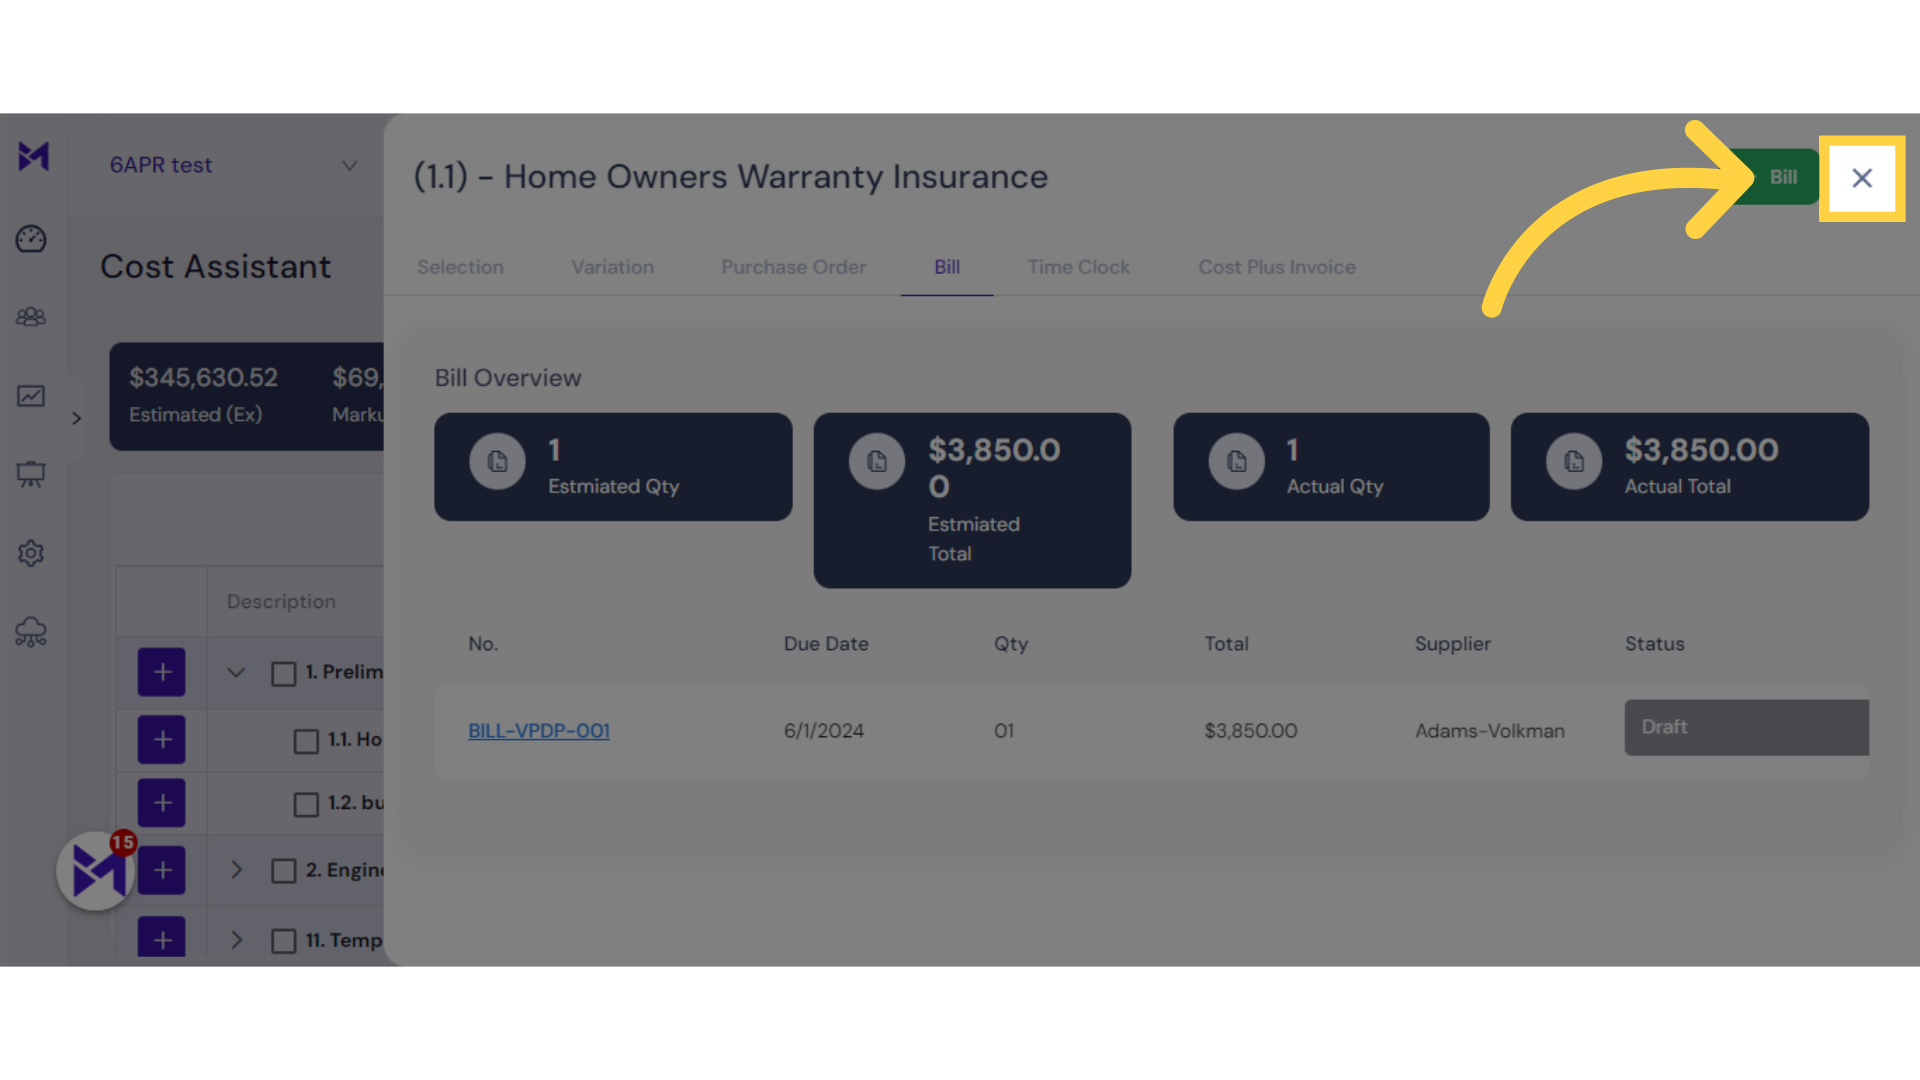
13. Click "close"
Close the current window.
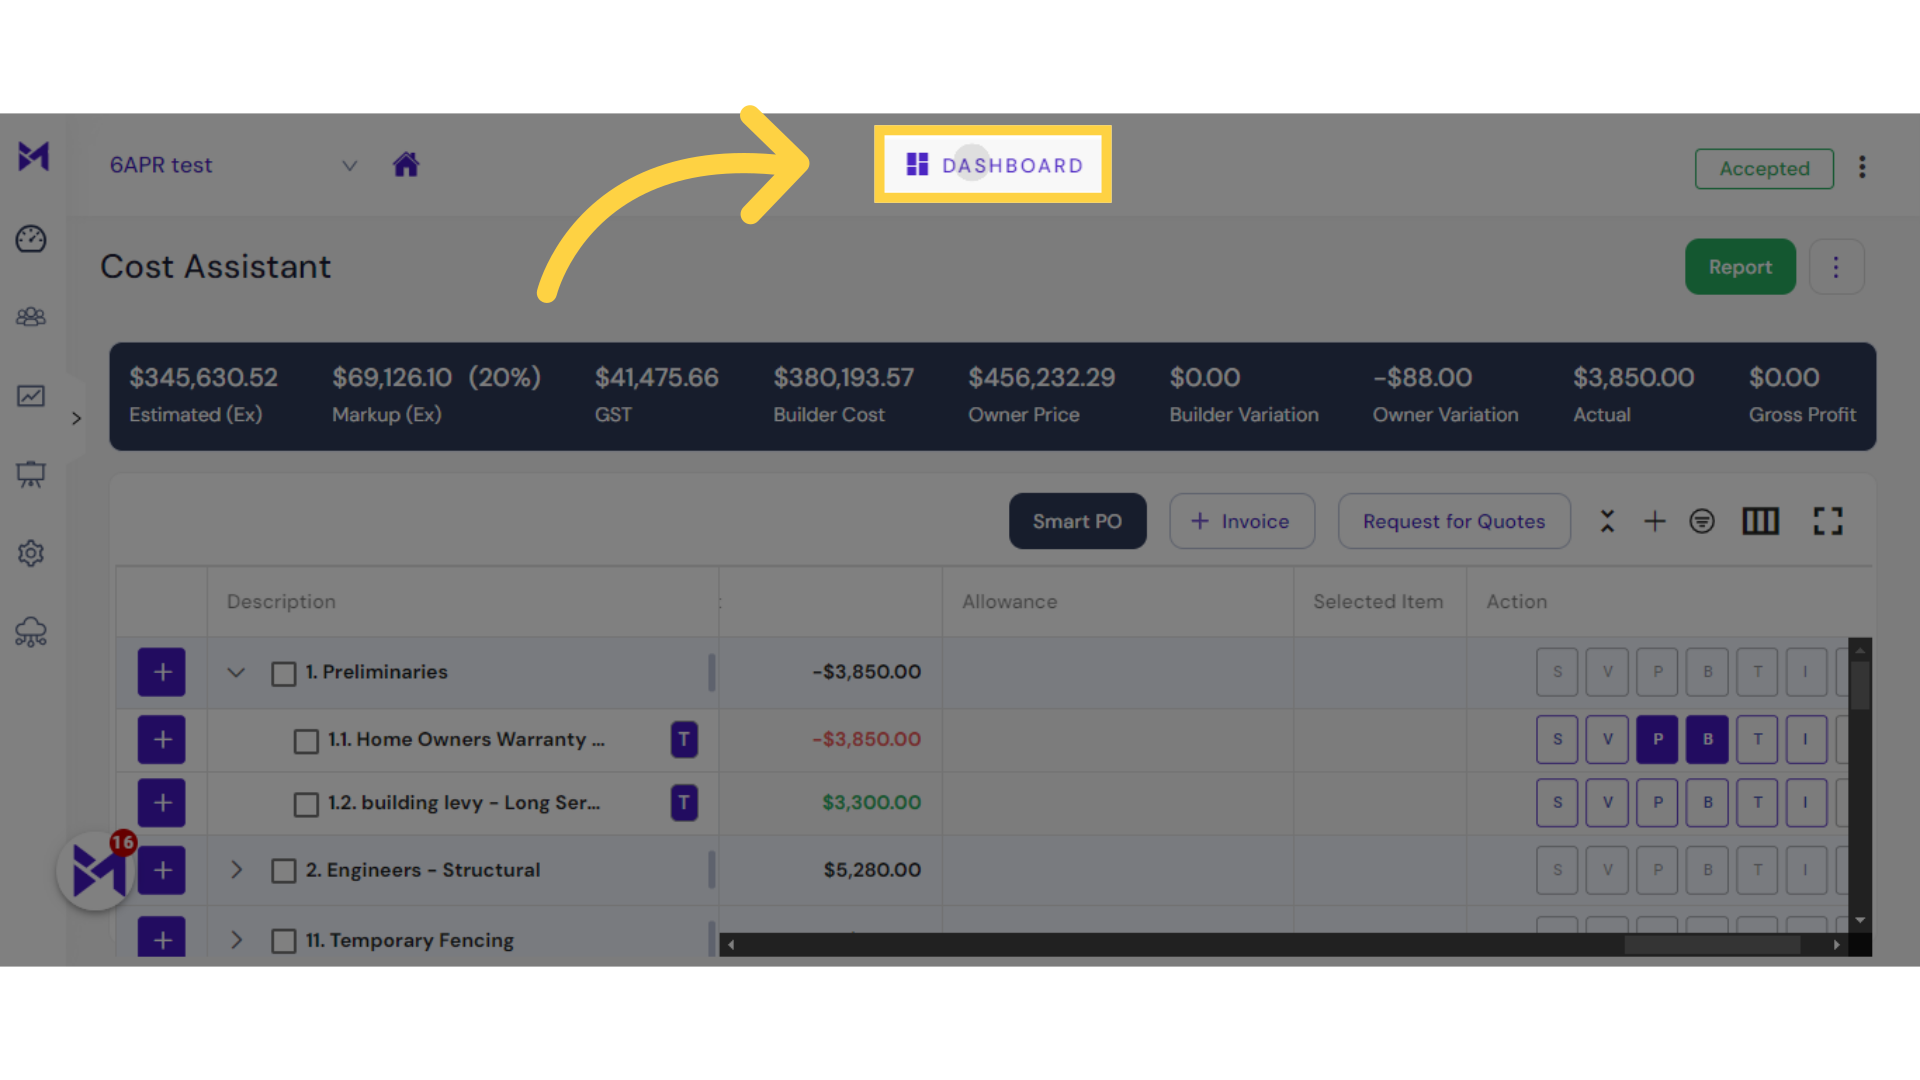
14. Click "dashboard Dashboard"
Access the dashboard.
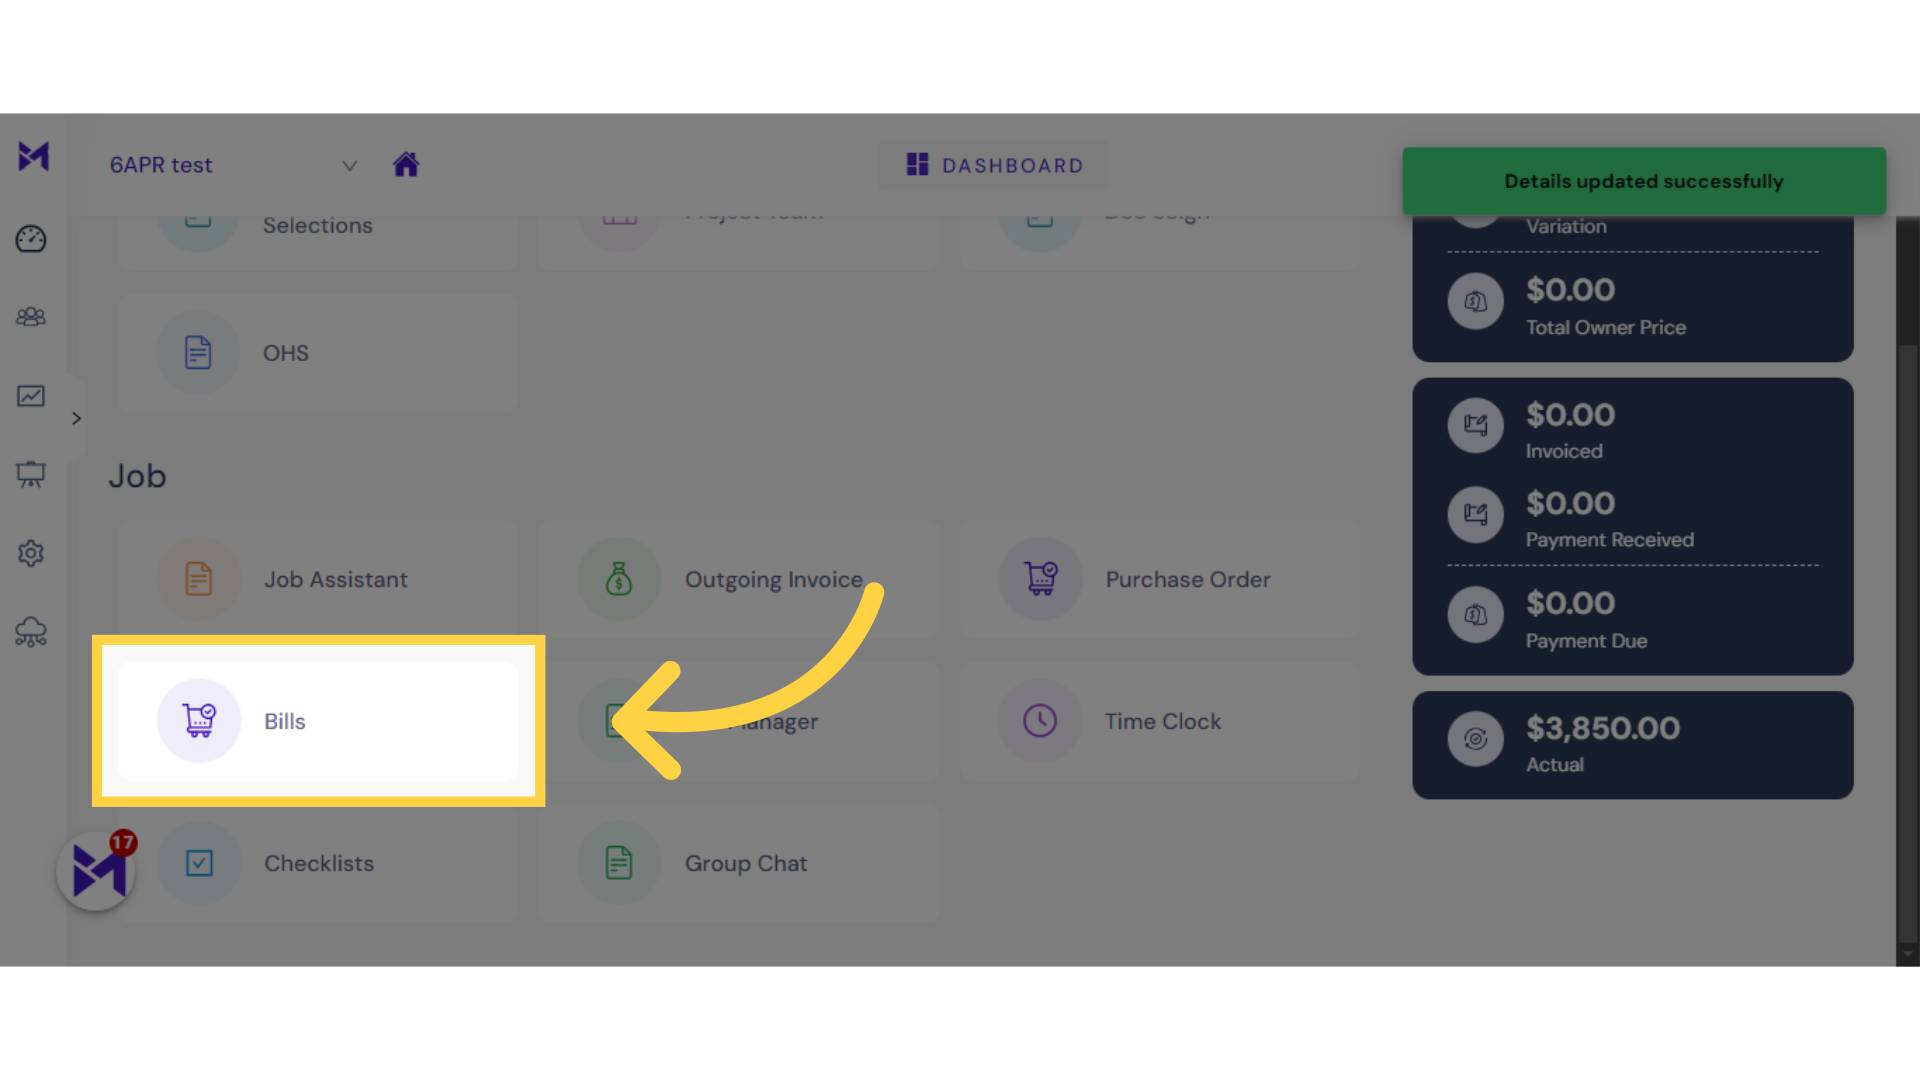
15. Click "Bills"
Navigate to the Bills section.
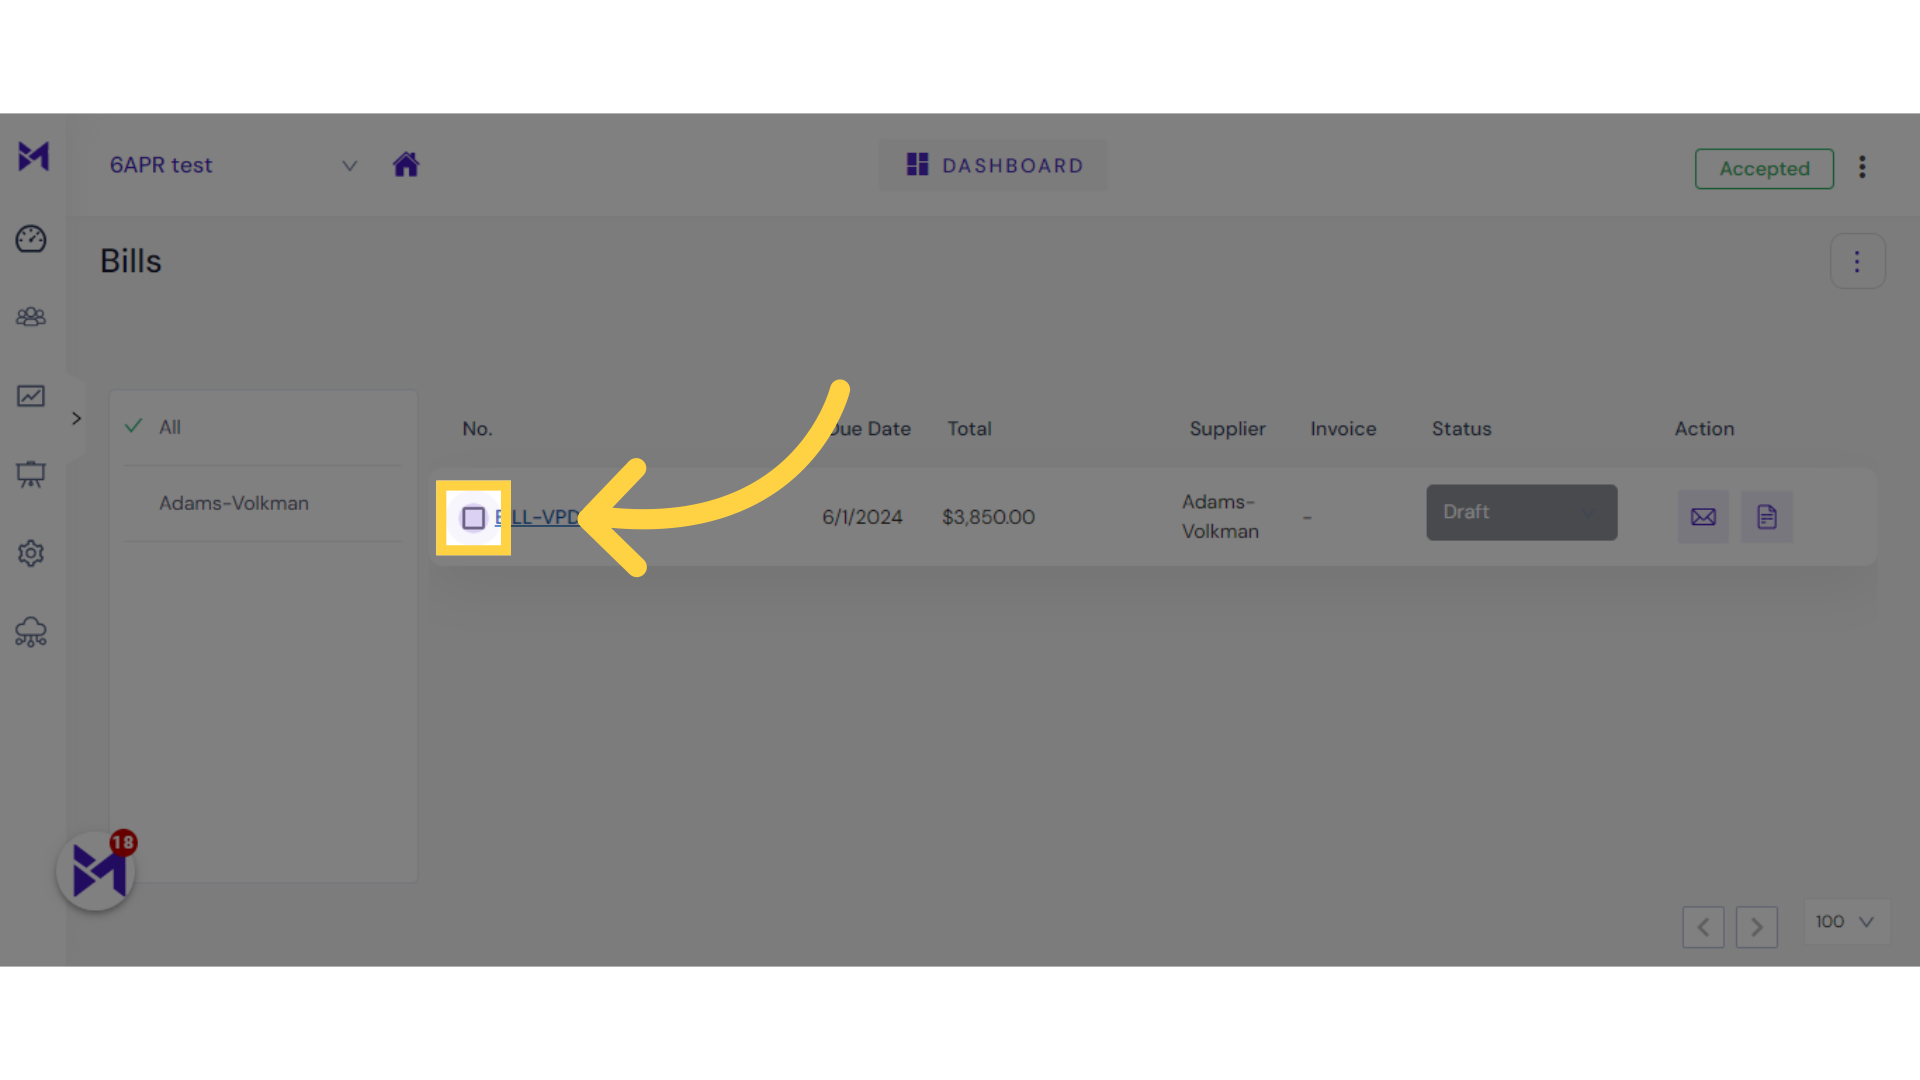
16. Click here
Navigate to this section
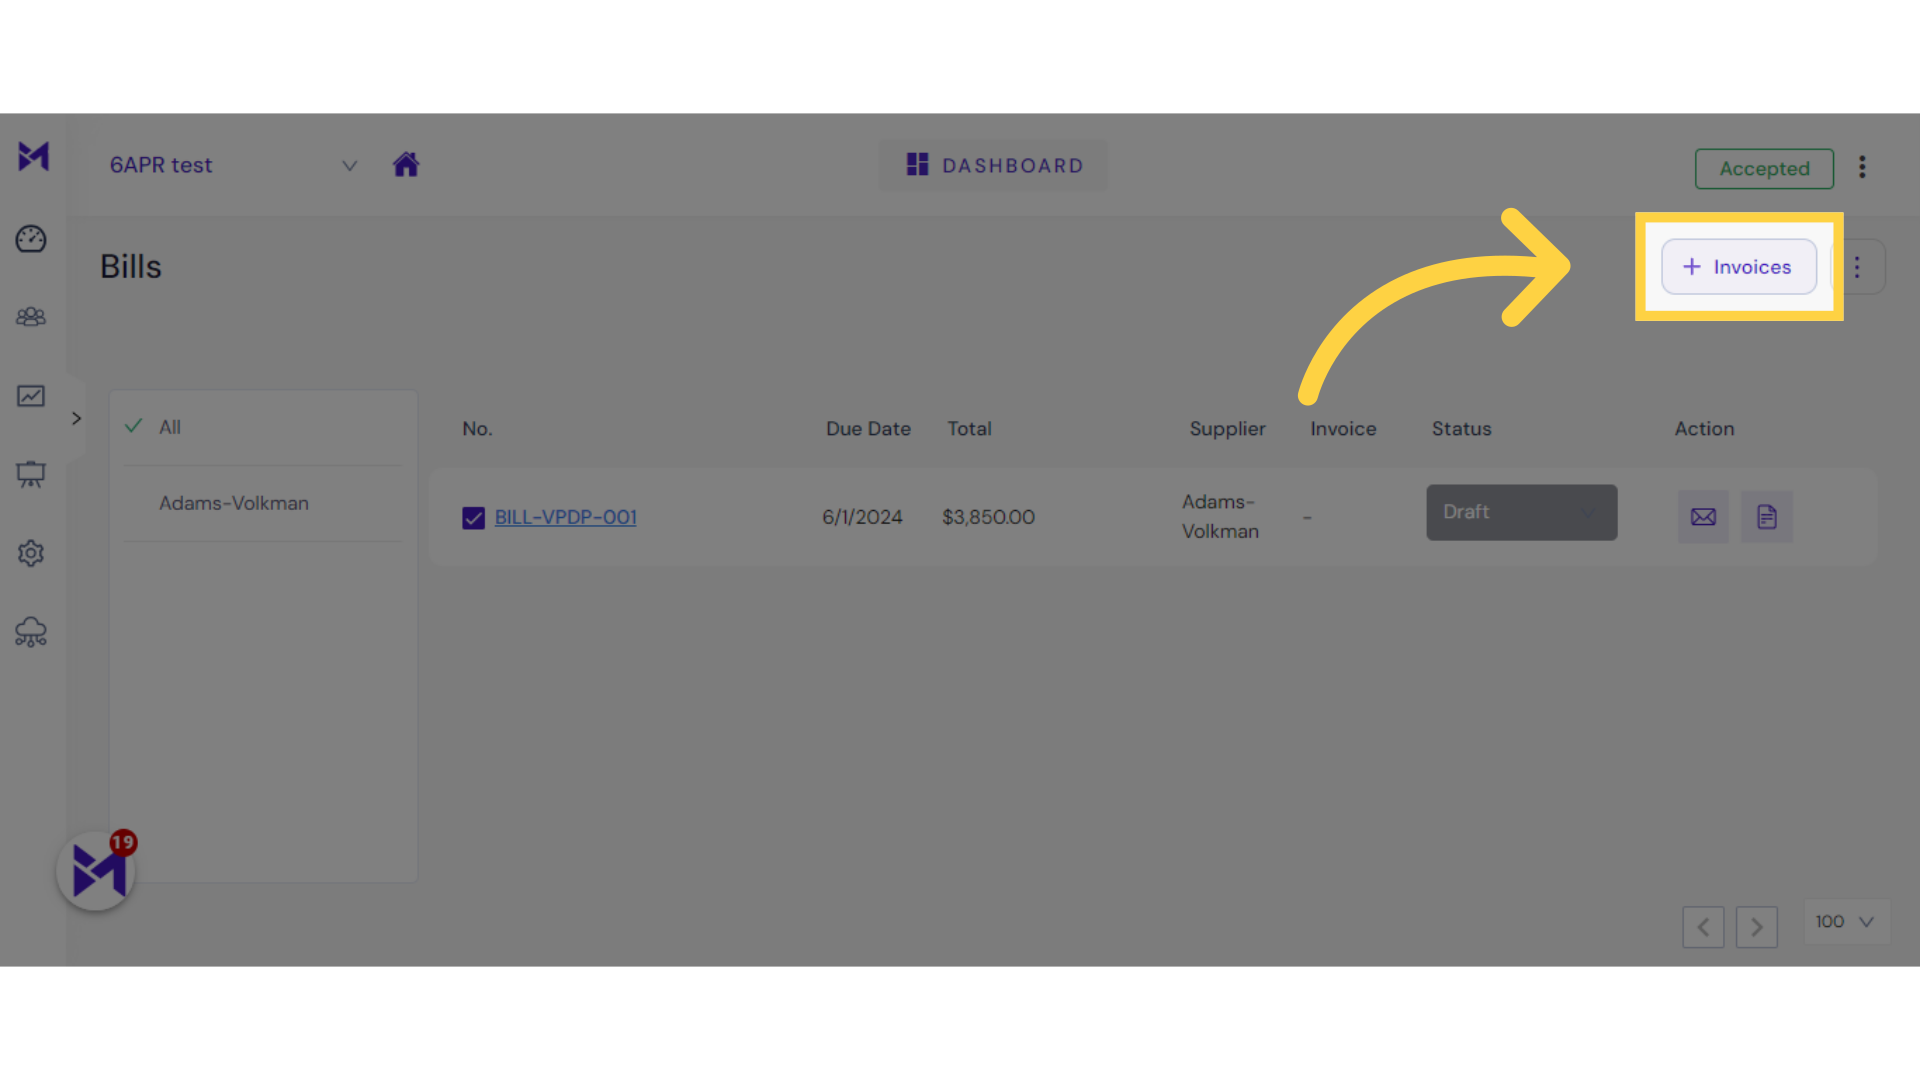
17. Click "Invoices"
Access the Invoices section.
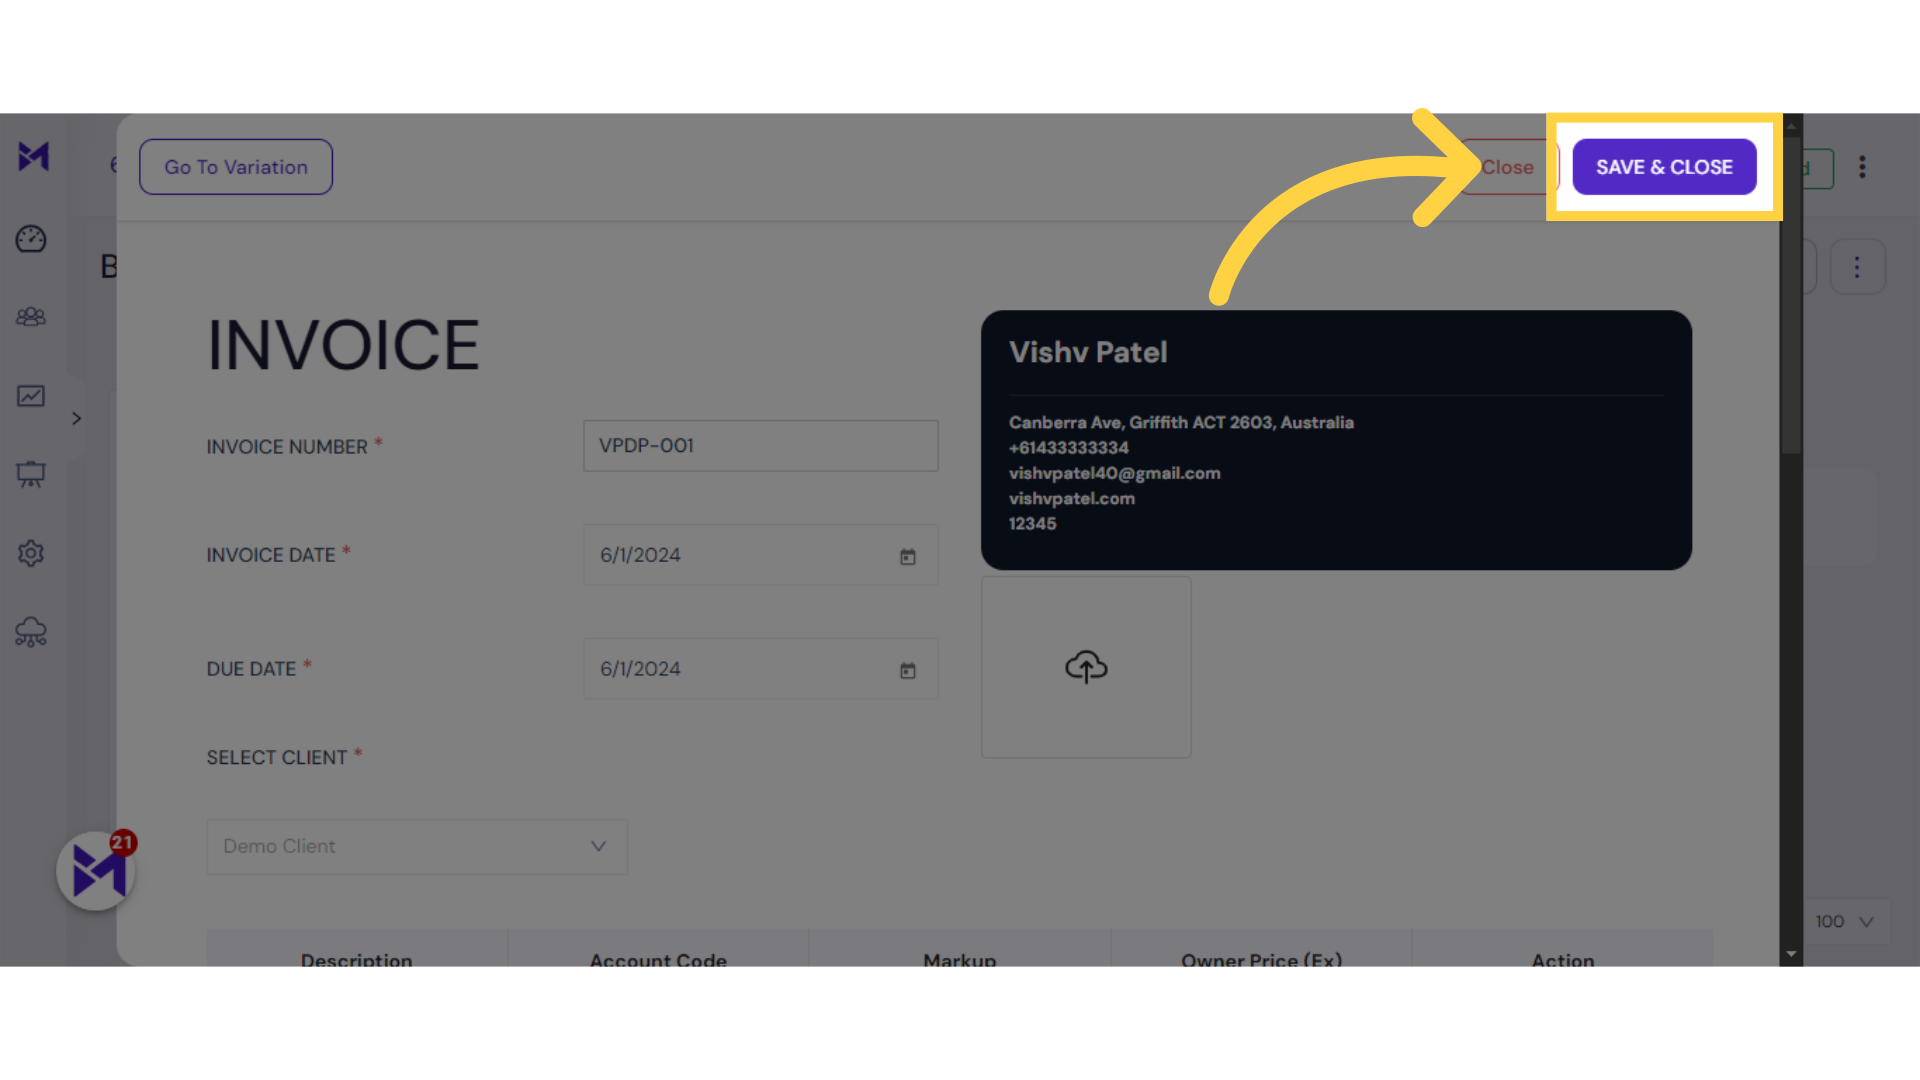
18. Click "SAVE & CLOSE"
Save and close the changes.
This guide covered the detailed steps to create a cost-plus invoice in the Employee Training application, from accessing the Projects section to saving and closing the finalized invoice. Master the process effortlessly with these instructions.